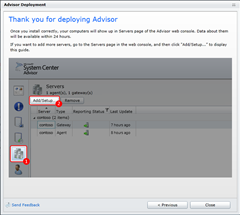
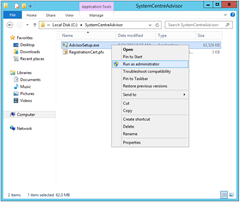
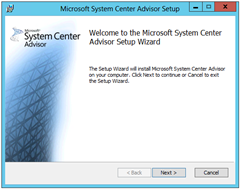
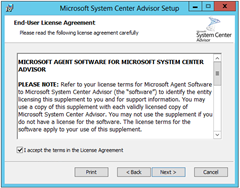
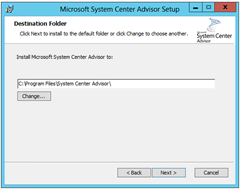
System Center Advisor is an online service from Microsoft. Think of it like an automated service with agents that run a daily “BPA” (Best Practice Analyser) across your installation and report back any deviations from best practice. For bonus points, it also maintains a configuration history, so you can see if and when settings are changed. Oh, and it’s now completely free!
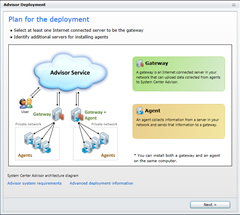
Just like other System Center components, Advisor installs an Agent app on each monitored server, and they report to a local Gateway which consolidates the data and sends it to Microsoft. You then login to the Advisor website and view the health of your installations.
There are a few similarities to SCOM, however it’s not a free replacement: SCOM’s a real-time monitoring app, which this certainly isn’t.
Notably absent from System Center Advisor at the moment is Lync Server 2013, but that’s coming, and in the meantime it still monitors:
- Windows Server 2012 and Hyper-V Server 2012 (added March 2013)
- Windows Server 2008
- Lync Server 2010
- SQL Server 2008 and 2012
- SharePoint 2010 and 2012
- Exchange 2010 and 2012
(The above list was sourced from HERE).
If you want to read some more, have a look at the PPTX from the 2013 Lync Conference.
I’ve deployed it in my lab particularly to monitor my Lync solution. Here’s how I did it.
Create a System Center Advisor Account
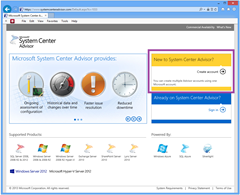
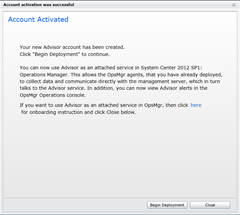
It’s an incredibly simple process to create an account. Simply visit https://www.systemcenteradvisor.com, click “Create account” and follow your nose. There’s even a handy tutorial, as well as a link to the setup media. (Note you need Silverlight installed for this, and if it’s not already there the process is handled painlessly for you).
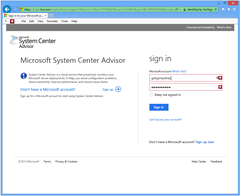
Sign in with your Microsoft ID:
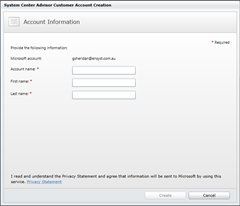
Create an account name:
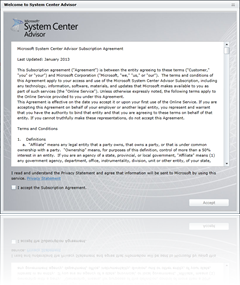
Accept the licence:
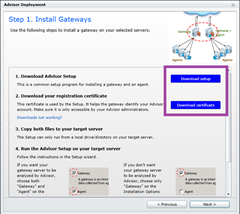
On this screen, click to download the Advisor Setup file, as well as your unique certificate. (Don’t worry – if you zoom past this one in a “Nexting” frenzy, you can still access these files from the Overview page under “Learn About” / “Setting up System Center Advisor”):
Note the message that Setup can only run from a local drive on your target server.
Done!
Install the Gateway
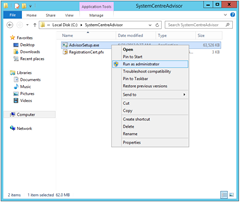
Next, you’ll need a Gateway. You’ll need one internally (on the domain), and another installed on each server in your DMZ (e.g. your Lync Edge). Here is the internal deployment process:
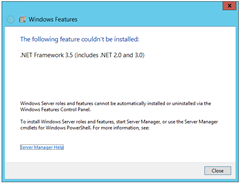
Whoops. Off to a bad start – “The following feature couldn’t be installed”:
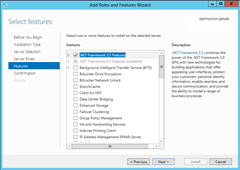
I absent-mindedly went to Control Panel to add this, but that’s SO Server 2003. Selecting “Programs and Features” / “Turn Windows Features on or off” threw me to the Server Manager. (I’ve skipped a couple of screens):
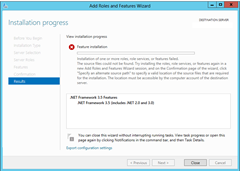
First time ‘round this one failed, reporting “Installation of one or more roles, role services, or features failed. The source files could not be found”:
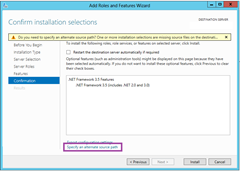
The fix was simple enough. I inserted my Windows install media and restarted the process, making sure I clicked to nominate the alternate source path this time (highlighted by the purple box):
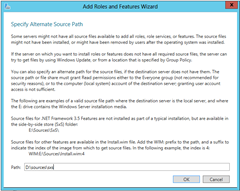
The dialog even tells you where the source files are on the install disk (so I don’t know why the installer just doesn’t check). All you have to do is copy it into the field:
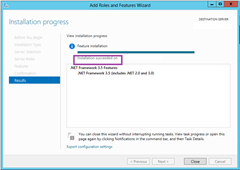
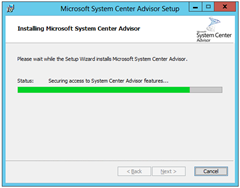
Keep an eye on this one because it’ll complete without you realising. The worm moves across the screen and the text updates to say it completed, but it makes no particularly obvious song and dance about it:
Let’s try that again:
That’s better…
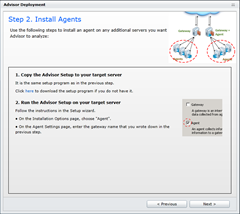
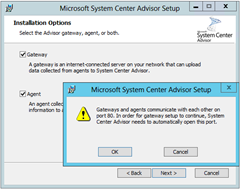
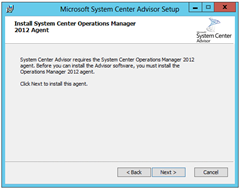
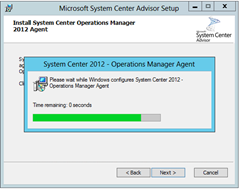
I want this machine to be my Gateway, but I also want the agent installed here, so I’ve checked both boxes. Obviously when we come to install the Agent later, we’ll only check that box:
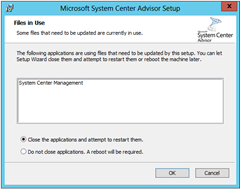
Click OK to close and restart:
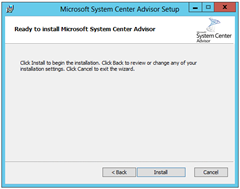
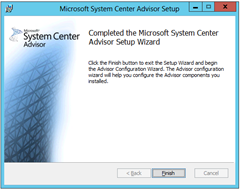
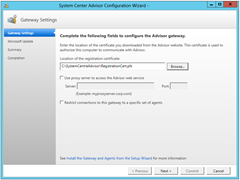
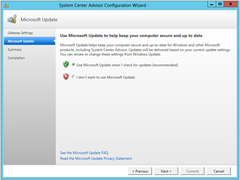
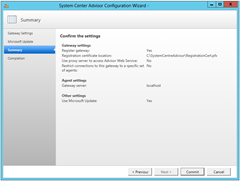
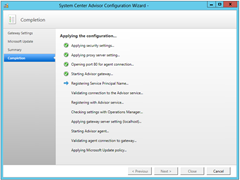
Great. So we’re all installed OK. After you click Finish the Config Wizard launches. Point it to the certificate that you downloaded when you signed up. This is also where you nominate your web proxy server (if required):
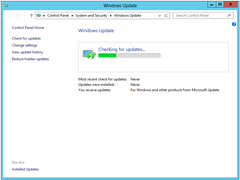
… and when you click Close it heads off to Windows update:
That’s it! Done. Just to check it’s working OK, I jumped through some of the trouble-shooting steps explained HERE. I ran the following commands in turn into a PowerShell window:
Add-pssnapin microsoftadvisorsnapin
Test-SCAdvisorGatewayConnectivity
Get-SCAdvisorGatewaySetting
Send-SCAdvisorGatewayData
Receive-SCAdvisorGatewayData
(Note that the “Test-” command resulted in a “True” output, whilst the “Send-” has forced an initialisation with the web service, where you would otherwise have to wait for up to 24 hours).
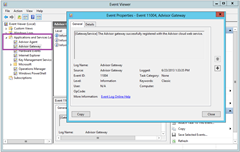
The above were all reported favourably in the Event Log, with Event ID 11004 reporting “The Advisor gateway successfully registered with the Advisor cloud web service”.
Sweet!
Installing the Edge’s Gateway
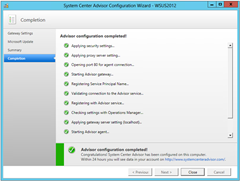
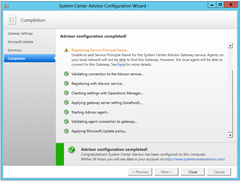
The installation of the Gateway on your Lync Edge is the same as the above. Here are a couple of screen-grabs of that show the differences in the Config Wizard.
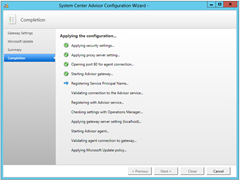
We faltered at Registering Service Principal Name. “Unable to add Service Principle[sic] Name for the System Center Advisor Gateway service. Agents on your local network will not be able to find this Gateway. However, the local agent will be able to connect to this Gateway. See here for more details”:
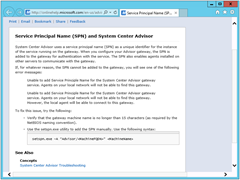
Clicking the link takes you to this page, but it doesn’t offer a lot of advice for the DMZ, and Google didn’t unearth any solutions either:
In the end, there was no issue – the earlier message “the local agent will be able to connect to this Gateway” is the important one. Disregard the SPN and continue with the Agent installation.
Agent Installation
The next post in this series (HERE) shows the Agent installation.
