Inspired by a recent customer’s request to interface Lync to a paging / public address / PA system, I thought I’d check some of the options. This is Part 2 of (so far) a 3-part series:
- Public Address (Paging) Options for Lync
- More Public Address (Paging) Options for Lync – this post
- Public Address (Paging) Options for Microsoft Teams – I
Here are another couple of options…
SIP Paging – Extension-Side (with SIP registration)
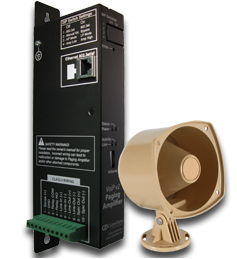
There are a few SIP-to-Paging interfaces getting around. These all take an Ethernet connection in, talk SIP over it, and output either a line level audio (to feed to your existing PA amp), or have an in-built amplifier to drive a speaker (which may also be provided in the same ceiling-mount box).
The range from CyberData, available here in Australia through Alloy and Digital Techniques [Asia] is one such family of devices. I wasn’t able to get my hands on one to test, but they operate as a SIP extension, and as such need to register to a device like the NET/Sonus UX1000 or UX2000. (They can’t be interfaced directly to Lync as you might do with a trunk-side SIP device). And depending upon your UX config, you might need to add SIP Registration licences to it.
On the Lync side, the config’s going to be much the same as that of my “traditional paging” example from Part 1.
SIP Paging – as a Lync peripheral
Snom has been quietly building a name for itself for a while, and has recently received formal Lync qualification for its 300, 370 and 821 models. The HP 4110 and 4120 phones for Lync also happen to bear a striking resemblance to Snom phones, so they must be doing something right.
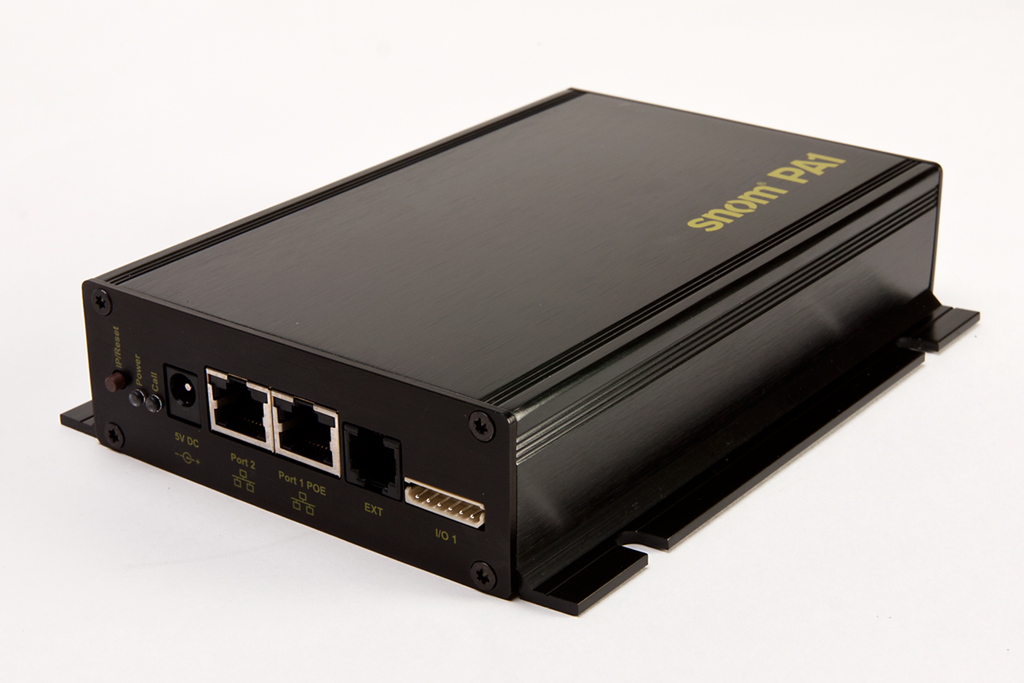
A lesser-known member of the Snom family is the PA1 – an IP paging interface that you happen to register directly to Lync. The PA1 is essentially the guts of a snom300, set to auto-answer, and where the handset should be is the interface to your PA.
Shopping List
- A Snom PA1. Mine came from Digital Techniques [Asia], a global Snom reseller who’s recently setup in Oz
- If you don’t have a PoE port to power this, you’ll need to buy a 5V 2A DC supply. (You can probably get away with less than the stipulated 2A supply if you’re not using the in-built amp)
How-To
-
- Before you do anything you’ll need to source the Lync firmware for the PA1, and it’s not publicly accessible on the Snom website. Register here and allow a day or two before you’ll receive access
- Once you have access, login on the same page and you should be presented with the available firmware versions. The page I landed on was for the 8.8.2.6 BETA, but that didn’t have a firmware file for the PA1, so I selected v8.8.1.13 from the “All versions” menu on the RHS
- When you find the PA1 firmware, right-click and save its location to the clipboard. We’ll use this in step 8. (Don’t download it – the phone will do that itself!)
- Plug the PA1 in. Find a powered Ethernet port, or a plain one + a 5VDC power supply (not included). Add a speaker or hook the line output up to an amp. Or your iPhone’s headset will work nicely if you have it nearby
- Press the IP/Reset button and the IP address (allocated by DHCP) will be spoken to your headphones. If it failed to receive an address from DHCP, it’ll come up as 192.168.0.2 with a mask of 255.255.0.0
- Browse to the IP address indicated
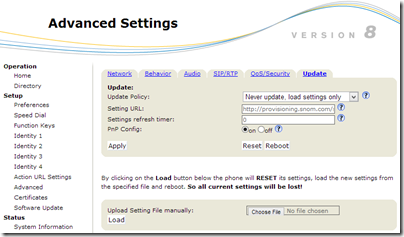
- Under Setup in the menu on the LHS, click Software Update
- Paste that URL from step 3 into the “Manual Software Update” edit box and click Load:

- The phone will load the new firmware and reboot. Wait for the red Power and Green “call” LEDs to illuminate before proceeding. (Give it a couple of minutes). Whatever you do don’t remove the power at this stage as you run the risk of bricking it
- Refresh the web-page. If if doesn’t come up, repeat Step 5 just in case its IP address has changed (??). If that still doesn’t work, try addressing the phone via https
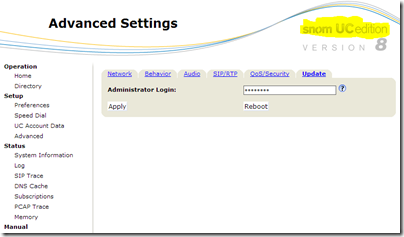
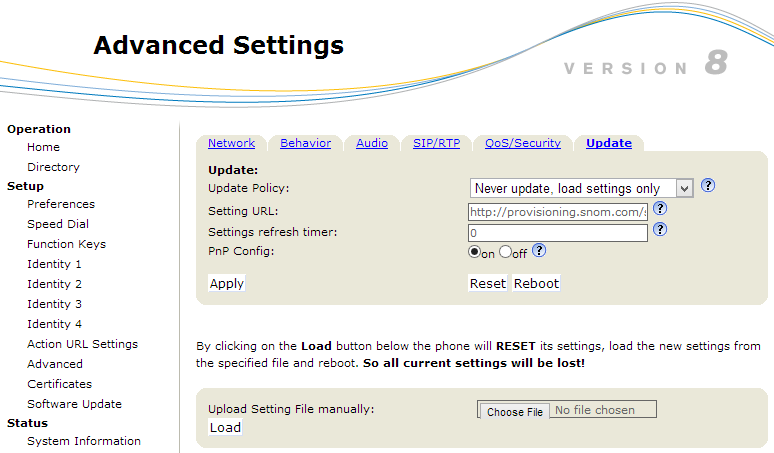
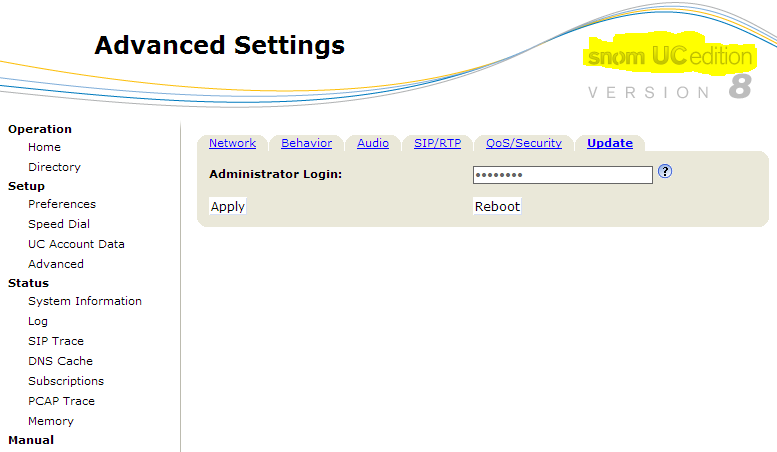
- Navigate to Setup / Advanced / Update. Confirm you’re now running the *UC* version of the firmware (the RH image):
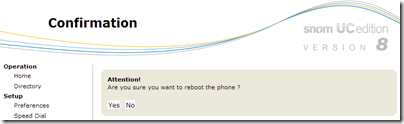
- Click Reboot
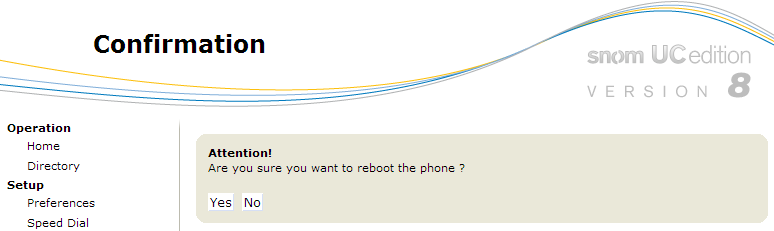
- Click Yes:
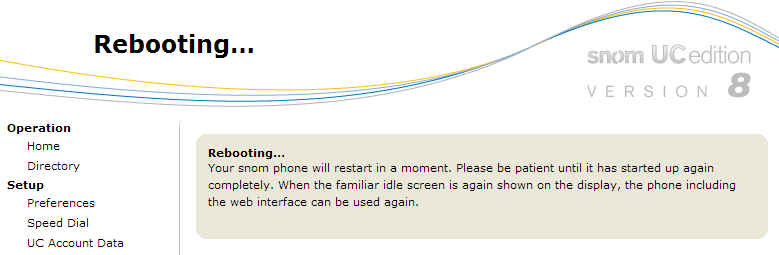
- It’ll reboot:
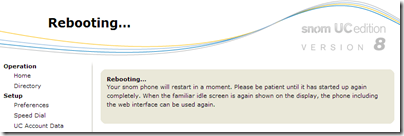
- Once it’s back up (both LEDs are lit), refresh the browser
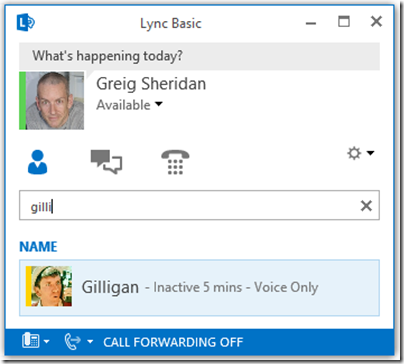
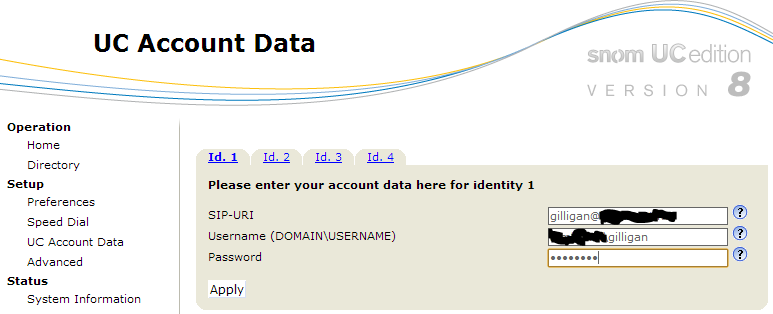
- Navigate to Setup / UC Account Data, and plug in the values for your paging account. In these examples I used my “gilligan” test account, but in the real world you’ll probably create a “Paging Speaker” user account:
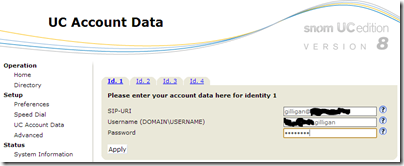
- Click Apply
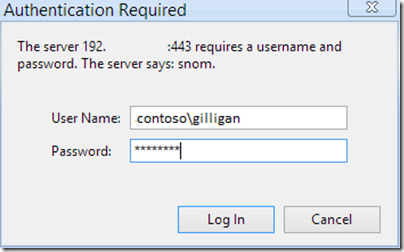
- Enter the same credentials to the pop-up and click Log In:
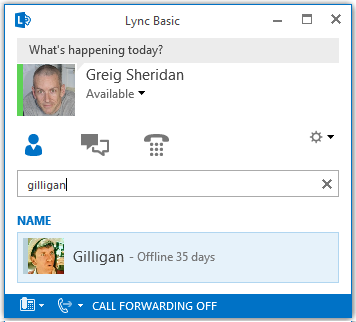
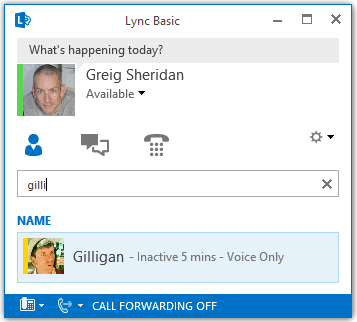
- Done! The account didn’t initially show as on-line, but I was able to call it, it answered, beeped to the PA system, and I was free to talk. I was able to get this to show as “inactive – Voice Only”, but only after logging in to the Gilligan account on the Lync client, clicking Reset Status, and then back out again:

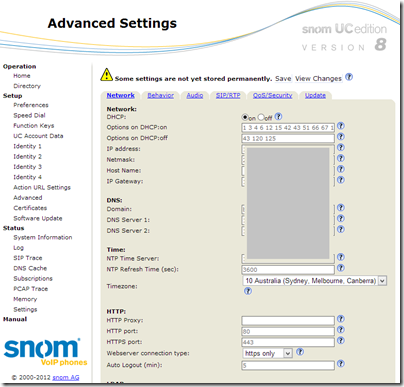
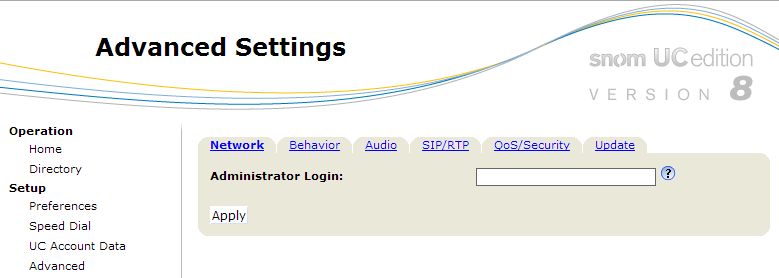
(It later changed to “Away 2 hours – No IM”, as to be expected) - Now let’s tweak it a little. Refresh the webpage and click Setup / Advanced:
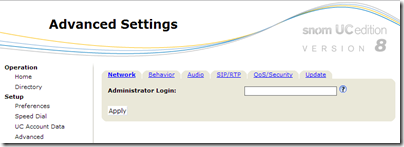
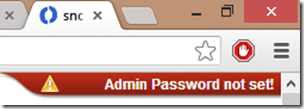
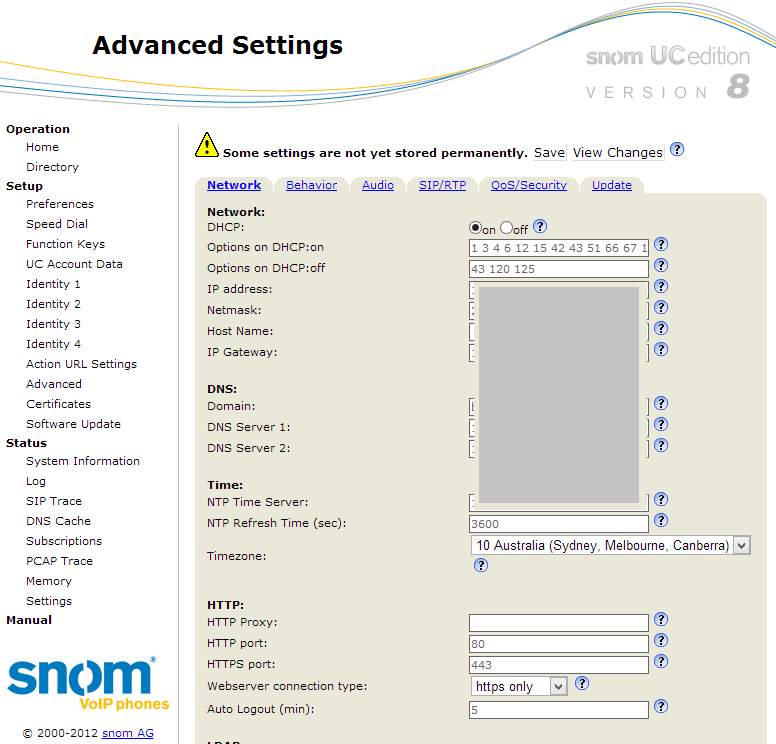
- Note in the top RH corner of the web-page, the password’s not been set. That’s telling us that it’s still the default: “0000”, so enter that and click Apply. It will reveal lots of good stuff:
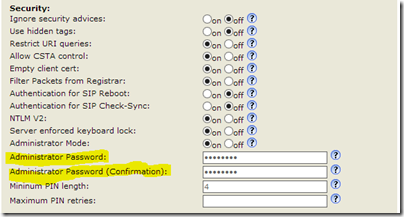
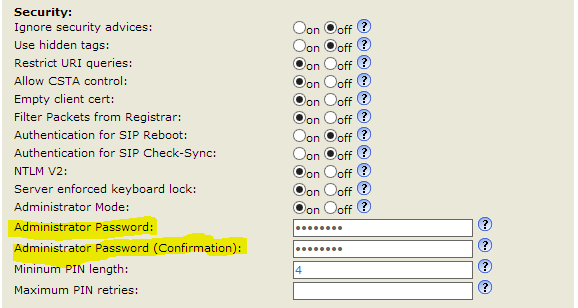
- If you feel a burning need to change the Administrator password, it’s on the QoS/Security tab. (It’s not particularly necessary to change that – you need the AD password for the user account to get to the phone’s web-page in the first place):
- If you want to disable the auto-answer beep I referenced in Step 19, you’ll find that under Setup / Preferences:

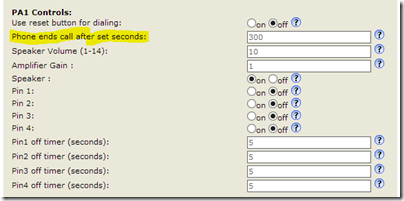
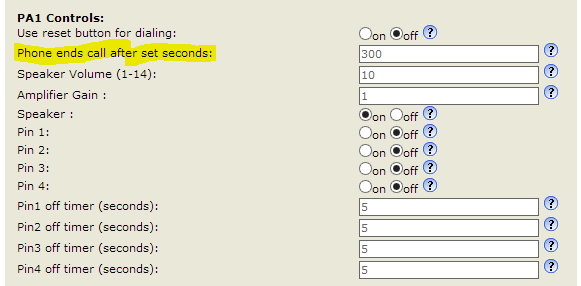
- On the same page you’ll find the ability to limit the maximum duration of a paging call. (aka “Timed Force Disconnect” elsewhere, but “Phone ends call after set seconds” here). Underneath this the “Speaker Volume (1-14)” changes both the speaker and line output levels:
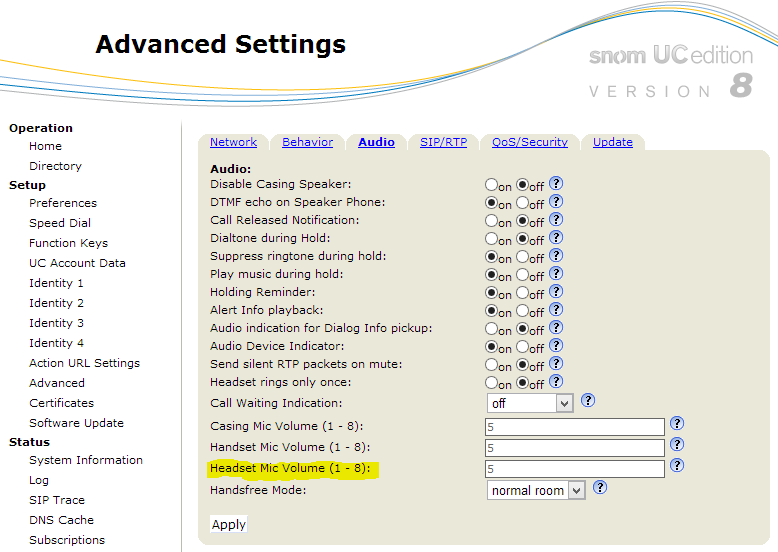
- I experimented with connecting a microphone to the PA1, but the devices I tried all gave fairly low levels. If you find a suitable mike, its transmit level is controlled from the Setup / Advanced Settings / Audio tab, and it’s the “Headset Mic Volume (1-8)”:
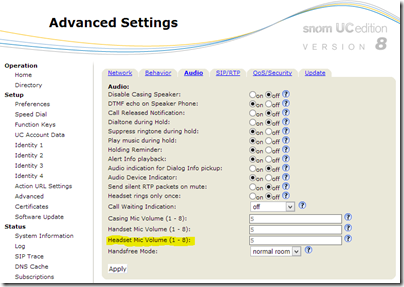
(BTW, don’t be tempted to turn on the “Call Released Notification” in the above capture: that resulted in several disproportionately loud bursts of busy tone at the end of the call)


Results
Pros:
- flexibility: its in-built amplifier will drive a small speaker directly, or you can use the line output to feed an amp. (Add a small set of powered PC speakers and you have a great PA system – or 2-way intercom – to broadcast to the server or lunch rooms)
- physically quite small
- self-contained
- VERY easy to deploy
- economical (RRP is ~$AU170+ GST & shipping)
- PoE-powered
Cons:
- if you’re not covered under an EA and you’re paying for Lync CALs then don’t forget you need to licence this (compared to Part 1’s trunk interface that is otherwise free in that regard)
- a lack of audible cut-through (to the calling/paging party) to indicate it’s answered
- the nasty (fixed?) auto-answer tone
- no means to restrict who can call it – but it keeps a log, so you can readily identify any rogues abusing their access
Summary
I’m really impressed with how easy the PA1 was to setup, and I’m excited by what I might be able to do with its exposed I/O pins.
It shares the same lack-of-cut-through and barring capability as I found with the FXO LIU of Part 1, but its other features put it well out in front.
If I can get my mitts on any other solutions I’ll test them out and let you know.
G.


