Amongst the new features in Ribbon’s v9 release of firmware for its 1k, 2k and SWe-Lite family of SBCs is support for “Kari’s Law”.
Kari’s Law
Kari’s Law is named in honour of Kari Hunt, who was killed by her estranged husband in a motel room in Marshall, Texas in 2013. Ms. Hunt’s 9-year-old daughter tried to call 911 for help four times from the motel room phone, but the call never went through because she did not know that the motel’s phone system required dialing “9” for an outbound line before dialing 911.
Congress responded by enacting Kari’s Law in 2018, and in August 2019, the FCC adopted rules implementing Kari’s Law and Section 506 of RAY BAUM’S Act.
Under the statute and the Commission’s rules, multi-line telephone systems (MLTS) manufacturers and vendors must pre-configure these systems to support direct dialing of 911 — that is, to enable the user to dial 911 without having to dial any prefix or access code, such as the number 9. In addition, MLTS installers, managers, and operators must ensure that the systems support 911 direct dialing.
The Commission’s rules also implement the notification requirement of Kari’s Law, which is intended to facilitate building entry by first responders. When a 911 call is placed on a MLTS system, the system must be configured to notify a central location on-site or off-site where someone is likely to see or hear the notification. Examples of notification include conspicuous on-screen messages with audible alarms for security desk computers using a client application, text messages for smartphones, and email for administrators.
(The above text is from the FCC webpage, see References at the bottom of this post.)
SBC Implementation: Emergency Notification
New in v9.0.0 is the Emergency Notification feature. When a call is placed to an emergency number, the SBC now sends an SMS text message to one or more mobile numbers. It contains a text preface set by the administrator, as well as the CallerID of the caller, and (where applicable) their IP address.
In its first release it’s limited to the AT&T API Marketplace (powered by Kandy), and the destination numbers can only be in the US. Here’s how to set it up.
Kandy Setup
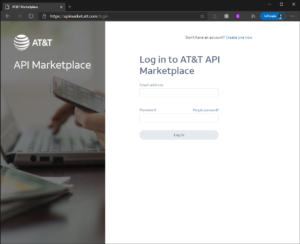
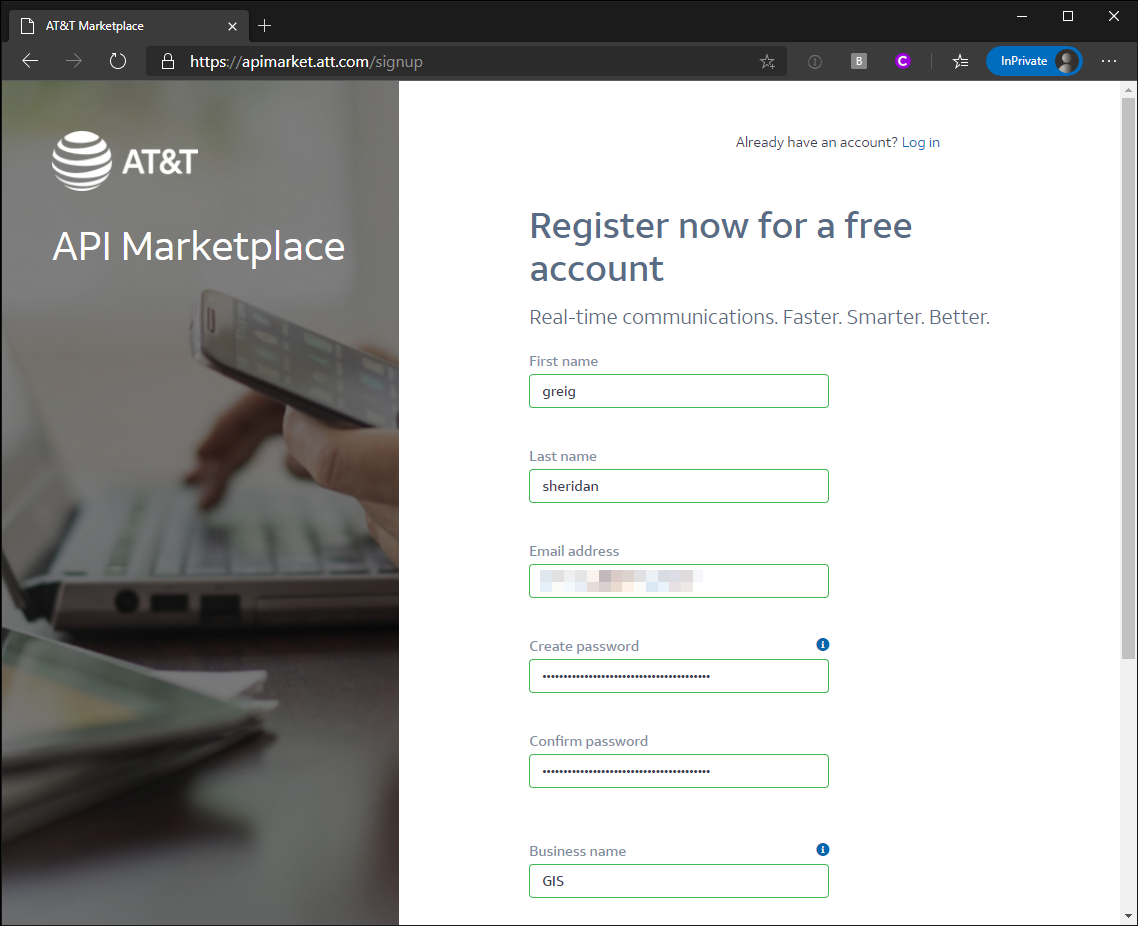
- Browse to the AT&T Marketplace and click the “Create one now” link at the top right to start the account creation process:
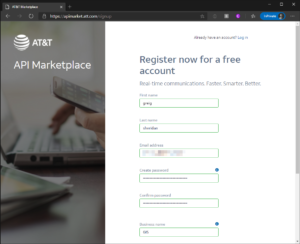
- Provide a name and create a password:
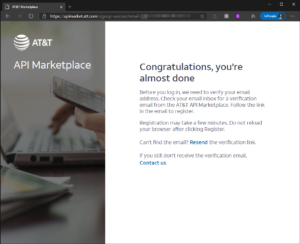
- Now find the verification e-mail:
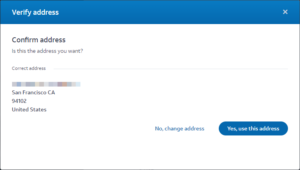
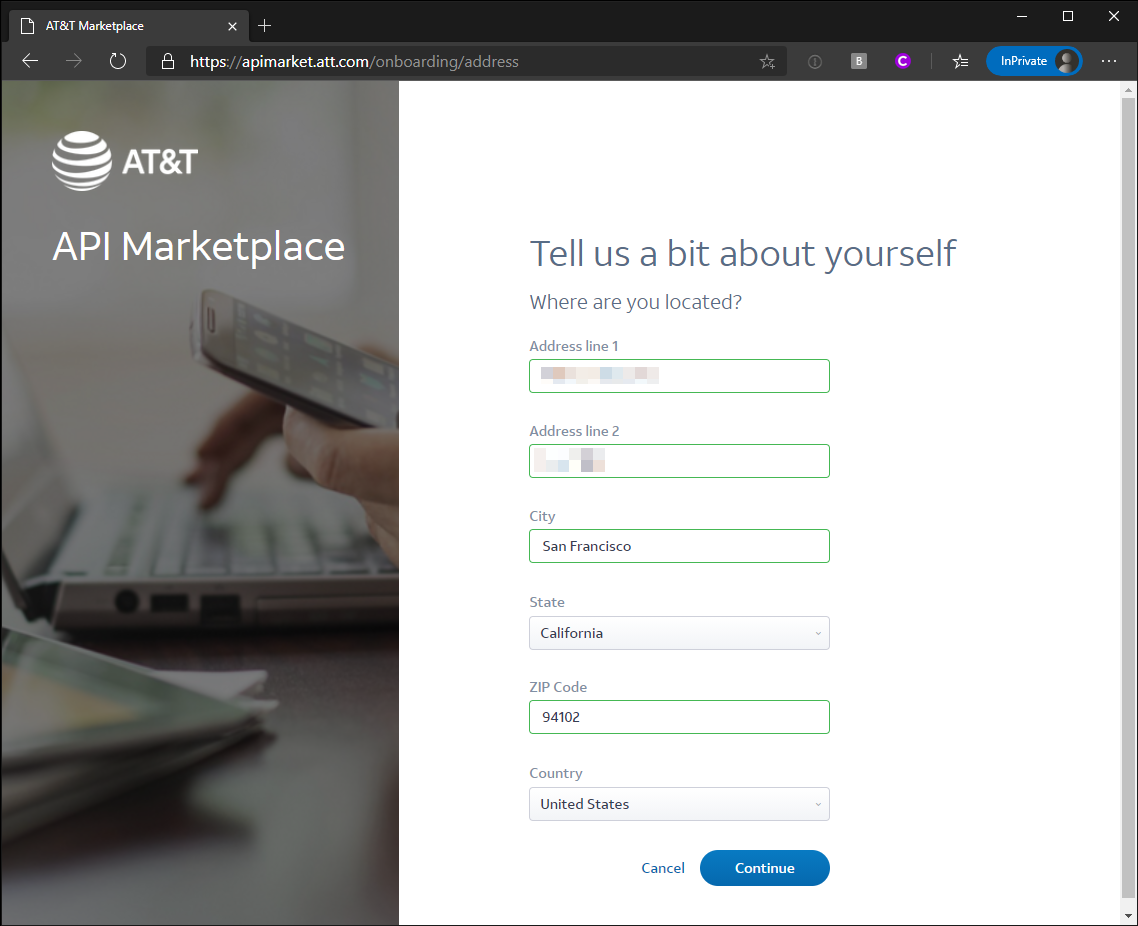
- Next they want to make sure you’re in the US:
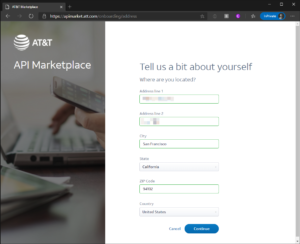
- Are you sure?
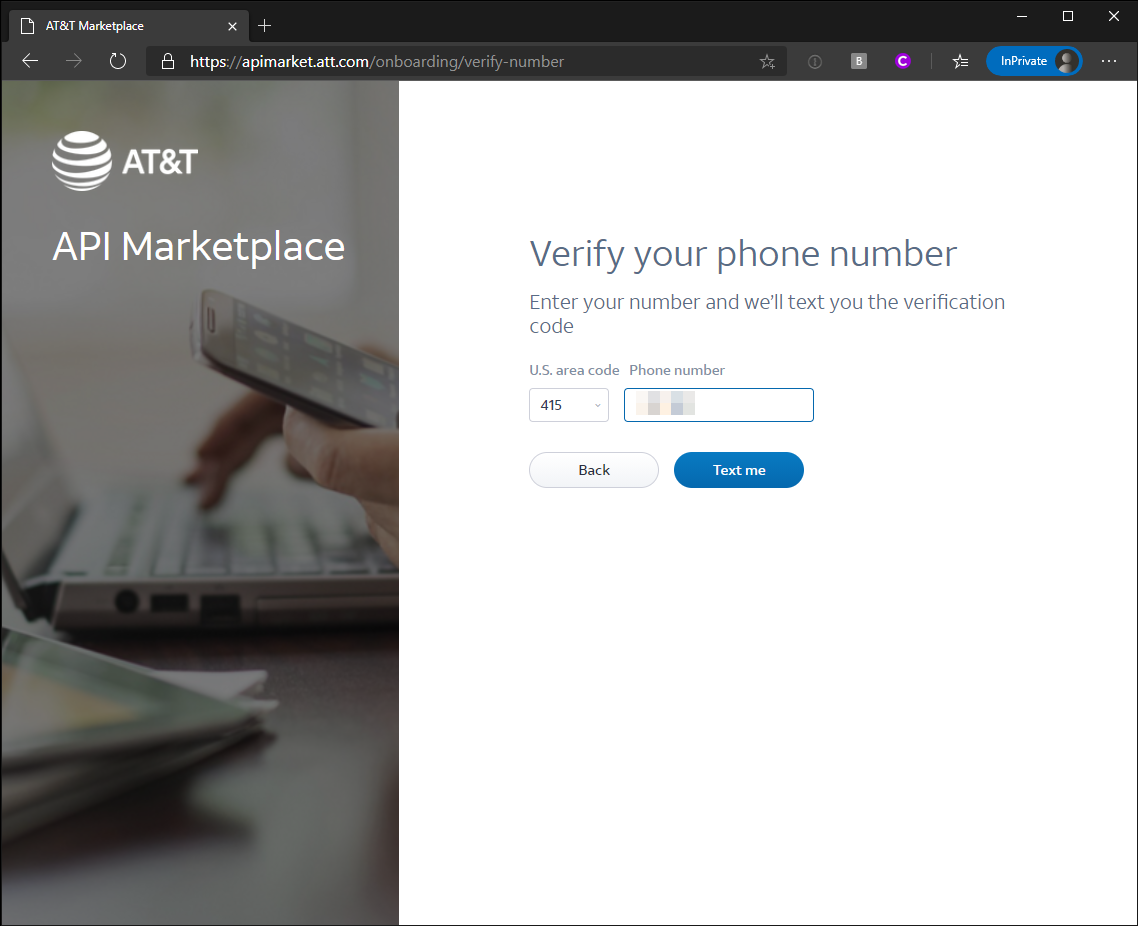
- How about your phone number?

- I neglected to capture the screen of my code (kindly forwarded to me by my friend in the US), so please take that as read.
- Once through the hoops, you’ll land at the Home page:

- We need to create a “Project”. Click Project from the menu on the left, and then the blue “Create project” button:
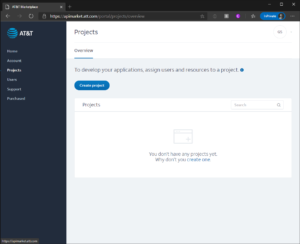
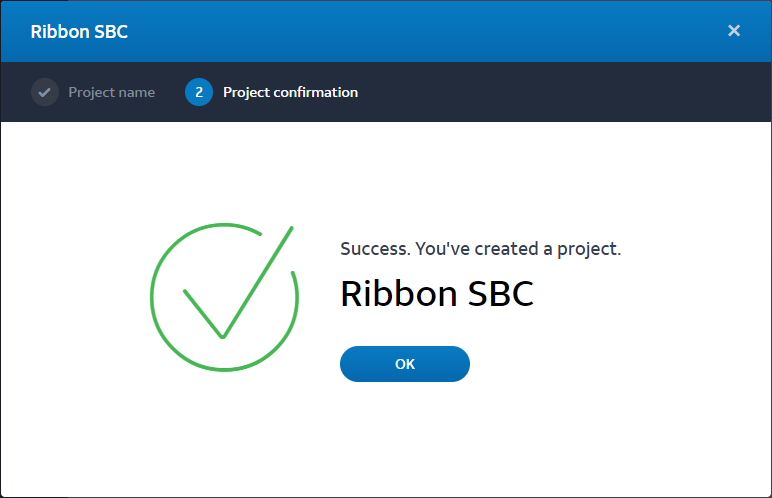
- Give it a name:

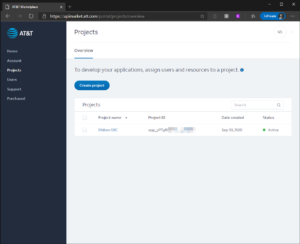
- Success! Press OK and you’ll be returned to the Projects overview page.

- Your new project will show a status of “Pending” for maybe a minute or so, and then change to “Active”:
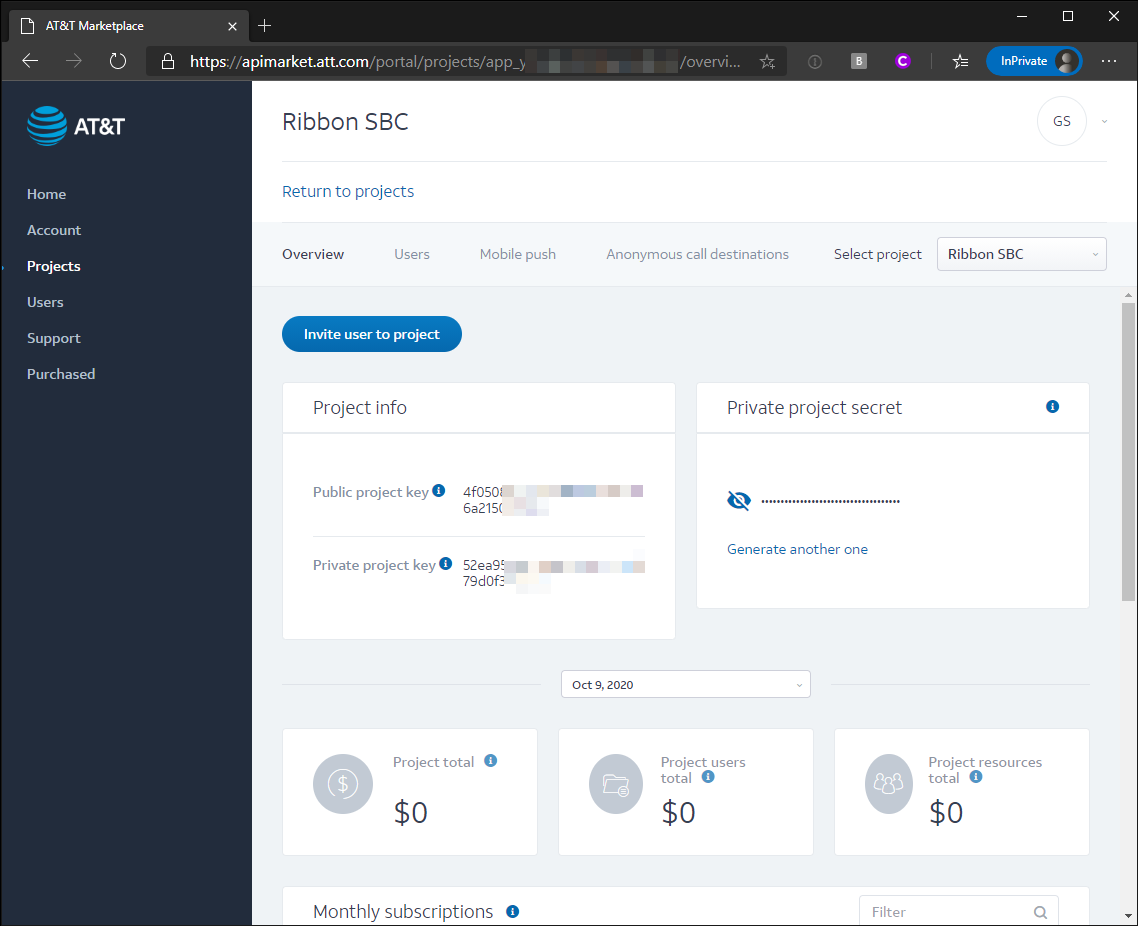
- Click on the project’s name and its details shall be revealed:
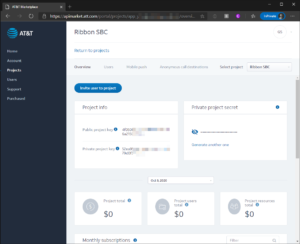
- Scrape the “Private project key” and the “Private project secret” to a text file or somewhere handy. That’s all we need from here.
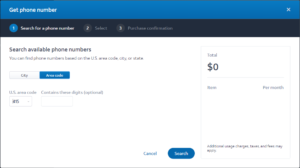
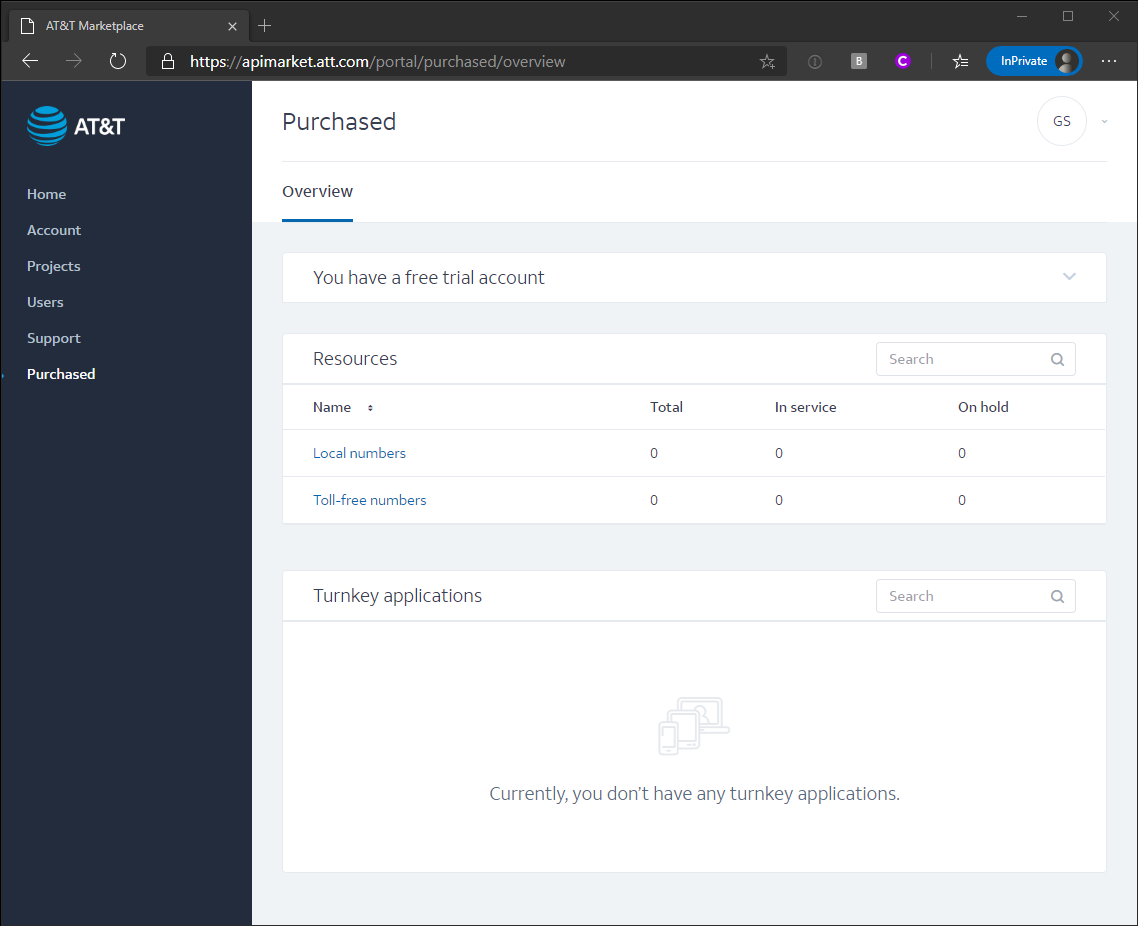
- Now we need a phone number. This is the sending number that AT&T will use when it sends text messages on our behalf. Click on “Purchased” from the LH menu to be taken to the Overview screen. Click on the “Local numbers” link:

- Search for a phone number in a suitable location:
- Scroll through the list until you find one you like. Select it and click the blue “Get numbers” button:
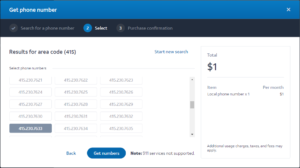
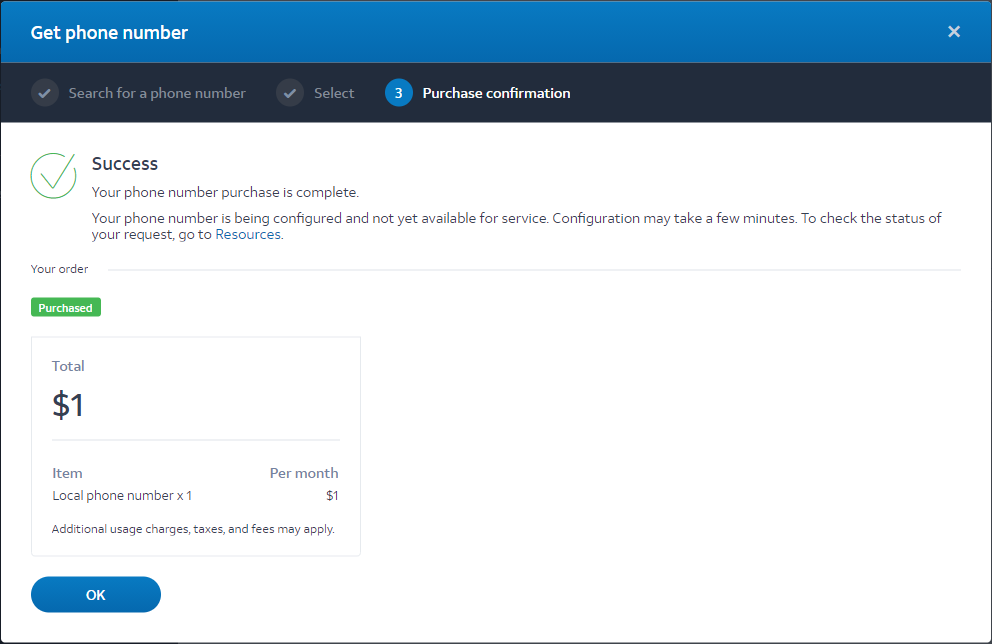
- Success! Click “OK” to continue:

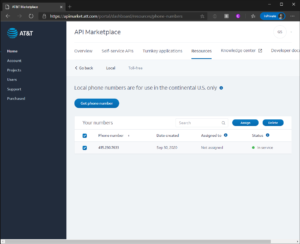
- Back on the Purchased / Resources tab you’ll see the number’s showing as “not assigned”. Click the checkbox to the left and then the blue “Assign” button:
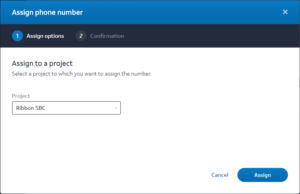
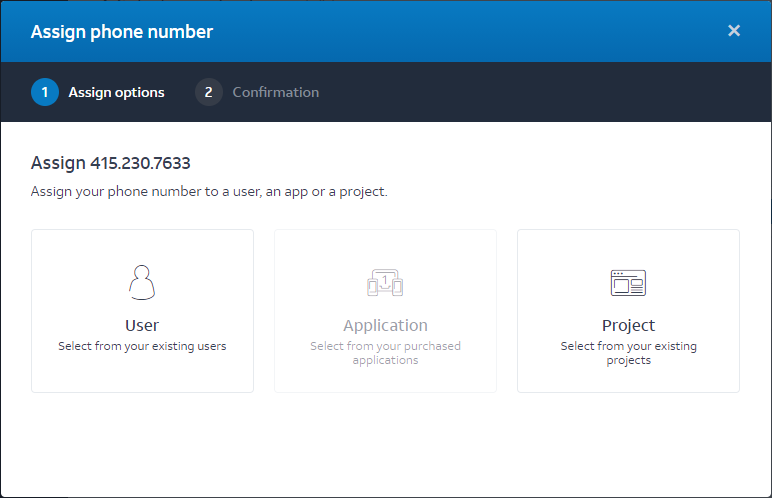
- On the “Assign phone number” popup, select “Project” on the RHS:
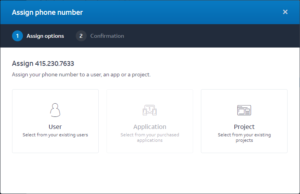
- If it’s not already populated by default, select your new Project and click Assign:
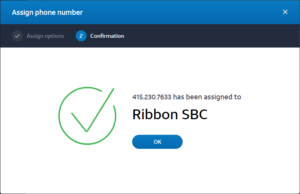
- You’re done! Click OK, and we’ll move to the SBC next:


SBC Setup
- At the bottom of the SBC’s browser interface under Emergency Services you’ll now find “Notification Manager”:
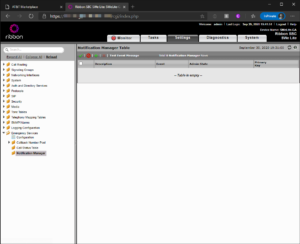
- Click the green “+” to create a new Notification Manager entry:
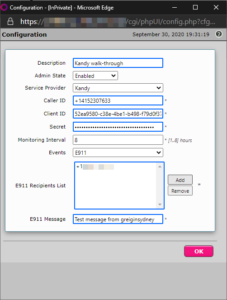
- Paste the values from Step 14 in here. The CallerID needs to be the one you selected in Step 17, and in E.164 format as shown here. Kandy’s private project key (from Step 14) is the Client ID, and the secret is … the secret. OK to save:
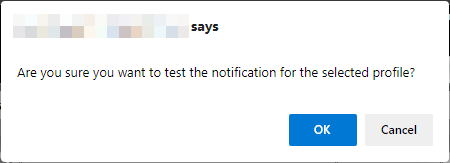
- Let’s check our work so far. From the Notification Manager Table, select the check-box and click “Test Event Message”:

- Are you sure?

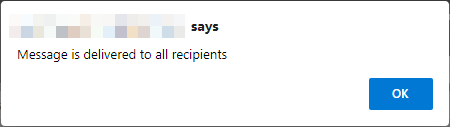
- Message sent successfully!

- As I’m not in the US, I can’t directly receive this message. So I can test this I’m using a Plivo “PHLO” to receive the SMS, POST the content as JSON to a web url, and then Power Automate to pop the text to my phone:
(You won’t see the “AT&T API Marketplace Free Account” watermark if you upgrade to a paid account.)


Testing
Having made it this far, it was time to simulate a real-world call to 911 (or here in Australia, 000, formally “triple-zero”).
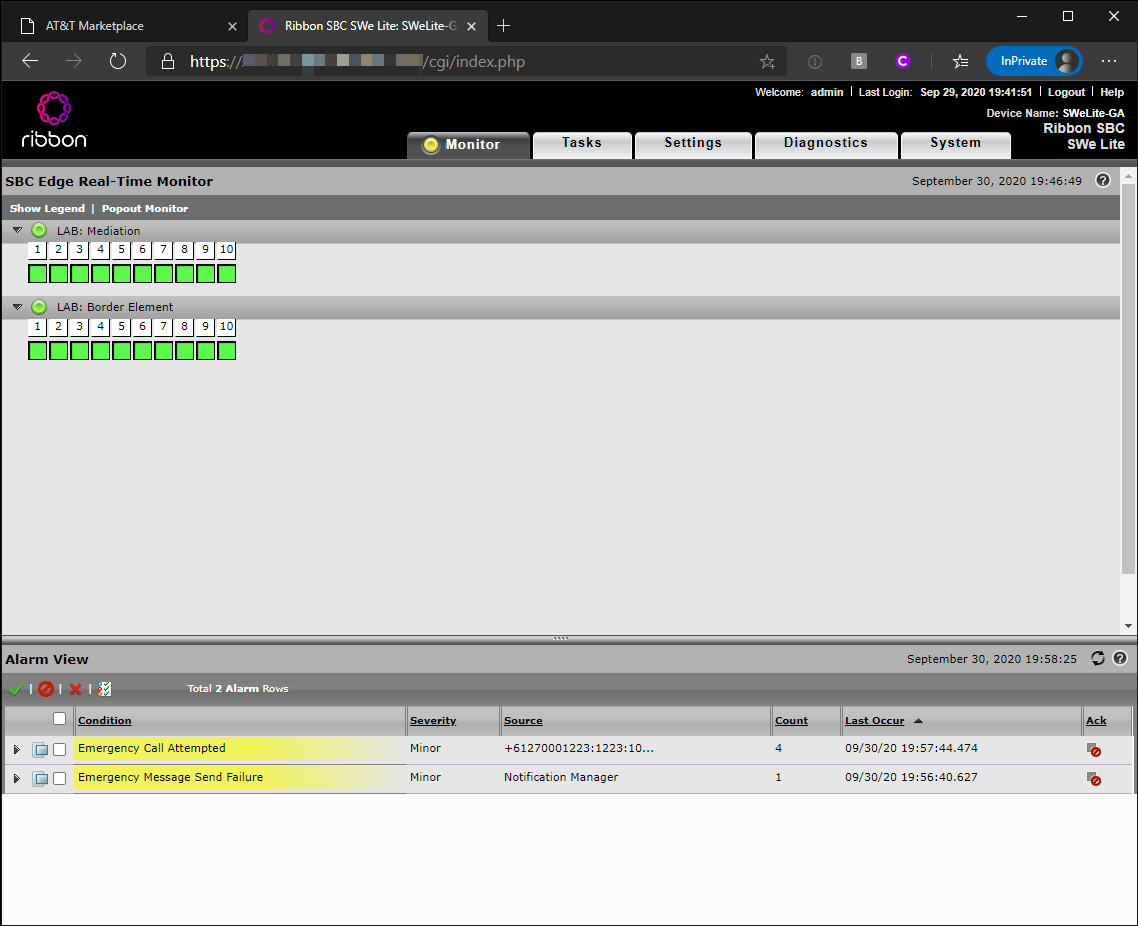
Here’s how the SBC logged the successful calls, as well as one where the notification message failed (see ‘Debugging’):
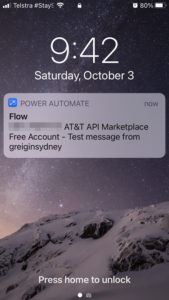
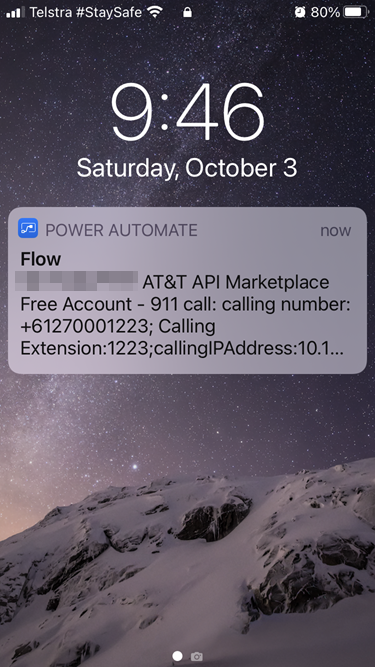
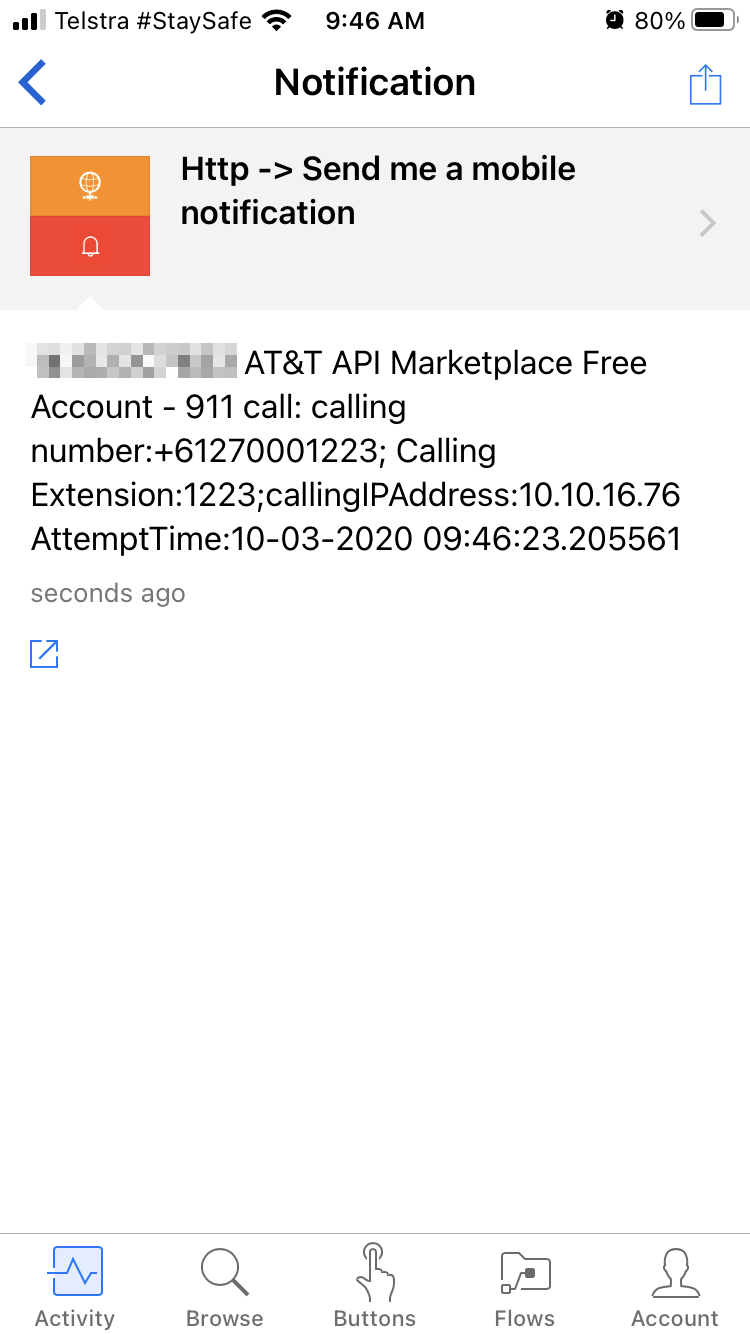
Having trimmed the “E911 Message” back in the SBC, here’s how the notification landed on my mobile phone:
And in case you’re curious, here’s how it looked in Power Automate:
Debugging
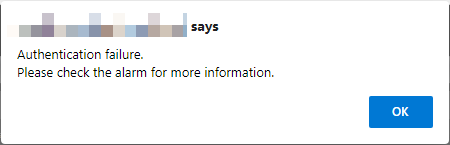
Authentication failure
There’s a known issue in the GA release of v9.0 that every time you make a change to the table you need to re-add the Secret. If you don’t, you’ll keep getting Authentication Failure messages like this, or the failure message like in the alarm view above:
Message is not delivered to all recipients
Check the numbers in the ‘E911 Recipients List’. They’ll need to be formatted in E.164 format, and US numbers only. (Maybe Canada??)
I triggered this error by listing my Australian mobile number:

Credits
Thanks to Anup and Justin at Ribbon for their help with this.
References
- fcc.gov: Multi-line Telephone Systems – Kari’s Law and RAY BAUM’S Act 911 Direct Dialing, Notification, and Dispatchable Location Requirements
- 911 and E911 Services
Revision History
3rd October: updated the iPhone images, added a screen-grab from Power Automate, another debugging entry, and clarified the Marketplace/Kandy wording.
30th September: this is the initial publication.
– G.


Great Article Greig !!
Hello, do you have latest firmware for sonus sbc 5210/5110 ?
Sorry, I can’t help you with that one.