I recently had the opportunity to spend some quality time with “Pano”, Polycom’s meeting room collaboration interface, and I found it a really useful piece of kit.

What Is It?
Pano is an interface device that lets you share content from your PC, Mac or mobile device into a meeting or meeting room. You can do so wirelessly or via HDMI cable if you’re old-school.
Features and Capabilities
The Admin guide does a good job of summarising what Pano can do:
The Pano device provides real-time collaboration with the following features:
- Up to full 4K performance for sending content streams to high-definition monitors with or without touch capabilities. Meeting participants simultaneously stream content onto the monitor or interactively annotate and control content
- Support for multiple content streams from AirPlay® – and Miracast® -certified devices, the Polycom® Pano™ App, and HDMI connections
- Integration with supported Polycom video systems
- Integrated toolbar with high-performance annotation capabilities
- Cloud connectivity for content sharing and remote administrator access
- System security with 802.1X authentication for wired connections and PKI certificates
- Device management with Polycom® RealPresence™ Resource Manager
- Remote administrator access for managing standalone devices
Setup
The initial setup experience couldn’t be much easier, and Polycom demonstrates it in a 2:45 video.
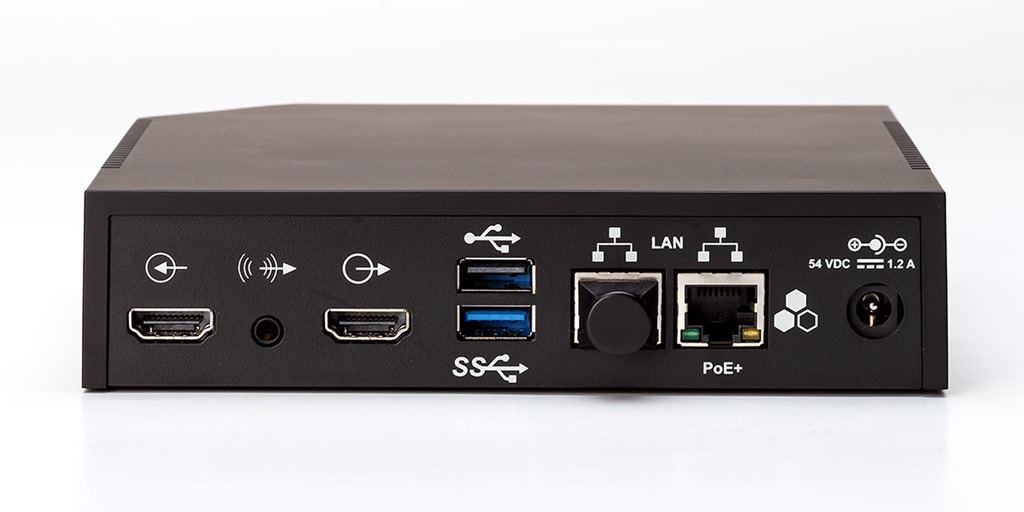
Just connect a wired network connection to it, and if you’re not powering over Ethernet, the local power supply.
Plug in and turn on the connected screen/display.
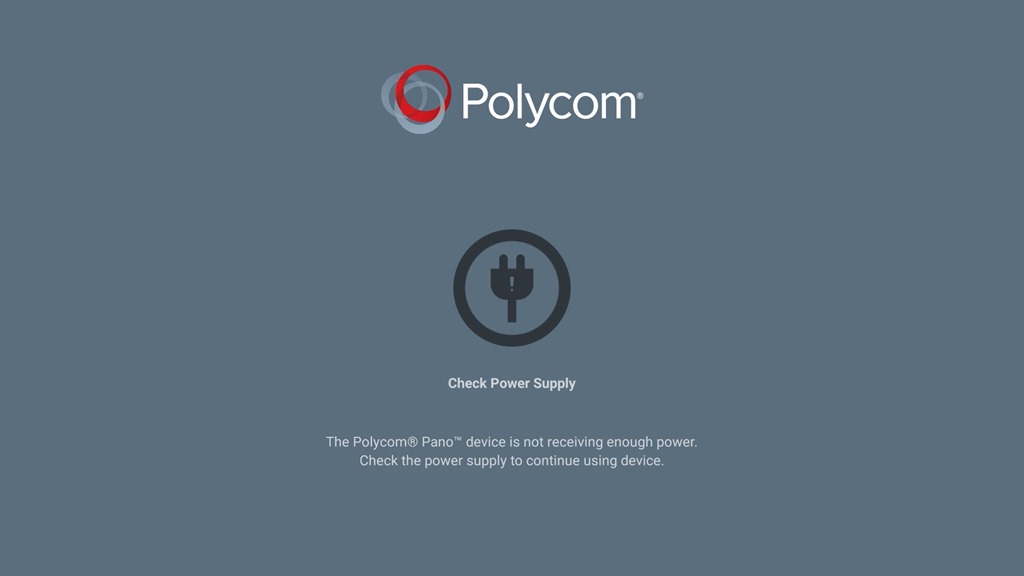
I initially hit a small road-bump here, but thankfully the Pano told me the solution: it requires the higher-current “PoE+” standard, and my first-generation PoE switch wasn’t cutting it:
The top USB port is reserved for updates, etc, whilst the lower port is the touch-screen input connection (if your monitor supports it)
Apply power and the Pano will request an IP address from DHCP, which it will then show on-screen.
Browse to it from your PC and sign in with the default credentials of “admin” and the last 6 digits of the serial number – which, if you’re in the room, is shown on-screen at this stage.
From here it’s a simple process of setting a secure password, giving Pano a name and optionally providing some O365 credentials. Done!
In Use
When you first walk into a room, you’ll be greeted by Pano’s attention-getting animated idle screen highlighting the available connectivity options. Here’s a still of the final image it shows before it loops around:

Now you just need to connect a HDMI source or start beaming to it wirelessly via AirPlay, Miracast, or the Pano app (available for Windows or Mac).
I didn’t test the Office 365 functionality, but the idea there is that you can present content that’s stored in a OneDrive for Business account – although you need a Polycom Cloud Service account for this.
This screen-grab is deliberately “busy”, showing simultaneous content sources plus some screen-grabs (taken by Pano) in the content tray at the bottom:
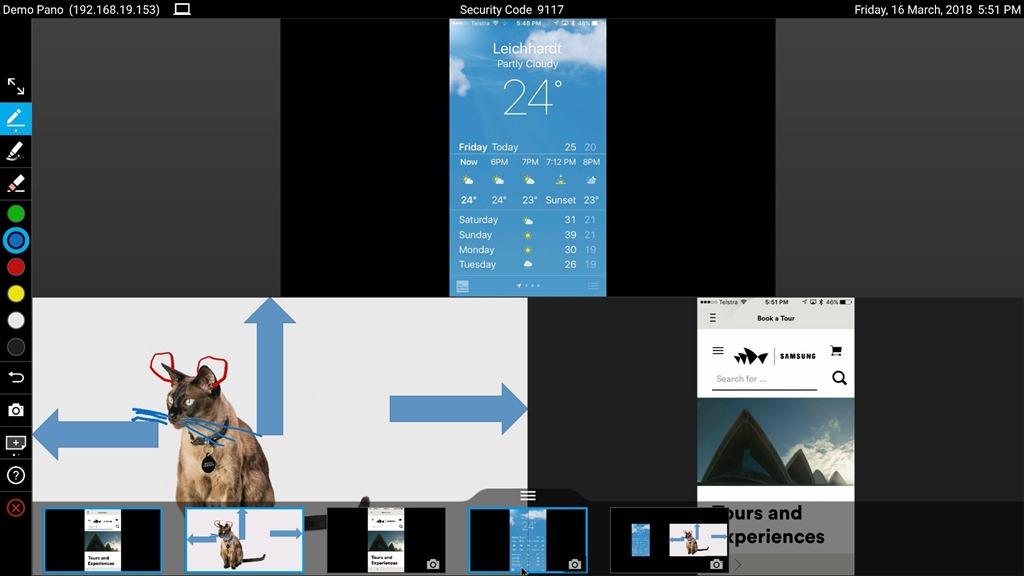
These images can be rearranged or dismissed with a touch or a click, but there seems to be no way to resize them. (See more on this in my summary).
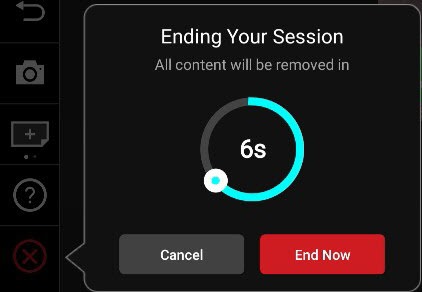
When you’re done, the red “X” down the bottom clears all the local content and disconnects everyone:
Scenarios
Standard Monitor / Projector
Most of my testing of Pano occurred in my normal day-to-day, with it sitting in between my laptop and my external monitor. Pano appeared to Windows to be a monitor with 3840×2160 resolution, which it neatly scaled to my connected monitor with a resolution of 1920×1080. I found that to be too small to use – that’s a “me” problem – and when I told Windows to talk to the Pano @ 1920×1080 it automatically reconnected at a resolution I could read.
There might be a tiny mouse lag when moving the mouse over the external monitor, but I doubt most presenters will notice (if it’s there at all and not a manifestation of my mind).
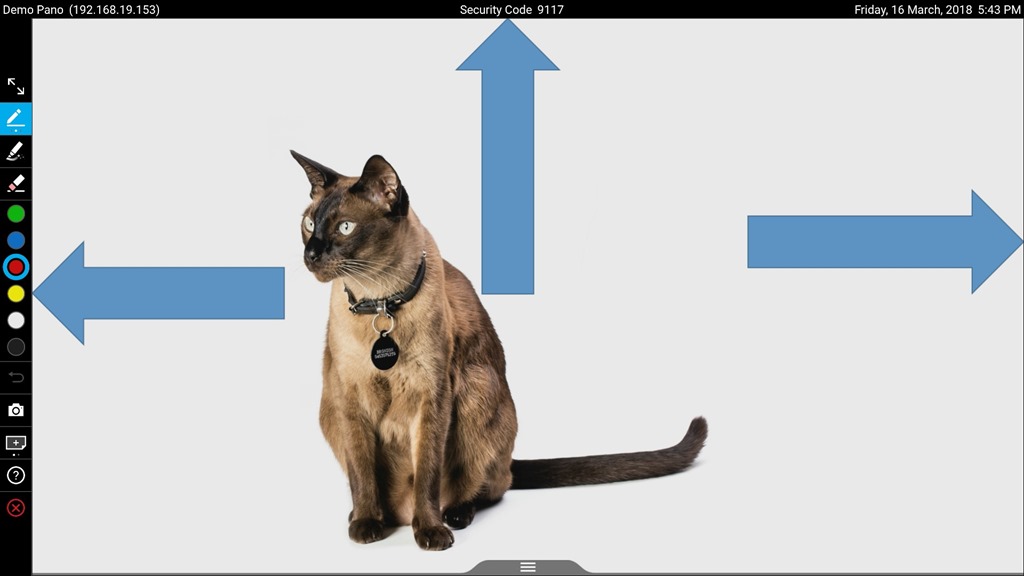
In this mode, Pano added a ‘title bar’ of its own at the top of the screen with its name, security code & the date. To maintain the correct aspect ratio it shaved a little off the edges, although this was barely noticeable. Here’s a full-screen demo slide, with the arrows touching the edge of the original PowerPoint slide, the black side-bars showing the inoffensive “shaved” bits consumed by Pano:

Without a touch-screen this setup is emulating a room with a projector, limiting the Pano to some degree to be basically just a content aggregator/switch. You need to …
… add an input device!
All is not lost! To the setup above I found I could add a normal USB mouse or my Wacom USB tablet, and it added the ability to annotate, edit, and easily now switch sources from “on-screen”.
Polycom demonstrates a slightly different approach in this video, feeding the Pano’s output into a HDMI splitter, one output of which is fed into a smaller touch-screen for the presenter to interact with, whilst the entire experience is fed to the projector.
You really want to be operating in this mode at the very least. Without an input device it’s like driving your Porsche with the handbrake on.
Note however that just a mouse is still somewhat limiting, as the Pano supports multi-touch, and so the sorts of pinch gestures for zoom and shrink that you’ll be able to do on a touch-screen will be unavailable in this mode.
Touch-screen Monitor
This is your optimal setup.
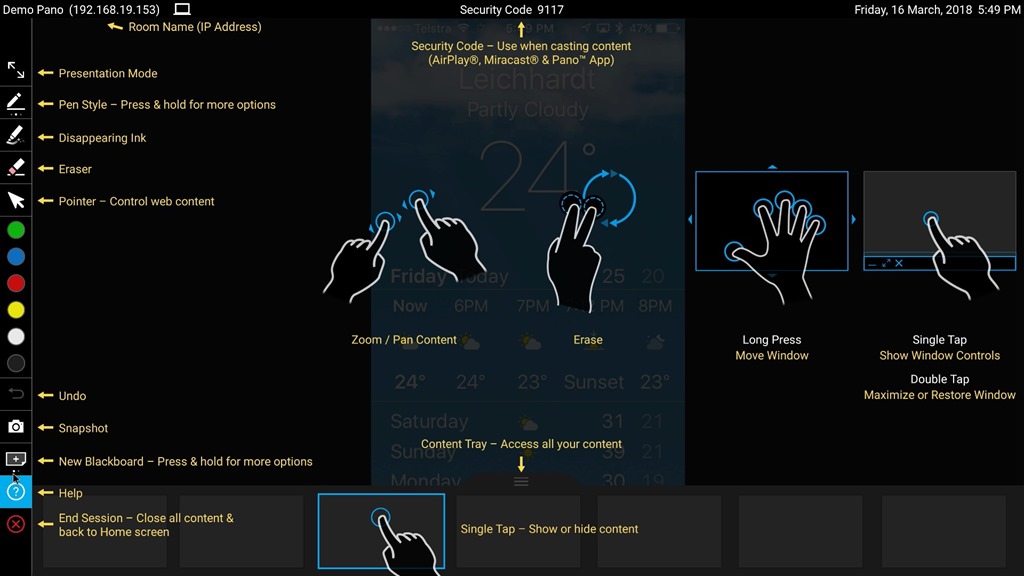
When connected to a Touch-enabled monitor (or with an input device as per above) the Pano automatically adds a menu of controls along the left-hand edge. These are your usual ‘whiteboard’ controls for pen thickness, colour, eraser, etc, as well as on-screen help, save/snapshot and source switching. Here’s my same demo slide with these controls visible:
Competitive Assessment
I can’t speak authoritatively for the in-room a/v market, but I think Pano will definitely give Barco’s ClickShare a run for its money. You’d be hard-pressed to these days to have someone arrive to a meeting without a device (or an HDMI adapter!) that will let them interface with Pano – and of course the bonus here is that there are no ClickShare dongles to misplace.
Summary
I found it really easy to love Pano.
I liked:
- Its simplicity. All too often meeting room equipment is deemed “too hard” by the users, or an IT staffer is rostered to get every meeting off to a start. I don’t think you’ll find that with Pano
- Its flexibility. Check out the section “Integrating with a Polycom Video System” in the Admin Guide for all of the different interfacing options. Here I learnt you could use the USB 3.0 socket as another video output
- You can selectively enable or disable AirPlay &/or Miracast – but don’t try that while the Pano’s in use (even via HDMI) as it will grey those options out
- When someone starts to AirPlay to Pano the title bar dims, and the Security Code enlarges slightly, gaining prominence. It’s deliciously subtle, but a lovely cue for the new presenter – and a warning to the active presenter that they’re about to be joined – or turfed
- That it has enough power if fed by only a basic PoE port to output a “I need more power” / “feed me” message
- The how-to demo videos and doco’s Polycom has provided
- That you can just plug in a USB mouse, wireless presenter device or tablet to take advantage of the full feature set in a room using a projector
- The on-screen help, accessed by tapping/clicking the second icon from the bottom:

- I *really* loved the optional auto-fading annotations. I used this feature in a demo at the February Sydney UC Meetup, where it let me highlight points on my slide – like you might do with a laser-pointer – and they then faded out without me needing to clear the screen
I disliked:
- That I couldn’t re-size the images when I was working with multiple items of content – it’s either 1 item full-screen or multiple taking an equal space each on screen. (That was most noticeable when sharing my iPhone and a PPTX). If you’re using a touch-screen you can zoom or shrink each image within its pane/frame, but you can’t get it to consume more of the screen
- It’s a weakness in AirPlay, not Pano, but beware that if you’re going to enable AirPlay, the WiFi network your meeting room participants will join needs to be able to access the VLAN/subnet that the Pano is on
- I would have liked the ability to brand the idle screen, perhaps with a corporate wallpaper or maybe even the room’s name in a giant font. (I’m told that’s coming)
- In “projector” mode (with no touch-screen control or a mouse) there’s no way for the presenter to control it, so you can’t manage the on-screen experience in any way. A cheeky participant in our Meetup started ‘casting to it and I had no way to stop them
- I was a bit miffed that it needs PoE+, but clearly that’s indicative of the horsepower under the lid. (Despite being tempted, I left it on)
- If you’re in a deathly quiet room and the Pano’s not buried in a tech nook, what is presumably the tiny fan inside might become noticeable/audible
Cost
An end-user customer should be able to grab one of these for ~US$2k MSRP.
References
- The Pano product page at Polycom – scroll for lots of helpful how-to videos
- The Admin Guide
Thanks to James & Horace @ Polycom Sydney for the demo unit.
Technical Note
The screen-grabs of Pano were taken by feeding its output into a Magewell HDMI-to-USB device & the video captured by Windows 10’s “Camera” app.
Revision History
28 March 2018: this is the initial post
– G.


