Sonus announced the SWe Lite at Ignite in the US late last year and we’ve been anxiously awaiting its arrival. Well, IT’S HERE!
The SWe Lite is the “Software Edition” of Sonus’ well-established Enterprise-grade Session Border Controllers, the SBC 1000 and SBC 2000.
I’m particularly impressed with the look and feel. At a quick glance it’s indistinguishable from a 1k or 2k:

The GA build supports up to 100 SIP calls, 25 transcoded or encrypted sessions and a call setup rate of 10 calls per second. It’s a faithful port of the SBC we’re familiar with, so includes the bulk of the features we’ve come to rely on for years including the powerful AD integration & the invaluable real-time channel monitor (shown above).
Notably absent is inbuilt Music On Hold, although we’re assured that’s coming soon. Check out the datasheet or the page “Functional Differences Between SBC Edge and SBC SWe Lite” for more of the engineering and feature specifics.
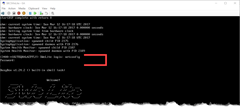
Sonus is letting an “unlicenced” SWe Lite carry up to 5 ordinary SIP calls or 3 encrypted/transcoded calls – more on that below. In the screen-grab above I’ve established 3 calls successfully over TLS to Skype for Business and a failed fourth call attempt is what generated the “Failed to acquire licence” you can see in the Alarm View.
Installation
I found my installation deviated from the online Installation Guide for Hyper-V, so I thought I’d document the process I followed with the GA build in my Lab. Here it’s going onto my Dell R720xd running Hyper-V Server 2012 R2.
Keen readers may note that some of the time-stamps in the attached jump around a little. The steps below were captured over almost a week of testing and plenty of different builds of VM in order to document all the options – and an annoying do-over where I was bitten by the requirement to separate Admin and Media NICs (see Notes below) & fluffed the swapover.
- Login to the Partner portal and raise a request to download the SWe Lite, which ships as a pre-packaged virtual machine. In my case I downloaded “SWeLite-Hyper-V-release.6.1.0.build87”.
- Copy this to your Hyper-V host.
- Unzip it to a utility folder. We’ll be importing this machine and copying it to a new location as part of that process, so it doesn’t particularly matter where you place it in this step.
- Browse to the \Install\ folder therein and unzip the “SBCSWeLite-HyperV.zip” file. I unzipped it to the same folder. If you have any experience with Hyper-V, this structure will look familiar:

- From here you have two choices to import the VM: if you’re old-skool, continue with the next step, but if you’d prefer to P$ this up a little, jump to step 15.
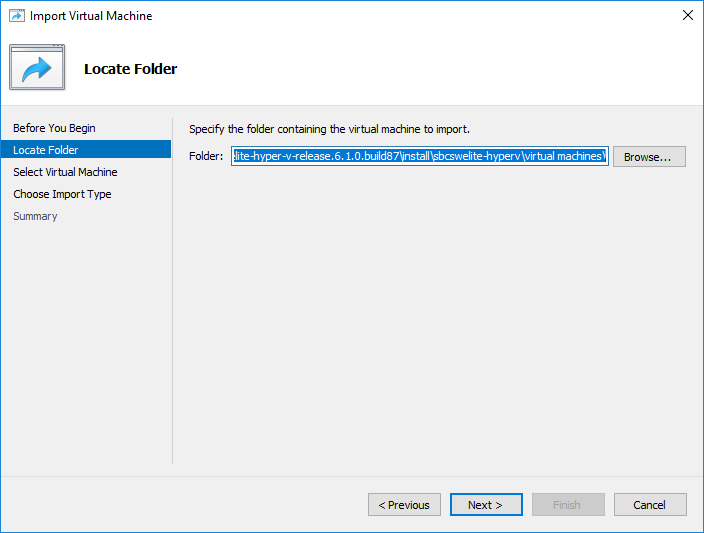
- Launch Hyper-V Manager and select Import Virtual Machine.
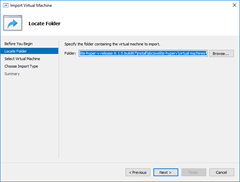
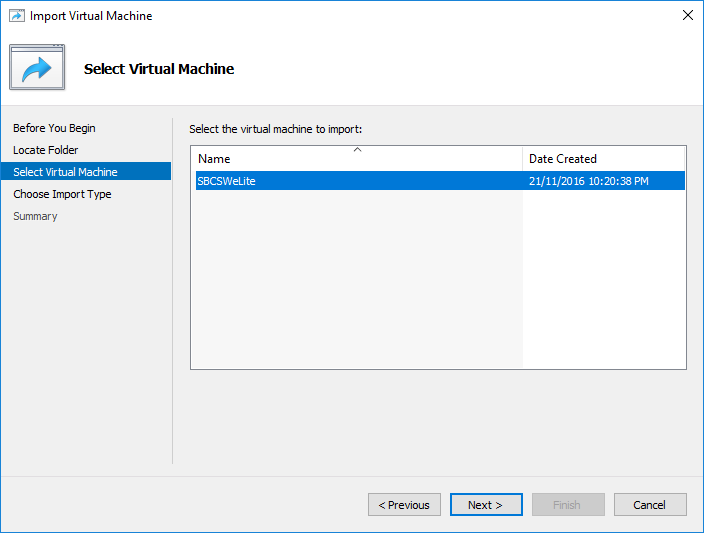
- Navigate to the “Virtual Machines” folder from Step 4 and click Next:
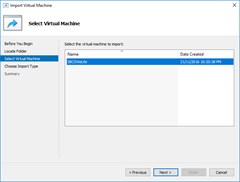
- Next:
- Select “Copy the virtual machine (create a new unique ID)” and click Next:

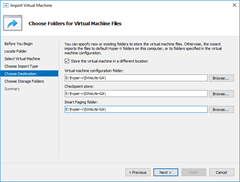
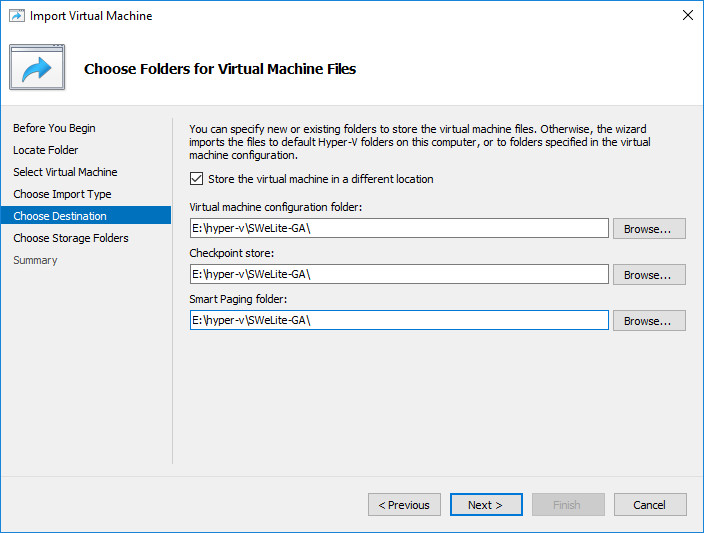
- Accept the default or select “Store the machine in a different location” and nominate your preferred locations. All mine live in their own folders under E:\Hyper-V\:
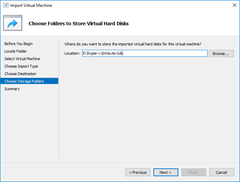
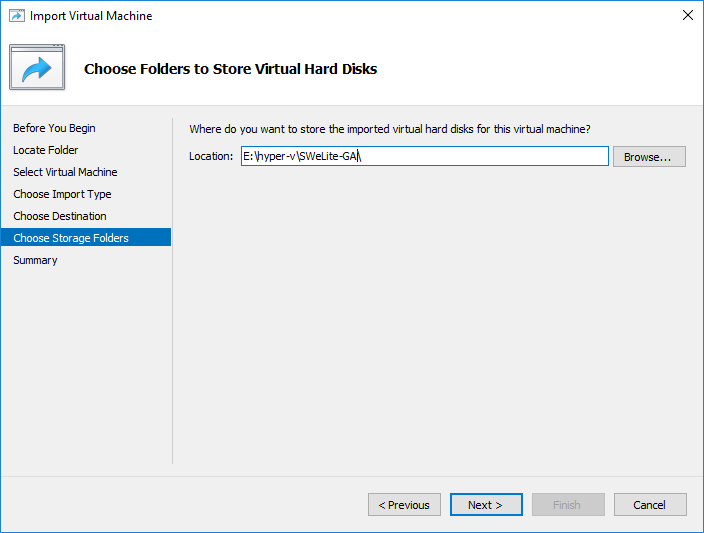
- Here I’ve chosen to place the VHD in the same location as the above:
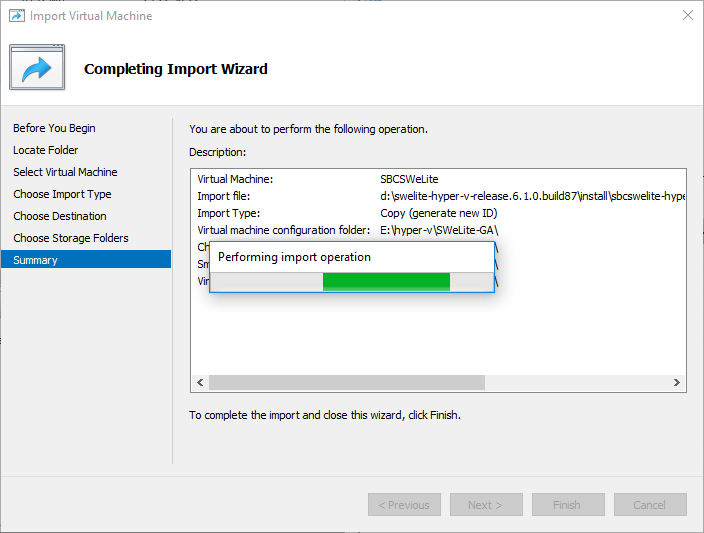
- If you’re happy with all the settings, click Finish:
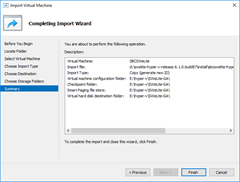
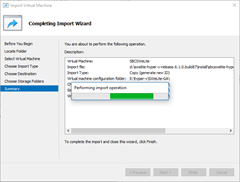
- The import will take place and the wizard will close:
- Jump to Step 16.
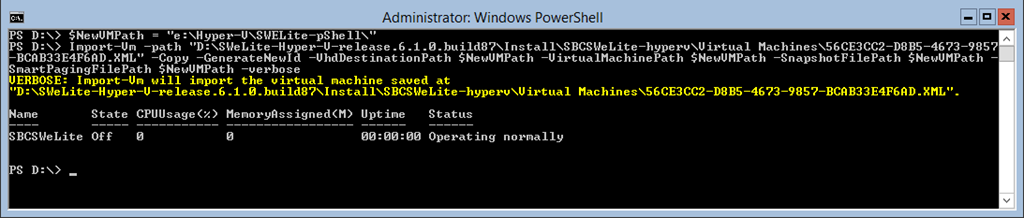
- If you want to import the machine using PowerShell, I did it in 2 commands to save some typing. I centralise each Virtual Machine, its snapshots and VHDs all in the same folder, and to save specifying the same thing 4 times, I used a variable. Note that the poorly-named “-path” value needs to include the XML file as well – not just the path to it. Auto-complete is your friend there – tab your way to the file:
PS D:\> $NewVMPath = "e:\Hyper-V\SWELite-GA\"
PS D:\> Import-Vm -path "D:\SWeLite-Hyper-V-release.6.1.0.build87\Install\SBCSWeLite-hyperv\Virtual Machines\56CE3CC2-D8B5-4673-9857
-BCAB33E4F6AD.XML" -Copy -GenerateNewId -VhdDestinationPath $NewVMPath -VirtualMachinePath $NewVMPath -SnapshotFilePath $NewVMPath -SmartPagingFilePath $NewVMPath -verbose
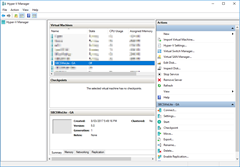
- Back at the Hyper-V Manager you’ll find a new VM called “SBCSWeLite”. I’ve already re-named it to add a “GA” suffix:
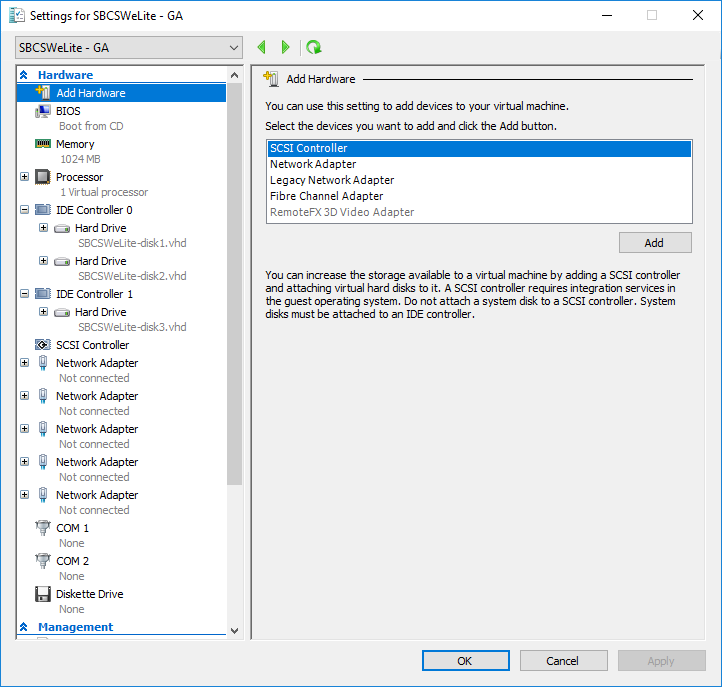
- Right-click the VM & select Settings. You’ll see it defaults to 1CPU and 1G RAM:
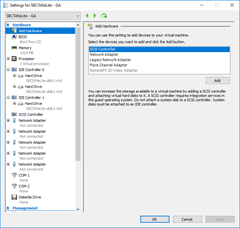
- The Sonus install guide requires you to set static MAC addresses for all the NICs. I suspect this is for licencing reasons, and as it’s not relevant for me in my Lab, I’m going to break from the guidelines and stick with the Dynamic ones assigned by Hyper-V. If you’re going to be running this SBC in Production, please change all these NICs to Static MAC addresses. If you possess System Center Virtual Machine Manager (SC-VMM), it will let you create and manage a pool of static MAC addresses.
- The first of the 5 NICs is dedicated to Admin, and the rest are reserved for Media. In the Lab I’m going to Administer it via my DMZ, and keep all my Media on the Internal network, while the final three I’ll leave “not connected”:
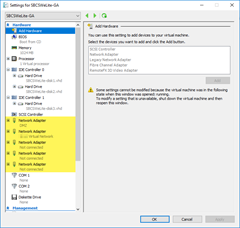
(I realise my NIC config here is a little “unconventional”, but sadly the SWeLite doesn’t support Admin and Media on the same network, and I only have two networks in my Hyper-V server). - Click OK to return to the Virtual Machines view.
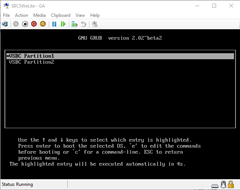
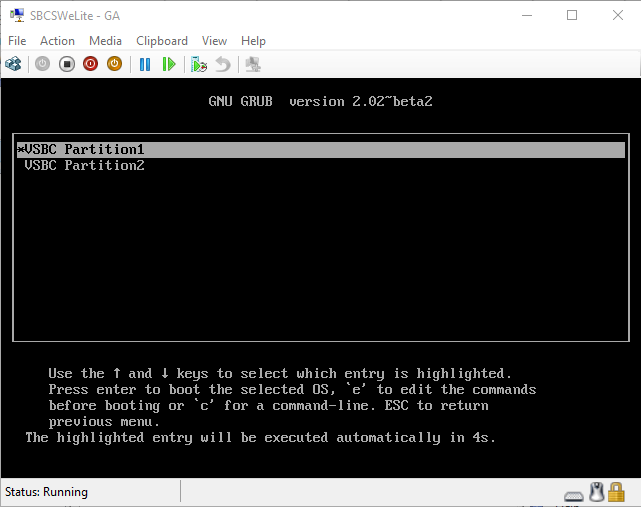
- Double-click the machine’s name to launch a console window, then the click the aqua-coloured start button (or Action / Start if you prefer). Press return to Boot to “Partition1”, or just wait for it to timeout and boot automatically:
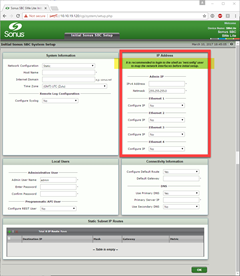
- In my Lab the SBC doesn’t like my DHCP servers, so at this step it fails to get an IP address for the Admin NIC. If you’re similarly-afflicted, you WON’T see an Admin IP as highlighted here:

If you DON’T see an IP address here, skip to Step 24. - If you *do* receive an Admin IP address above you might be tempted to jump to the browser and start configuring it, but I recommend against it. Here’s why: if you do browse to the UI you’ll hit the Initial SBC Setup wizard, as familiar users will be expecting, and this new warning message:
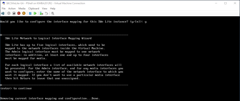
“It is recommended to login to the shell as ‘netconfig’ user to map the network interfaces before initial setup”.As you’ve not yet mapped the application’s network interfaces back to the ‘virtual hardware’ layer, the SBC shows you all 5 NICs it’s capable of running. In my Lab I only want to use one for Admin and one for Media, so I want to suppress the other three.
Skip to step 25.
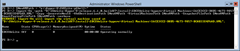
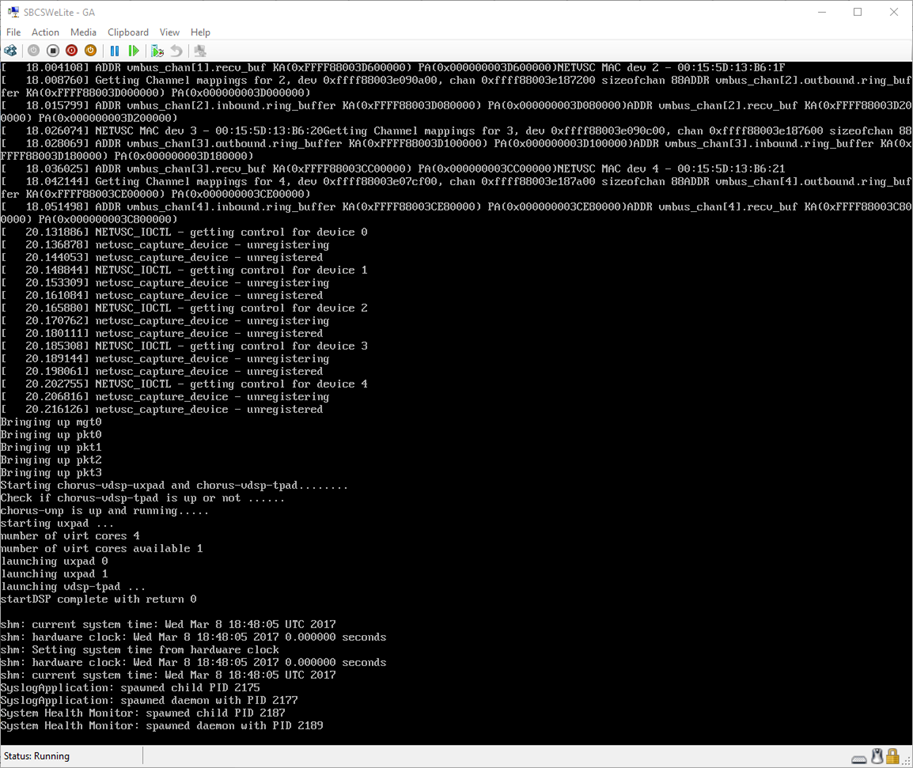
- No IP? Welcome to the club. I guess yours might look like mine, where it comes to a halt at “System Health Monitor: spawned daemon with PID…”:

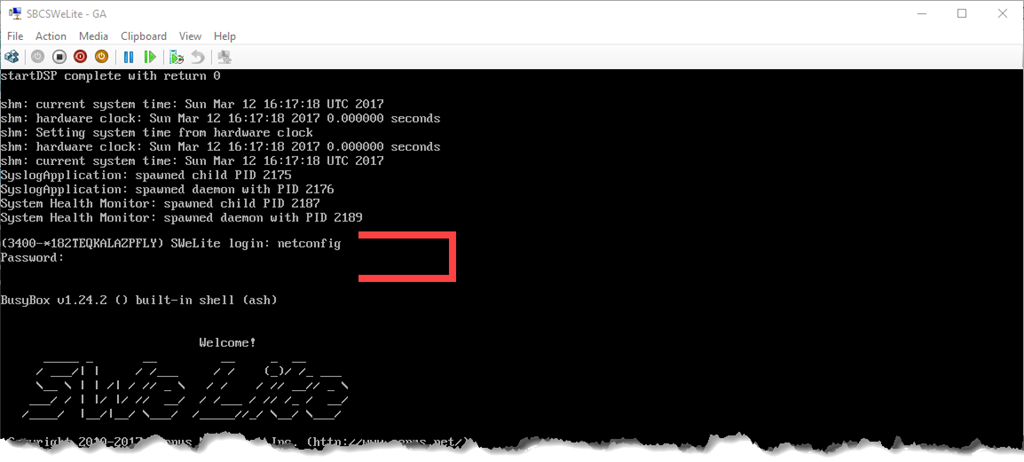
- Press return in the virtual machine window to be prompted to login:
- The login is “netconfig” and “Config!”.
- Set a new password for “netconfig” as prompted, then configure the Admin IP address (if you didn’t get one from DHCP or want to change what you were offered):
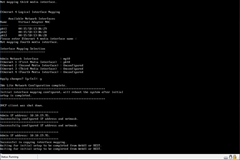
- Respond “Y” when asked to configure interface mapping and then respond to the each of the prompts by typing in the interface names from the ever-shrinking list of options. In this screen-grab I set “mgt0” as my Admin NIC and “pkt0” as my sole NIC for media, <Return> past the others and then finish with “y” to apply the changes:
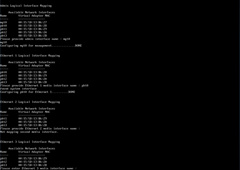
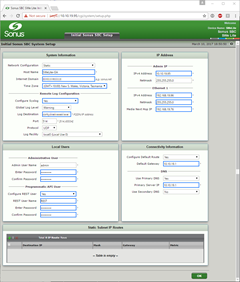
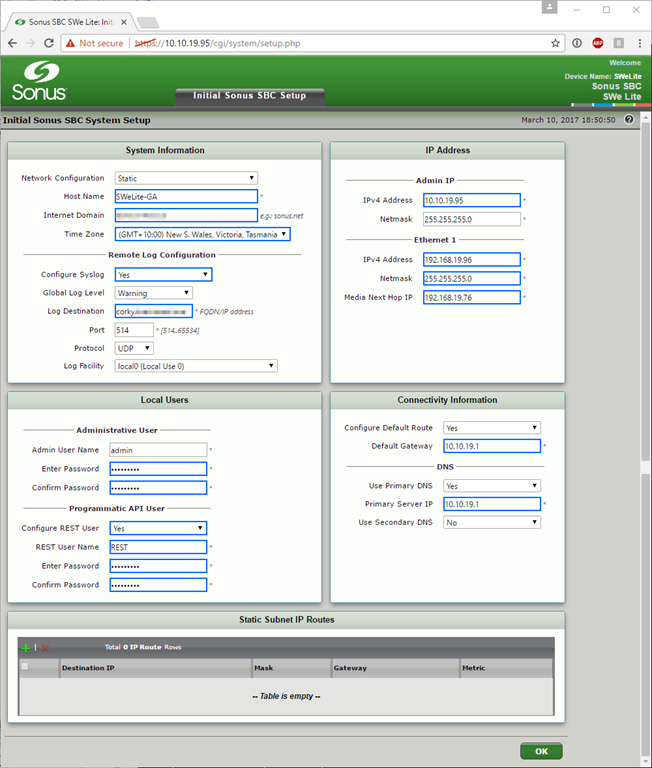
- Done! Now you can sign in from the browser and continue the config from the Initial Setup Wizard:
Note the “IP Address” section now only shows 2 NICs, compared to the 5 in the image back in Step 23.(I like how the SBC nowadays highlights changed values with a blue border around the element).
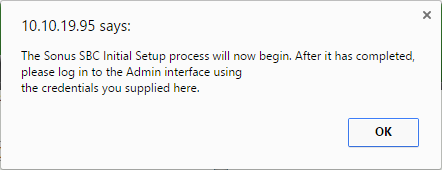
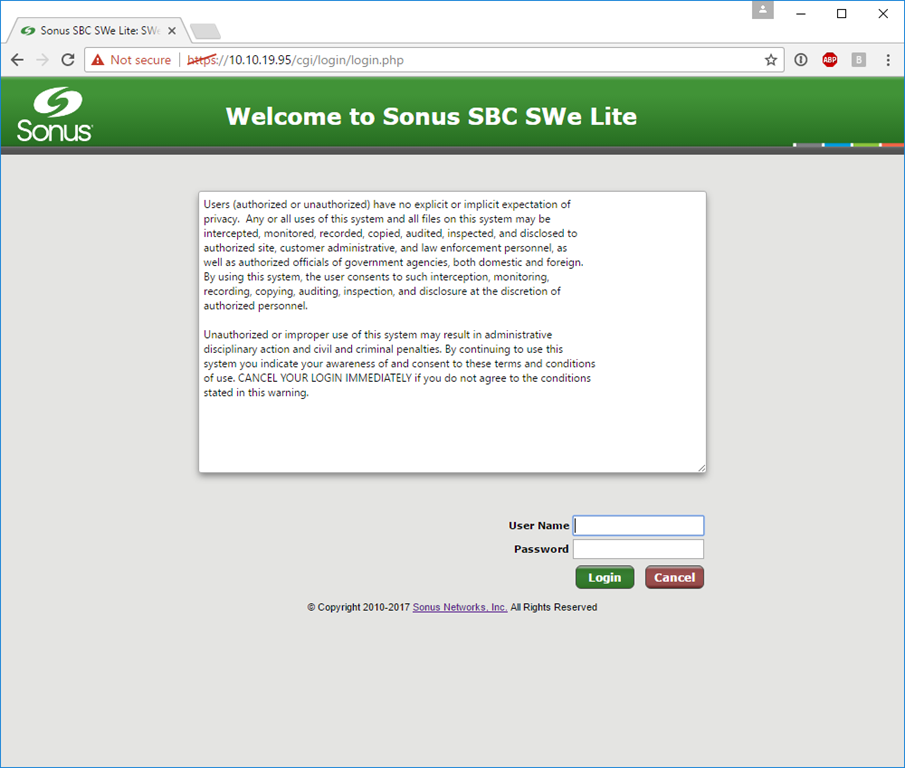
- Click OK to submit the changes and login to your new SWe Lite!
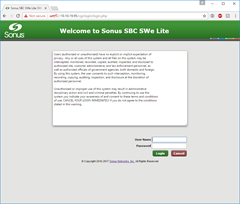
- TADA!
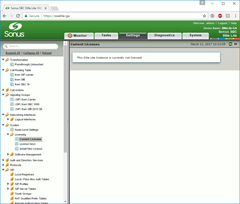
- You’re not done here yet though. Whilst the SWe Lite *is* going to include free SIP and transcoding licences, they’re not there automatically. If you’ve been around the SBC (pka “UX”) family for a while you might recollect they have “Base” and “Features” licences. The requirement for a free-standing Base licence was removed back in 4.1.1 days on the 1k & 2k platforms, however the SWe Lite has reverted (at least at GA) to needing both licence types loaded. What you’re seeing here is an SBC devoid of any licencing at all:”This SWe Lite Instance is currently not licensed.”
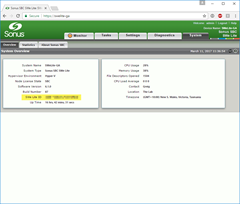
- For the time being the licencing process is a manual one, although that’s expected to change. Capture the “SWe Lite ID” from the System / Overview screen and send it to your local Sonus distributor or support contact:
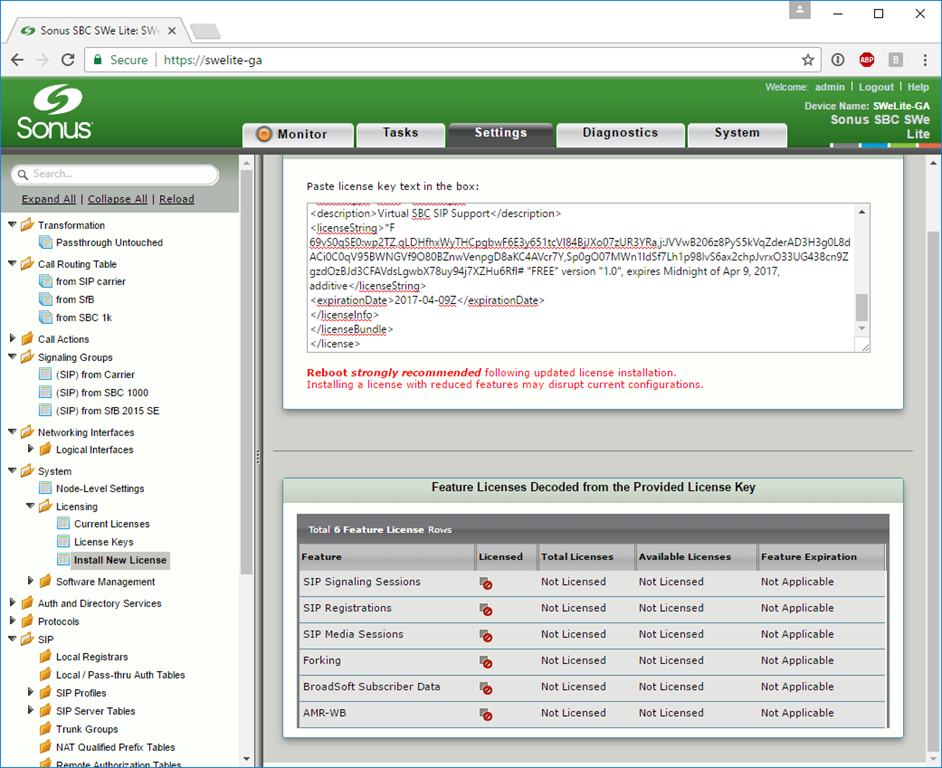
- You’ll receive a “Base” licence as a semi-legible XML file (rather than the previous blob of characters), but you still paste it into the same place in the UI:
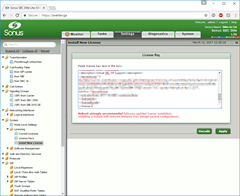
- Click Decode and Apply. Don’t be freaked that the licence appears to leave everything disabled – you’re confusing the difference between the Base Licence and a Features Licence, and the “free” calls licences that come in the Base aren’t visible here:

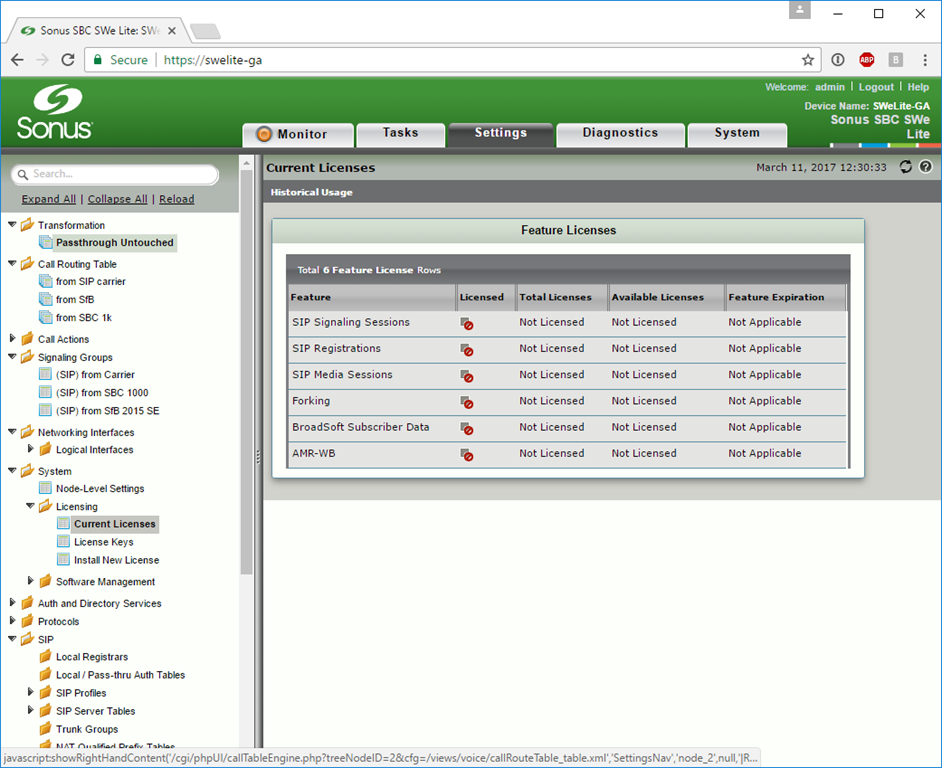
- When you return to the “Current Licenses” view it’s better (when compared to Step 32) but still may concern you. Don’t – you now have a Base licence and several previously absent options have now materialised in the UI. You’ll also now be able to make calls through the SBC:

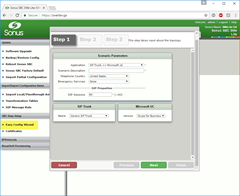
- From here the configuration process is no different from a physical SBC. Config shortcuts include the ability to import a partial config – limited to another SWeLite at the moment – and the various Easy Setup Wizards.


Notes
- I absolutely LOVE that the free version of the SBC includes SIP, registration and transcoding in the Base licence. I see the SWe Lite going into Labs, and pre-Prod test environments everywhere.
- Kudos also to Sonus for not restricting the SWe Lite by mandating Hosts with specific advanced hardware or boutique configurations that might be mutually-exclusive with other Virtuals.
- 1G RAM and 1 CPU core for 25 encrypted calls is a great starting position. It will be interesting to see how this scales as the product matures.
- Don’t let the limit of 25 transcoded/encrypted calls at GA discourage you from going into production – that’s its low-ball starting position from which it is absolutely going to grow. Have a word to Sonus and run two SWe Lite (or more?) instances on the same host to double the call-carrying capacity until the unit’s stand-alone throughput meets your requirements. (I acknowledge that this might not be compatible with some carriers’ SIP offerings).
- The “Easy Config Wizard” won’t show in Tasks / Easy Config Wizard without a Base licence, so if you only see Certificates there, check you didn’t skip the Licencing steps above:
- It’s not yet possible to import a .tar file from an SBC1k or 2k to the SWe Lite, so the migration process from physical to virtual will still involve some re-typing. I’ve tested and confirmed you can import Transformation Tables & SIP Message Rules from the other platforms, and I expect the same will apply to Passthrough Auth imports:

- As you would expect of a virtual device like this, it’s able to log internally and also save packet captures locally (like the 2k).
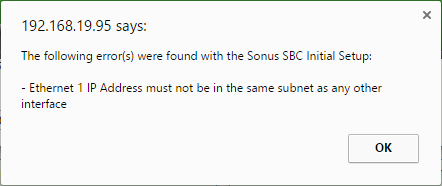
- The Admin NIC can’t be on the same network as any of its media NICs, and you’ll receive an error if you try to change them. I’d really like to see this resolved as it’s a major break from convention with its stablemates:

- The backup file format is essentially the same as for the 1k & 2k, so the current version of my “Convert-RibbonSbcConfigToWord.ps1” script (v6.1A at the time of writing) will still create a DOCX or PDF of the config in an easy-to-view format. I’ll get working on some minor tweaks and customisations for the SWe Lite next…

Summary
I think Sonus has done a fantastic job porting the 1k & 2k devices to a virtual platform, reinvigorating its highly-regarded SBC for centralised Data Centre deployments where rack-space is either not an option or prohibitively expensive.
I’m comforted that the GA build is significantly improved over the Alpha & Beta versions I was able to trial, and I expect Sonus will capitalise on its follow-the-sun global TAC operation to minimise the impact on customers of any issues that arise.
At Generation-e we have customers queuing up to get the SWe Lite in production, so keep an eye out here or on Twitter for any tips and traps we encounter along the way.
I’ve not seen (or asked about) pricing so I can’t comment on how the SWe Lite sits compared to its stablemates or the competition.
References
- Check out Luca’s “Sonus SWe Lite Step-by-Step Setup” for VMware
- Randy’s also captured the process, so you’re really spoiled for choice: “Setting up a Sonus SWe Lite in Hyper-V“
- Static MAC addresses: KB2804678–Cannot Exceed 256 Dynamic MAC Addresses By Default On Hyper-V Host
Credits
Thanks to Anup @ Sonus in Sydney for his help with my testing and Lab build, and to the rest of the Sonus team for envisaging and delivering on a much-sought-after addition to the product family.
Revision History
13th March 2017. This is the initial post.
13th March 2017. Added Luca’s review to References.
14th March 2017. Added Randy’s review too.
22nd January 2019. Fixed the broken Sonus/Ribbon doco link in Installation
– G.


Regarding the Static MAC addresses – this will be because its base on *nix and that gets all huffy when the MAC address changes:
http://www.tobiefysh.co.uk/2015/03/sophos-utm-when-running-on-clustered.html
Hi,
Can you please guide me regarding how to configure DHCP for Eth IP in SBCSweLite,suppose if we dont have the dhcp server then can we use SBC1000 as a DHCP server and in swelite where to connect the DHCP server as swelite is not hardware box, its a software box.
Hi Raushan,
Unfortunately the SWe Lite doesn’t have the ability to be a DHCP Server. That’s only available in the 1k and 2k – at least for the moment anyway.
– G.