I’ve loved phones since I was a kid, and possess a small collection including my grandmother’s Commonwealth Ericsson and a candlestick, as well as the usual more modern plastic and Bakelite affairs. The mechanical aspects of payphones always fascinated me, so I have some of them here too.
I’ve had a “Pyramid” phone here for a while, wrapped in newspaper in a milk-crate, and I’ve been meaning to clean it up. Today was the day.
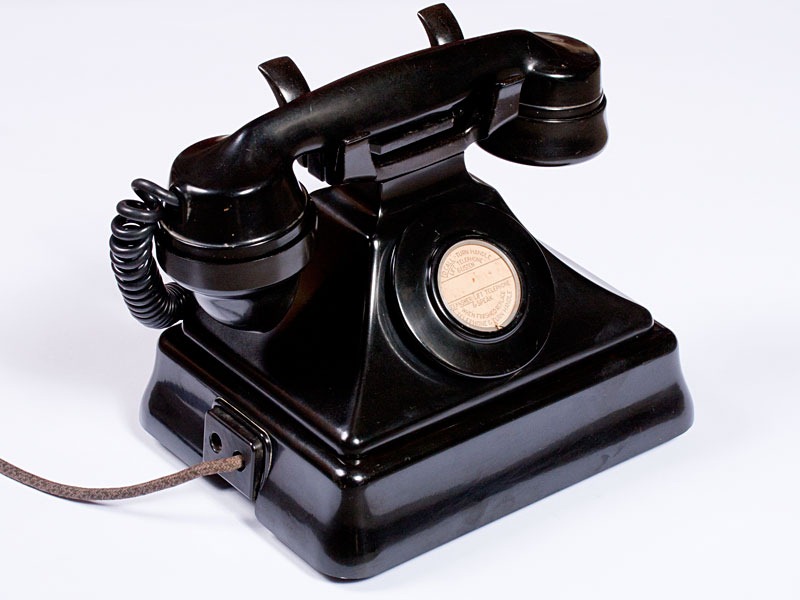
Here’s the “before” shot, stripped down as far as I could.

I cheated here a little – this is the top of the phone and not the bellbox that it sits on. But you get the idea. If you’re at all the inquisitive type, notice that there’s nothing in this device but the switch-hook mechanism, laid out vertically here down the right-hand side of the body. All the “circuitry” in these – and in candlestick phones too for that matter – lives in the bellbox that accompanies it. There will be one – and if the phone’s not sitting on it then it’s going to be out of shot, perhaps screwed underneath the table or something.
Strangely, this is a genuine 232MT – the “MT” standing for “Magneto Table”, and Magneto meaning it uses a hand-cranked generator to signal your intent to place a call.
So this particular phone, more commonly seen with a dial blank as “CB” (pickup and wait for the operator to answer) or with dial as automatic, was in fact built and used with a separate free-standing generator. The circuit inside the bellbox confirms it’s indeed a magneto (as does the label in the dial blank – prompting you to crank the handle) – and here’s the generator that goes with it:

Art deco anyone?
I decided that for the purposes of display I wouldn’t bother with cleaning up the generator, but the phone’s internals remain intact for magneto operation, and if I were to sell it down the track I’d pair them up again.
It only took me a couple of hours to polish. I washed the parts in the sink first in a standard mix of dishwashing liquid and hot water, gently rubbing the dirt off with a sponge and a fingernail.
Once dried, I applied some “Paste Polishing No.5” which the internet suggests is the product to use. I bought mine from Telephone Lines in Cheltenham, UK.
Polish on, buff off, and you’re left with an amazing looking phone where it was previously very tired.
When I reassembled it I didn’t have a good looking cloth cord for the handset, so I used a new plastic one I happened to still have in stock. Forgive me.
Looks great doesn’t it?
Photos by Rocky as usual.


That’s a beauty GS…