The long-awaited ISO has hit, and I’ve been looking forward to taking the in-place upgrade process for a spin.
The snag here is that you need to kick this process off from a server already running the SfB Admin Tools – so that meant another machine. Whilst this server could have been only a short-term investment – or my own x64 Windows 8.1 machine for that matter – I’ve decided it will be my new “application” server, for tools like SEFAUTIL, Espera & Cerebro.
That of course just leaves me with the obligatory step-through, with any useful tips and traps highlighted.
References
There are plenty of others referencing this same process, and I’ve been able to benefit from and consolidate some of their contributions here.
- Thank you Y0av for the server pre-req’s
- Y0av again walks you through the mandatory SQL update
- Desmond points out the server will need at least 32G free on the HDD
- Matt Landis’ own walkthrough
- TechNet, specifically:
- The server requirements (including pre-req’s and some SQL gotchas)
- The Upgrade process
The Build
The Admin Tools machine
We can’t update the running Topology to SfB using the Lync 2013 install media, and we can’t update the install media on what’s currently a running Lync machine to get to the Skype for Business topology builder. Thus, there’s a need to use a non-Lync machine for this step. As I outlined in the intro I’m building a new ‘Apps’ server, so that’s where I’m going to drive the initial changes.
- Install a new Windows instance
- Rename it, give it a static IP, attach it to the domain, & the usual things you do when building a new server. (Pat Richard’s legendary script will automate plenty of those, and you can run in on just about any machine!)
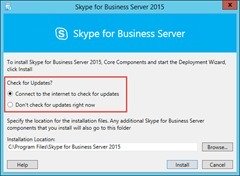
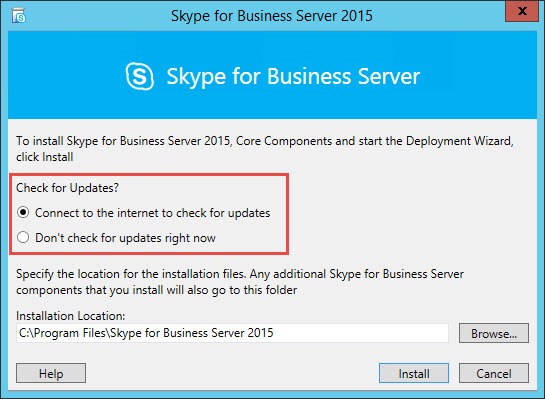
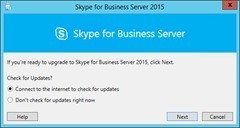
- Map to or otherwise mount the Skype for Business ISO and run Setup.EXE therein
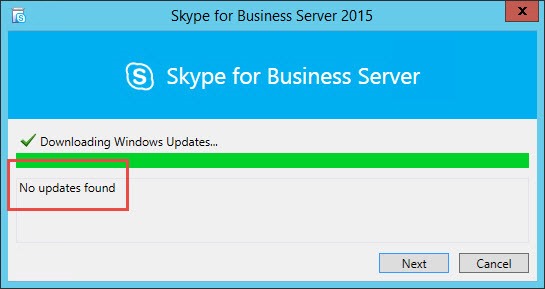
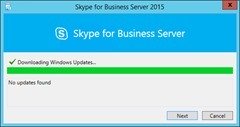
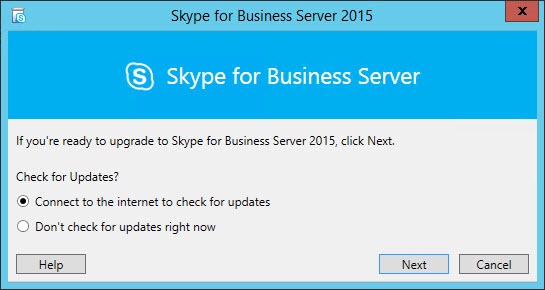
- Niice! It’ll now look for updates as part of the install process:
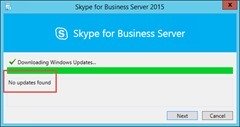
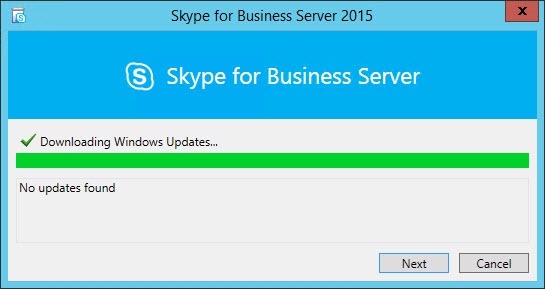
- As expected, none:
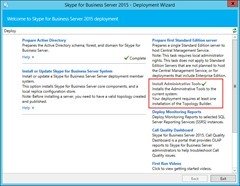
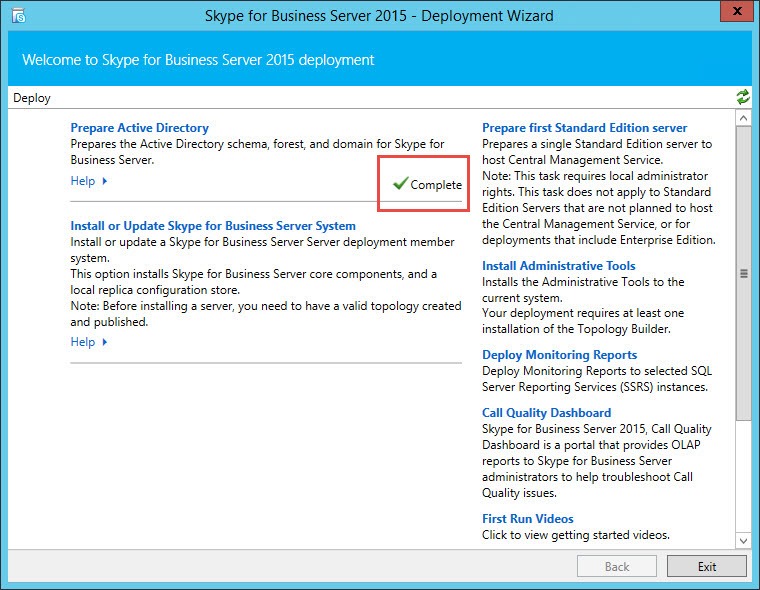
- Straight away it’s reporting good news – we don’t need to “Prepare Active Directory” to take this deployment to Skype for Business:
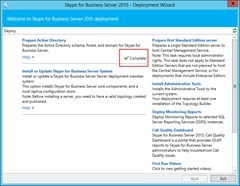
- Add the Admin Tools:
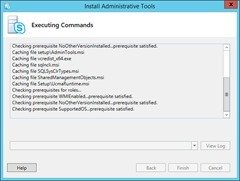
- Done!

“Flip” our existing FE to Skype for Business
This stage is performed using Topology builder on the new Admin machine we built above.
- Run Topology Builder
- Download the latest Topology
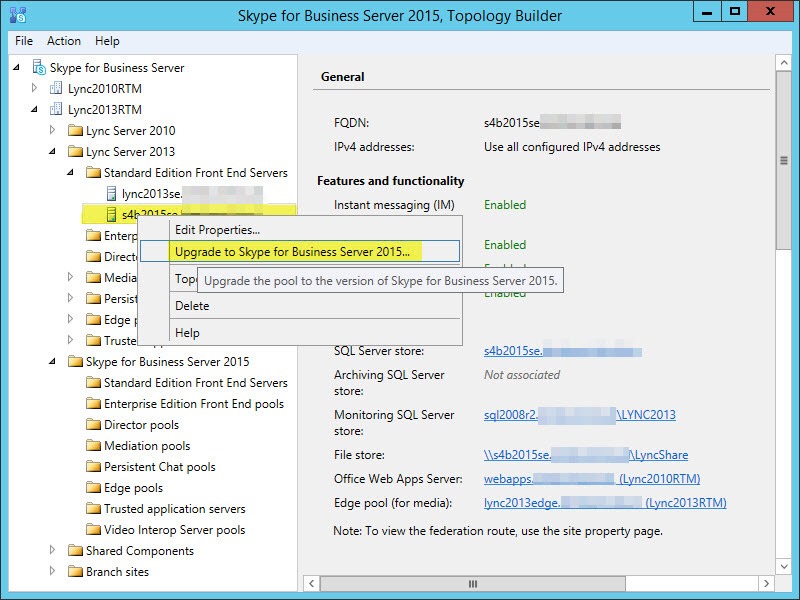
- Navigate to our Front-End (or pool). In this case I’m upgrading a Standard Edition Front-End.
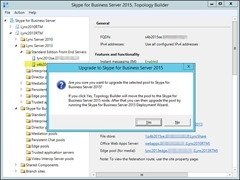
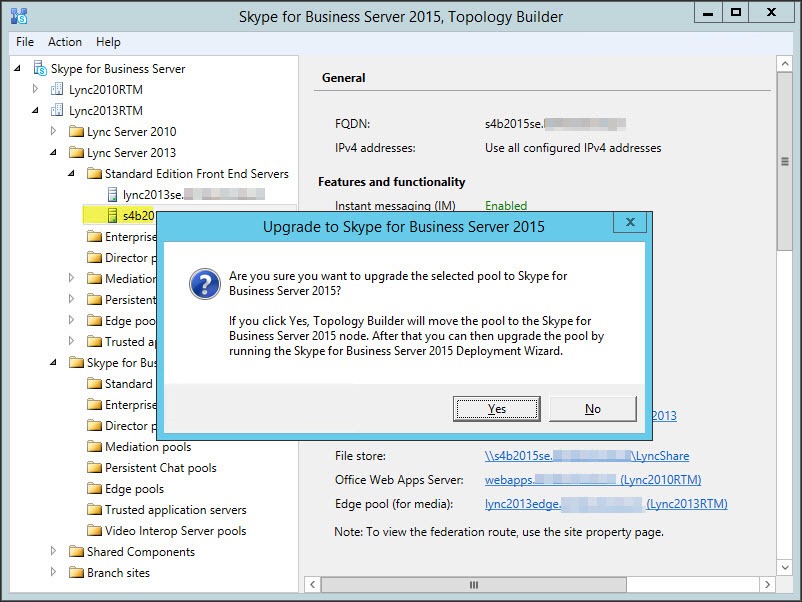
- Right-click and select “Upgrade to Skype for Business Server 2015…”:

- OK the pop-up:
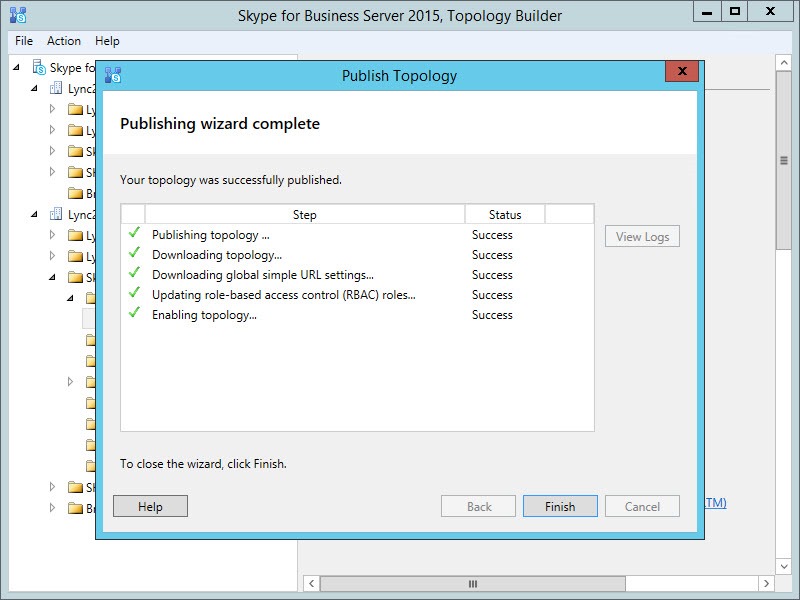
- Publish! Remediate if required, otherwise you’re safe to proceed:
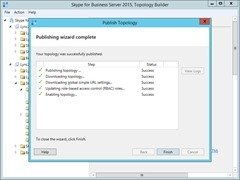
- Wait for the changes to replicate through the topology before continuing.
Upgrade the Server
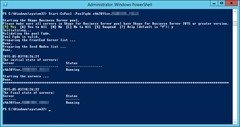
- Make sure it’s replicating OK (“Get-csMana<Tab><Tab>”)
- Stop all the services. (Stop-CsWindowsService)
- Updated 9th May: Revised guidance out of the 2015 Ignite in Chicago suggests you run “Disable-CsComputer -Scorch” at this point. “Stop-CsWindowsService” doesn’t disable the services and there’s the risk of some services automatically restarting after a reboot later in the process. “Scorching” the machine certainly protects you against that!
- Map to or otherwise mount the Skype for Business ISO and run Setup.EXE therein
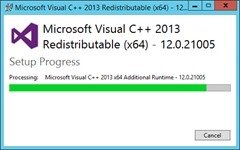
- Ooh, it’s the VC++ *2013* Redist now:
- Check for updates:
- None found, move on:
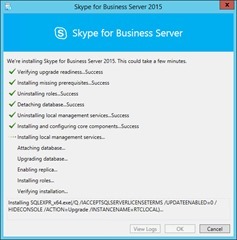
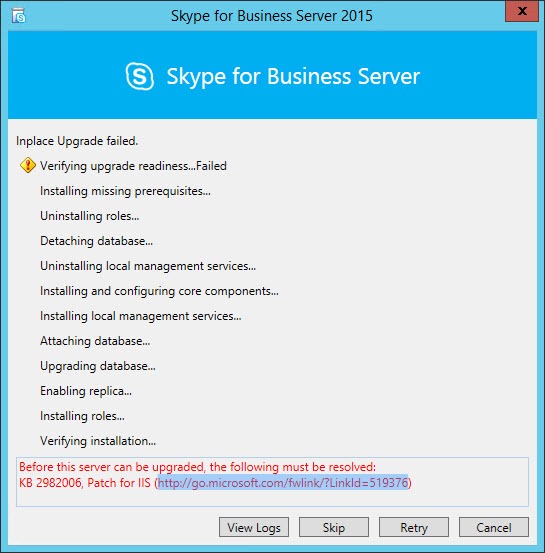
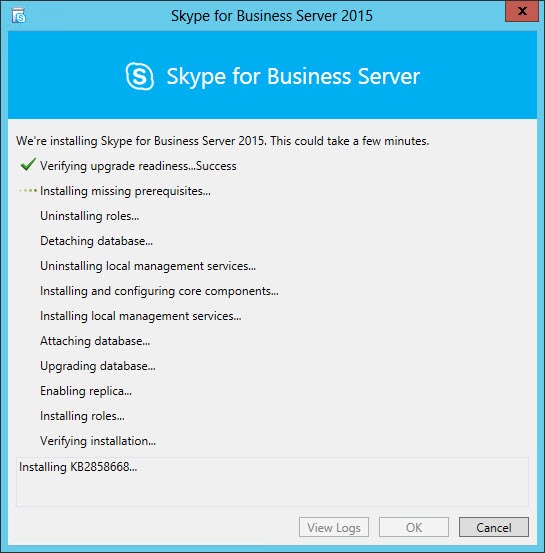
- … and we hurtle headfirst into the upgrade. And it looks like I missed a pre-req: kb2982006 is required on my Server 2012 R2 machine.
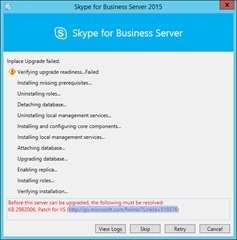
- Thankfully I was able to source the Hotfix and install it without having to abort the installer (or reboot the machine), so I only needed to click Retry and we were back underway.
I didn’t notice it at the time, but at the bottom of the image you can see it’s adding another pre-req I’d overlooked.
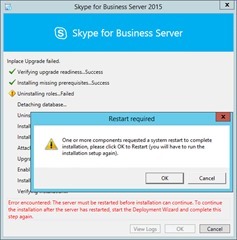
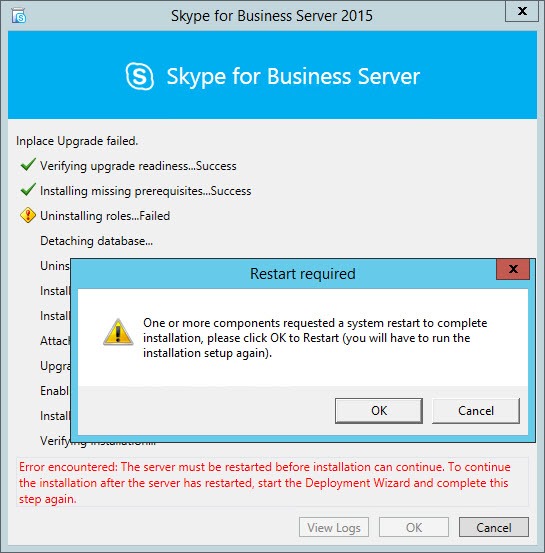
- It wants a restart:
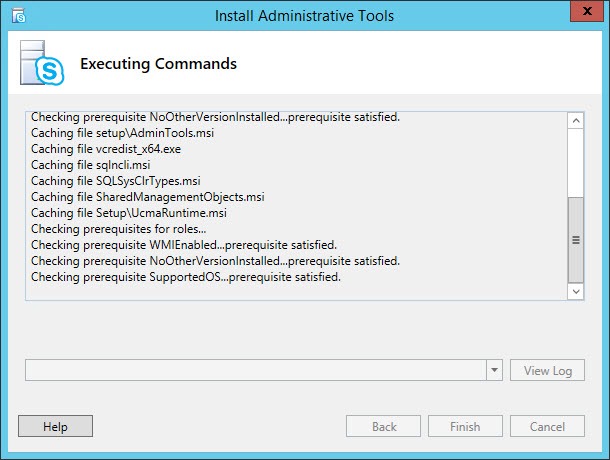
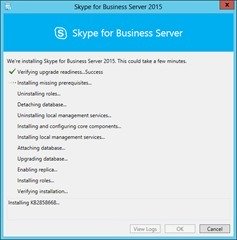
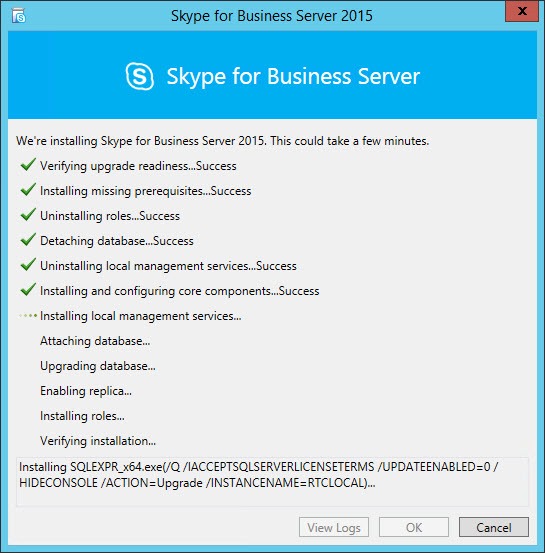
- … but it continues without needing *any* input from me whatsoever:
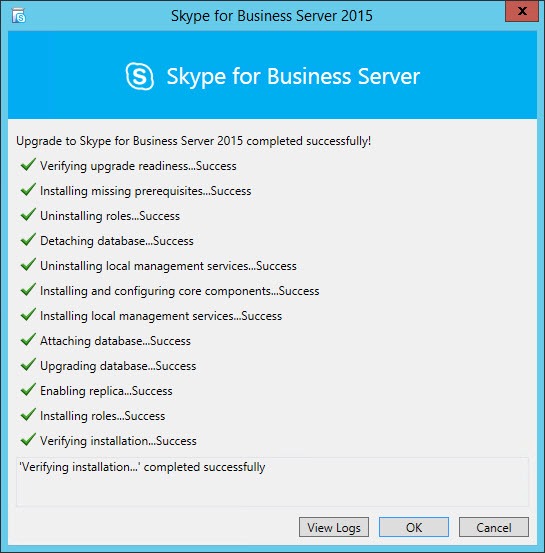
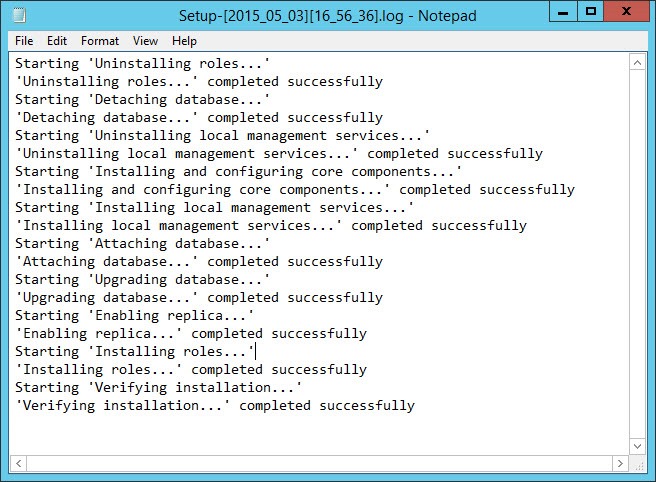
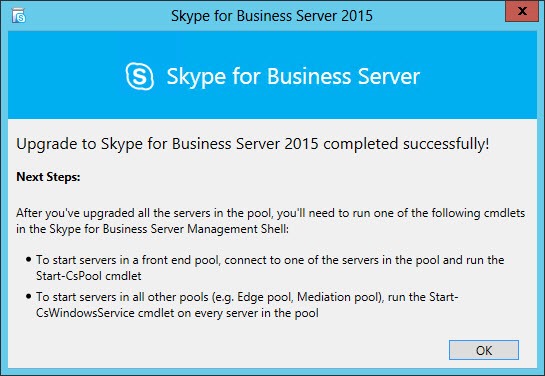
- Done!! “Verifying installation completed successfully”
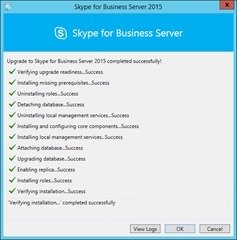
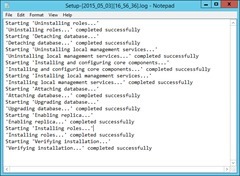
- View Logs is a bit boring. (The detailed logs are all where you’ve come to expect them in the past, at C:\Users\<Username>\AppData\Local\Temp…)
- Next steps:Execute “Start-CsPool” to bring ‘er up, or just start the services if it’s not a Front-End pool:
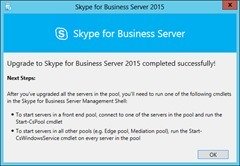
- “Start-CsPool”:


… and from here I was able to move my test user across and start testing and tweaking that environment. More of that in due course I’m sure!
Inspired by how easy it was to flip this Front-End to Skype for Business, in my next post I’ll flip the Edge!
– Greig.
Footnotes / Update History:
5th May: Ken Lasko (the Hoff) has posted that our old friend “Company_Phone_Number_Normalization_Rules.txt” is no longer, with that function having been ported to PowerShell. There are some default rules but you’re inevitably going to want to customise them. Check out Ken’s post for more details…
9th May: Or my follow-up post: Vale Company_phone_number_normalization_rules
26th May: Added some more References.


