As foreshadowed in yesterday’s post on the BToE plug-in / device driver, the new Polycom v5 firmware has landed.
You can download the new firmware and documentation from HERE, where you’ll find the software downloads as well as release notes and the updated Admin guide.
New: October 21st: Firmware 5.0.1 released.
What’s New?
There are many new and enhanced features (all documented in the release notes file). Here are a few that jumped out at me:
- Better Together over Ethernet (BToE). “Connect your computer to your phone and use your computer to control calls on your phone and PC Lync client”. [Note that wording very carefully].
- Now supports Lync Call Park
- Downloads the Lync Address Book
- Will use Lync for its software upgrades (look for the separate “.CAB” file download)
- The enhanced feature keys Blind Transfer and Voice Mail Transfer now work correctly
- Multiple E.911 improvements, including LIS & normalisation
- The phone now successfully answers an incoming call when it is transferred through the Exchange Auto Attendant
It seems that the stability is likely to be improved, with a generous sprinkling of these sorts of messages:
- The phone’s touch screen responsiveness after a call or after using an application is improved (applies to VVX 500 and VVX 500) [sic]
- The graphical user interface response on the phone is improved when the phone is used for a long time
- In a federation call scenario, the phone now transfers the calls successfully between organizations with two-way audio
- In a Lync environment, the phone now retains the registration when federated contacts (~60) are added and receives 504 server timeout errors from the server
- The phone now transfers a call successfully when the language is set to German, Japanese, Chinese, Taiwanese, and Korean
- In a Lync deployment, the phone’s stability is improved for different network environments
- The phone now retains the configured language even after a reboot
- The enhanced feature key $Tinvite now works and no longer causes the phone to reboot [where presumably previously a little light lit up black saying “please do not press this button again”?]
Credit Where it’s Due
MUCH of the FTP update process below is directly lifted from Jeff Schertz’ post (HERE), with my own selective tweaks and deviations along the way (many of which are sourced back to my earlier SoundPoint post – and again Jeff’s efforts).
Installation
Try as I might, I couldn’t get the phone to suck its new firmware from Lync. (There *has* to be a process, otherwise it makes no sense to offer the initial v5 firmware as .CAB files). (Jeff Schertz has since indicated that the 5.0 .cab file is only of any use if you have a Beta version of 5 – from *that* you can upgrade into the released version of 5.0 with the .cab file. So for those of us upgrading from earlier releases: here’s the FTP upgrade process).
Having given up on that, I resorted to the tried and true method of downloading from the FTP server. It’s been a while since I’ve tinkered with the SoundPoint family and its stablemates. My last post on that subject was September last year, when I added Aussie tones, daylight saving time and hotline to the config.
Prep
As with my first foray into the family, I’ve decided to use Filezilla as the FTP server. You’ll also still need XML Notepad 2007, and Notepad++ is a must, just because.
You’ll also need the new firmware. v5 for the VVX500 is HERE. Jeff says “It is recommended to always download the ‘split’ package, the ‘combined’ packages can be ignored)”. Cool.
I’m also taking a couple of short-cuts in the below on the assumption that your deployment already has Aries devices running with PIN-based sign-on, so the DHCPUtil batch file has set the required autodiscovery parameters.
Filezilla/FTP Server
I already have Filezilla installed on my “apps” server here, so I’m going to reuse that this time ‘round. If you’re starting this from scratch, make sure you have the server version and not the client!
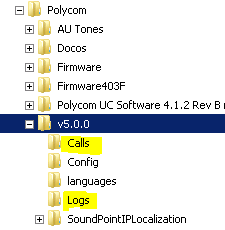
- Unzip the firmware. I’ve opted to place it all under “C:\Polycom\v5.0.0”
- Create two extra directories in there for Logs and Calls:
- I assume you set Filezilla to run automatically, so run up the “Filezilla Server Interface” and connect to the local server (if prompted). If you chose the conservative option during the install, you’ll find it set to Manual in services.msc, so start it now please
- Click Edit / Users and create yourself a new user. We’re going to use DHCP so the phone can automatically locate and login to the FTP server, so we need to use the default name that’s hard-coded in the phone: PlcmSpIp
- On the General page, use the same name for the password
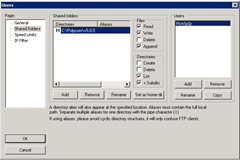
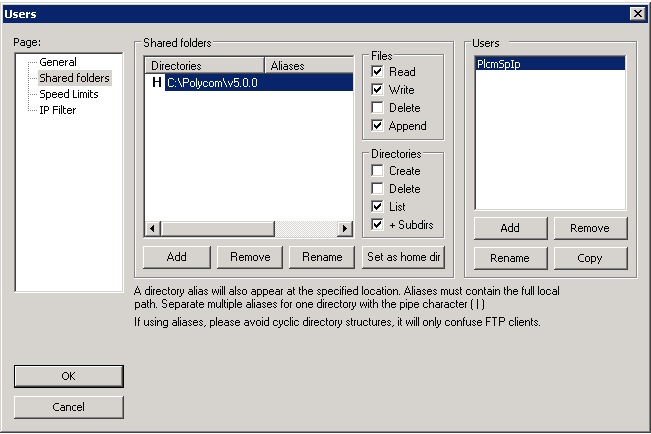
- On the Shared Folder page, click Add and navigate to the firmware folder. Give your account permission to your firmware folder like the below. In this environment the phones need to download firmware (naturally) and config files and also write back their call and log files, which we’re going to neatly tuck into sub-directories, hence the check against “+ Subdirs”:
- The last time I visited the family we needed to manually push a bunch of parameters to the phones for Lync integration, but that’s no longer required, as any phone running v4.1.0 firmware or later now already has this “Base profile” built in. All we need to do now is create a new config file that enables this “Lync mode”. Save the following text to a file called “Shared.cfg”:
<?xml version="1.0" encoding="utf-8" standalone="yes"?>
<!-- Sample Polycom Shared configuration file for UCS -->
<LYNC>
<device device.set="1" device.baseProfile.set="1" device.baseProfile="Lync"/>
</LYNC>
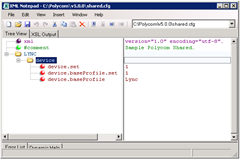
- If you now view this file in XML notepad, it should look like this:
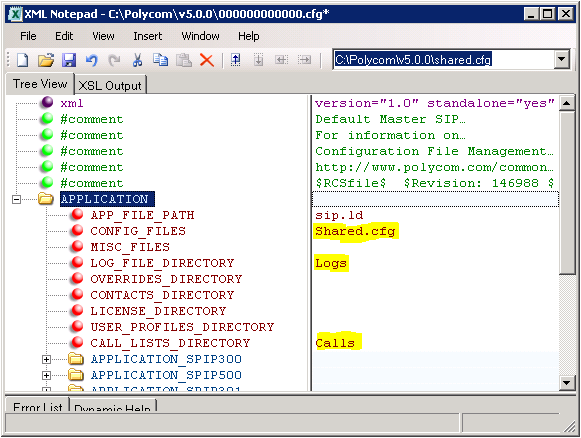
- Now let’s edit the default config file to alert the phone(s) to the presence of the folders & Lync settings. Open “000000000000.cfg” in XML Notepad and add the entries I’ve highlighted in yellow:

- Save the file and exit XML Notepad. (We’ll come back to it later).


DHCP
In my earlier posts I manually pointed the phone to the FTP server. This time I’m aiming to automate this process as much as possible, using DHCP to point them to the FTP server.
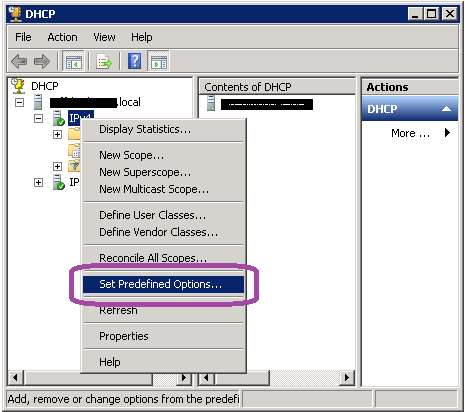
- Launch the DHCP MMC.
- Expand the tree and right-click Set Predefined Options as shown below:

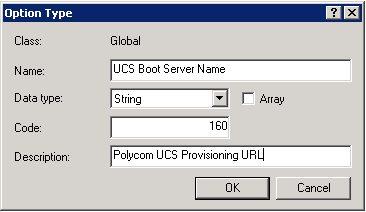
- Now click Add and create a new option type:
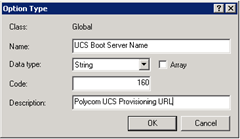
This value needs to be of Data type String. Here I’ve shown the Code as 160, which is the default for phones delivered with SIP firmware. (The name and description don’t need to be exactly what is used here) - Click OK twice to return to the DHCP MMC.
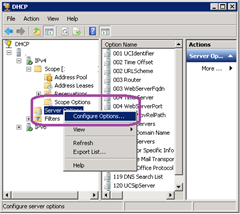
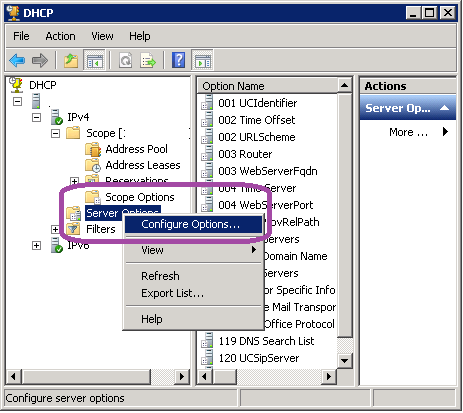
- Now right-click on your chosen section (either Scope Options or Server Options) and click Configure Options:
- Scroll to what’s probably the bottom of the list, select the UCS Boot Server option we created above & enter an ftp string to reach your ftp server:
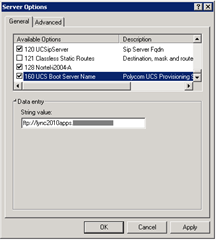
The string value needs to be in the format “ftp://<FQDN>” - Now REPEAT steps 2-6, using a new name and specifying Code 161 in Step 3. Newer phones arriving with the Lync firmware already on them now look for Option 161, so it’s better to cater for both possibilities by having both present in your DHCP config.
- Ensure that DHCP options 2 and 42 are set correctly. The phones will need to find an NTP server (option 42), and the offset from GMT/UTC (option 2) gives us the right time zone. I assume this is a working installation so I’m expecting you already have those active.

Showtime!
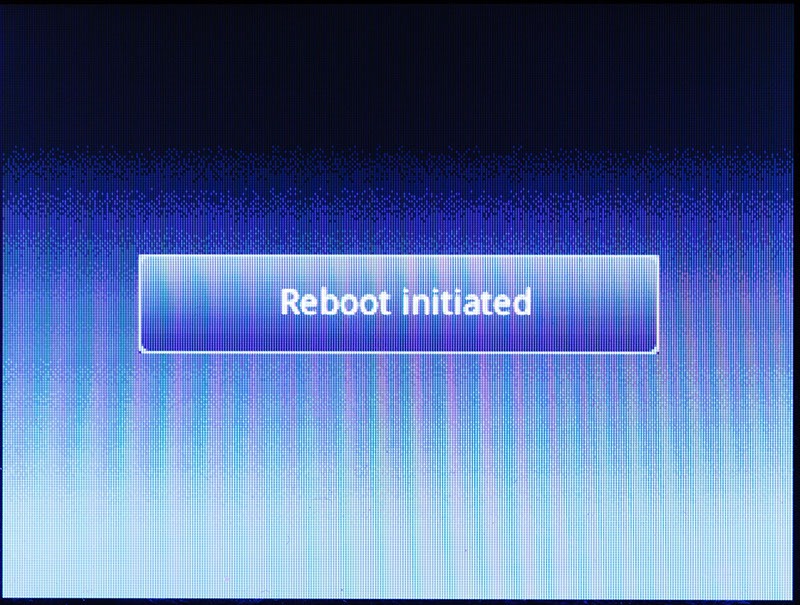
Let’s give it a whirl and see what happens. If your phone hasn’t been reconfigured away from the default settings, a reboot should be all we need to get it to suck all the new firmware. If it doesn’t (and Filezilla’s log doesn’t report failed attempts at contact from the phone) it’s best to restore it to factory settings: Settings / Advanced / 456 / Admin Settings / Reset to Defaults & then options 1, 2, 3 & 5 in that order.
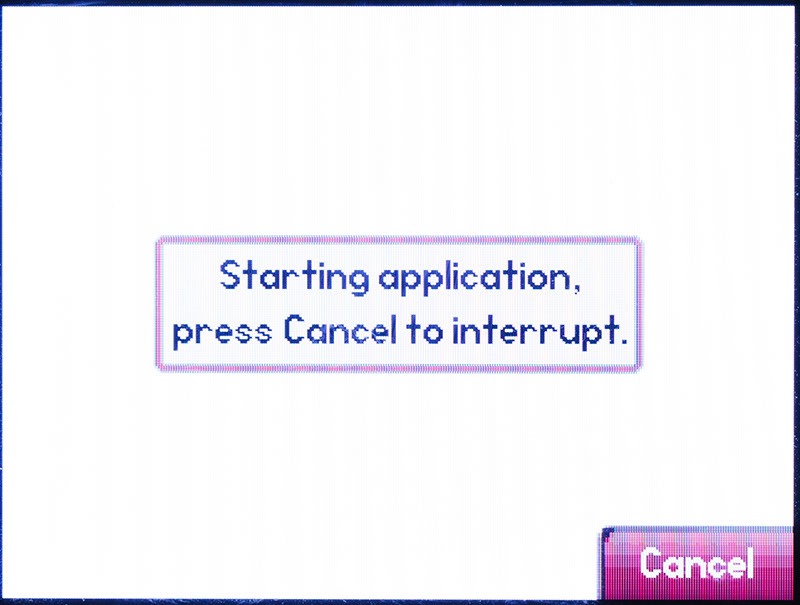
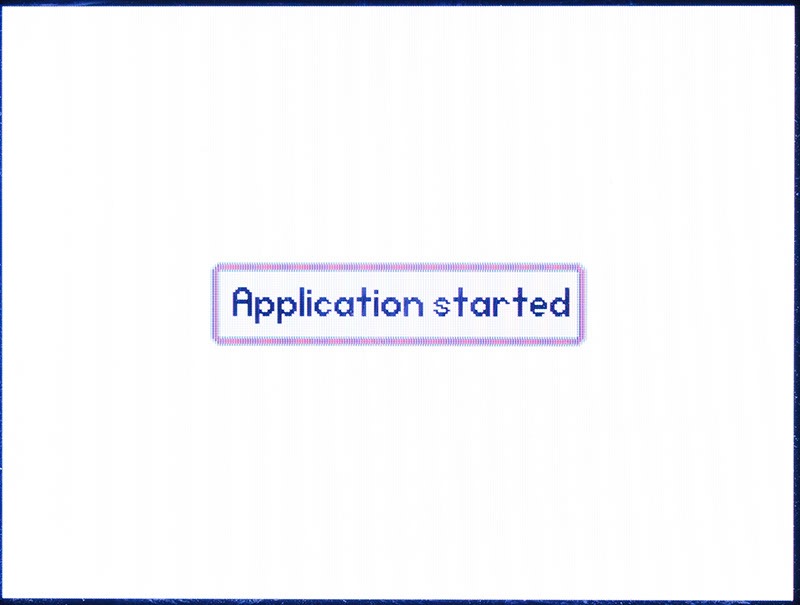
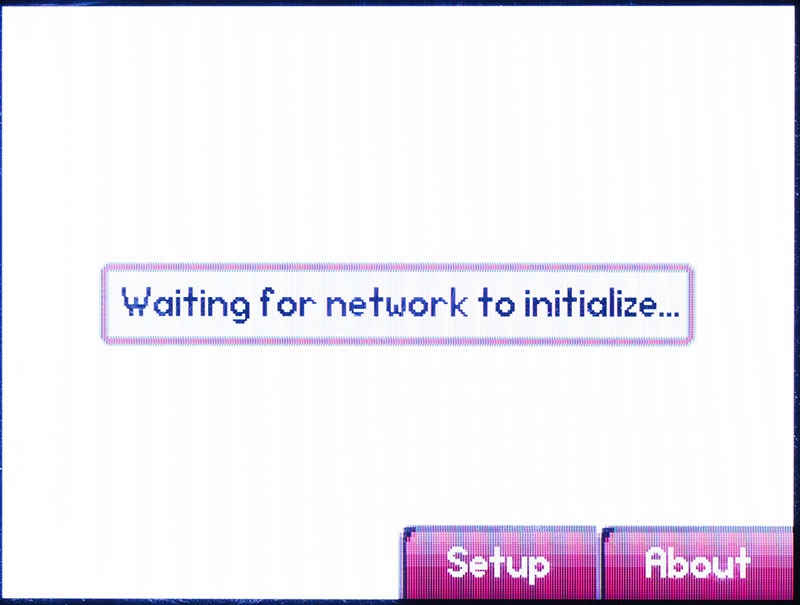
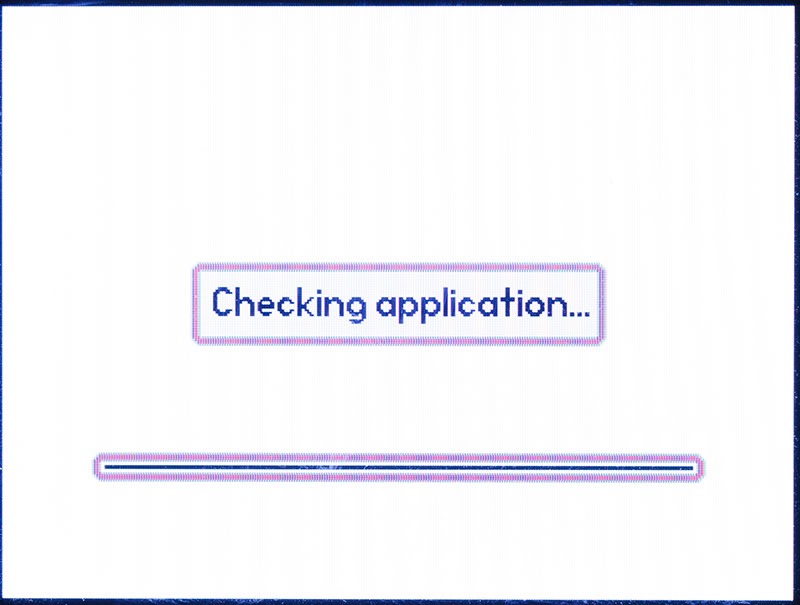
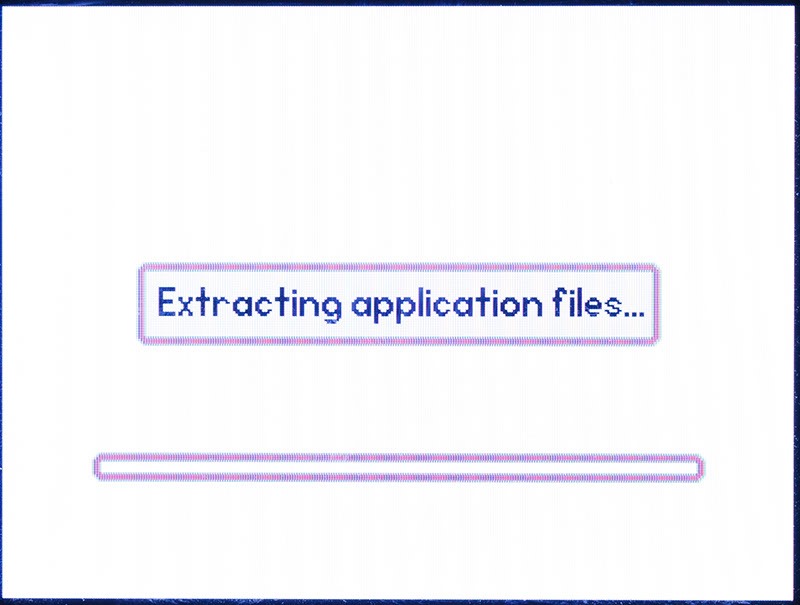
For me to kick this off, all I needed to do was login to the phone and tell it to reboot. The rest just happened:
 |
 |
 |
 |
 |
 |
 |
 |
 |
 |
 |
 |
 |
 |
 |
 |
 |
 |
 |
 |
 |
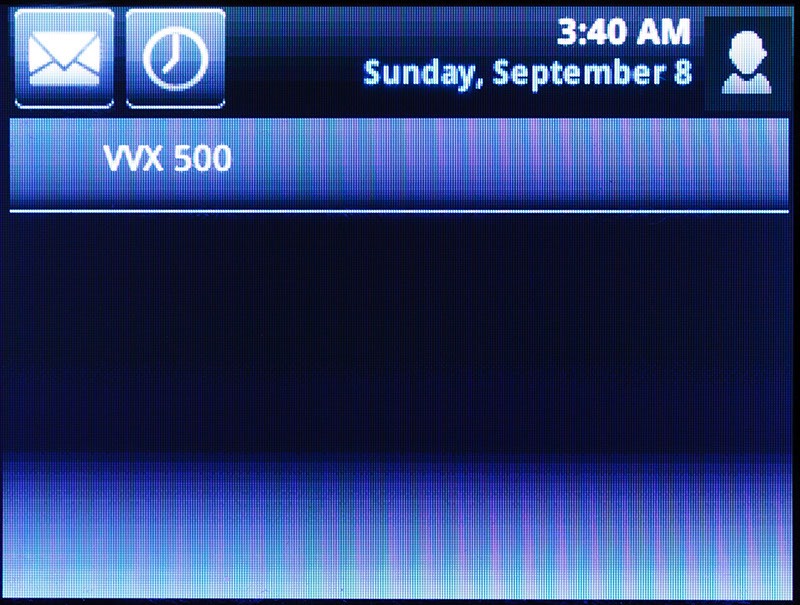
And we’re up. We have a phone – but it’s not logged-in yet.
Click More: 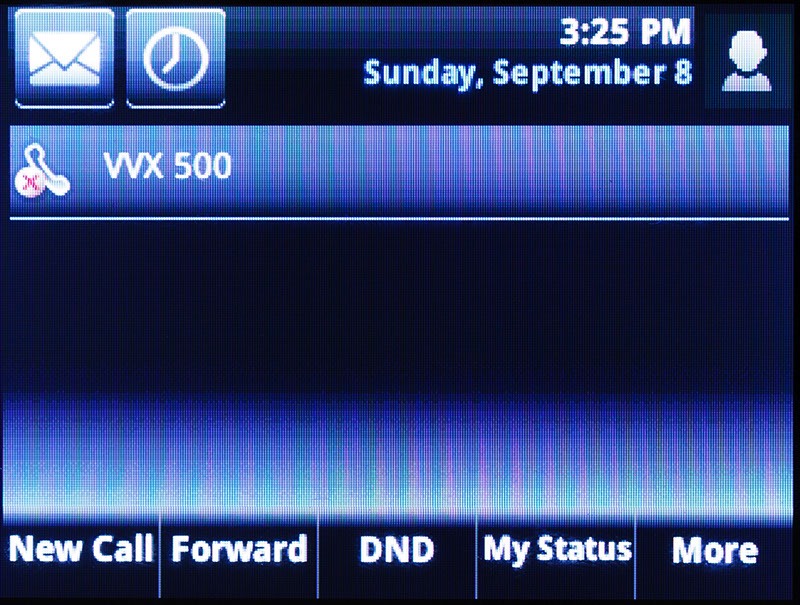 |
Click PIN Auth: 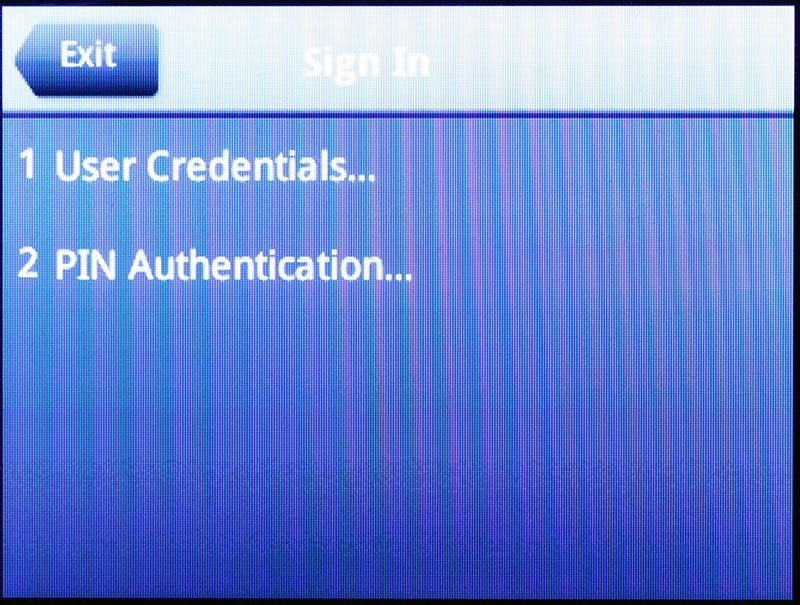 |
Give it some credentials and click Sign in: 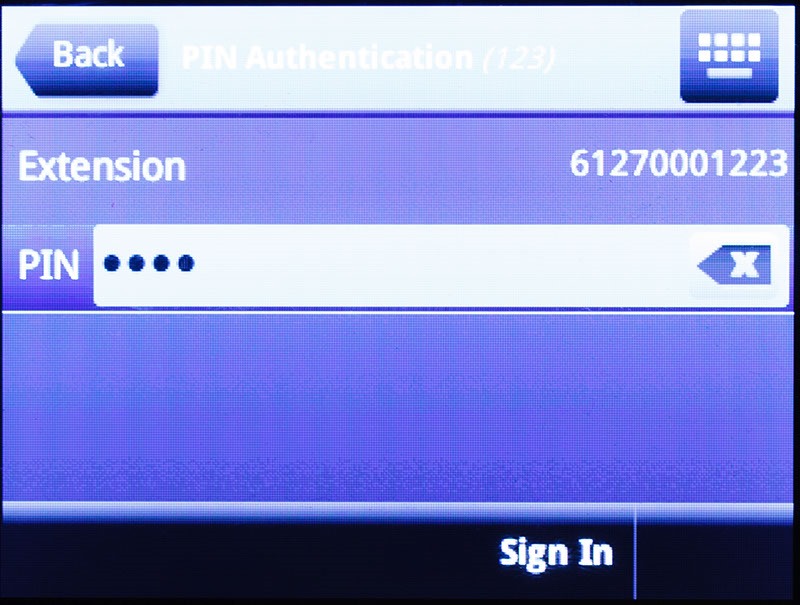 |
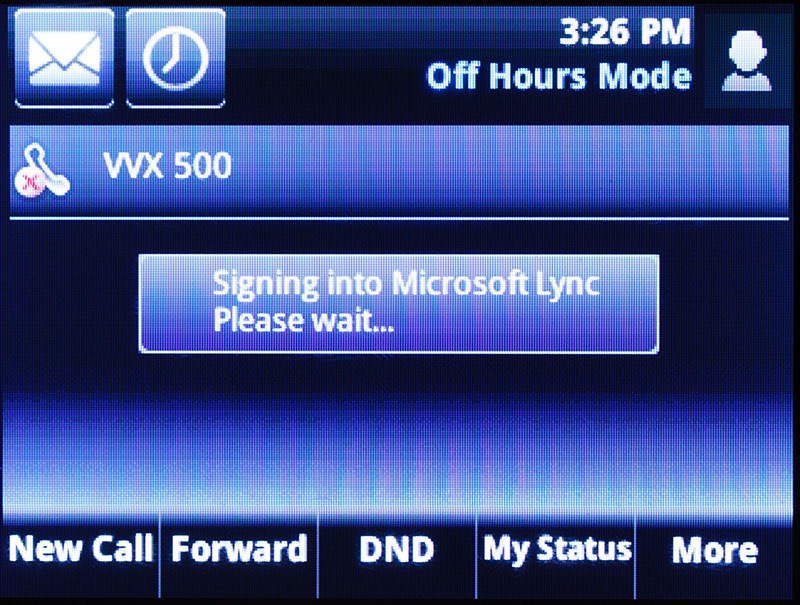 |
It thinks about it for a sec: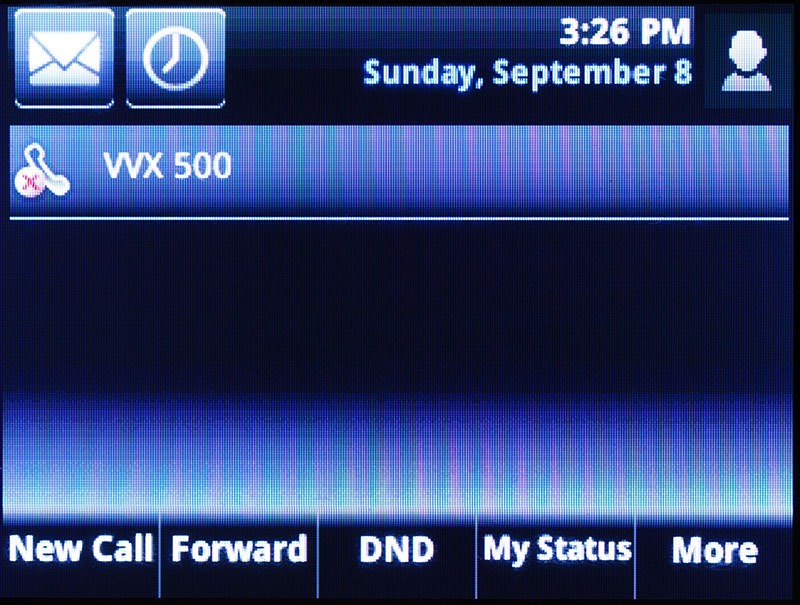 |
… and then it’s me: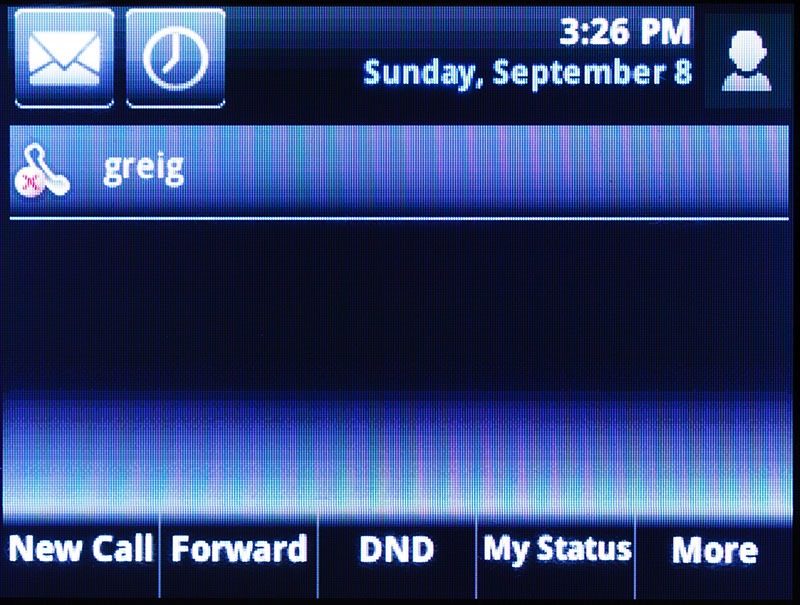 |
 |
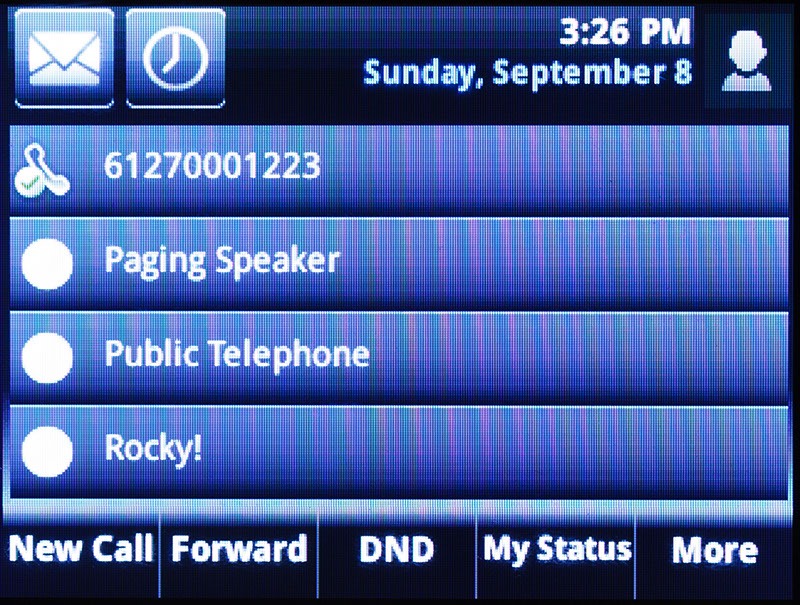
And here’s my home screen, with my top three contacts visible:
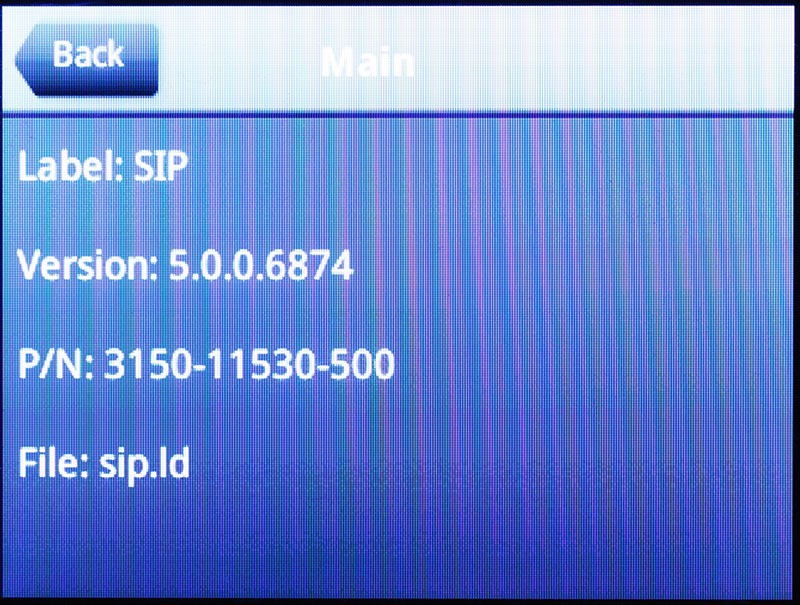
To prove a point, let’s double-check. Select Home / Settings / Status / Platform / Application / Main:
Now what???
BToE is the must-have feature in this version, so having previously installed the device driver on the PC, let’s tie the two together. (I blogged the fairly vanilla install process here).
Press Home & then Settings: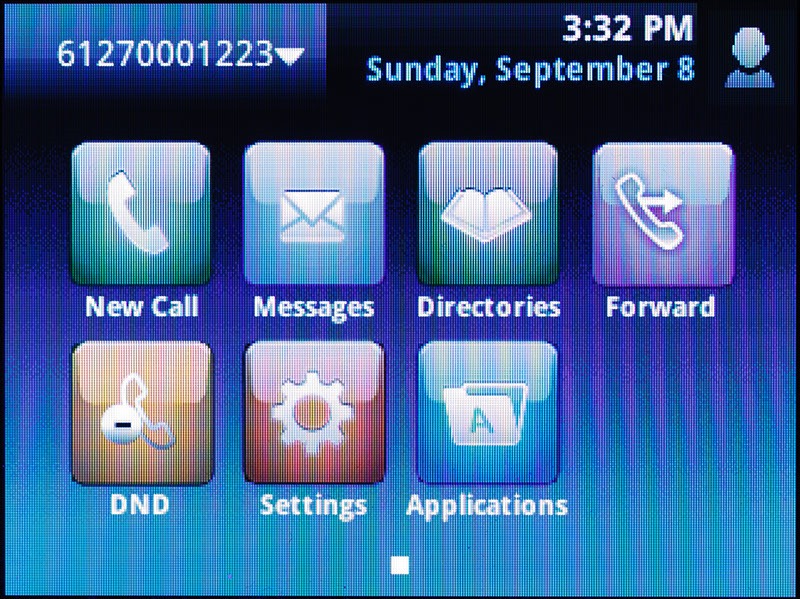 |
3 Features: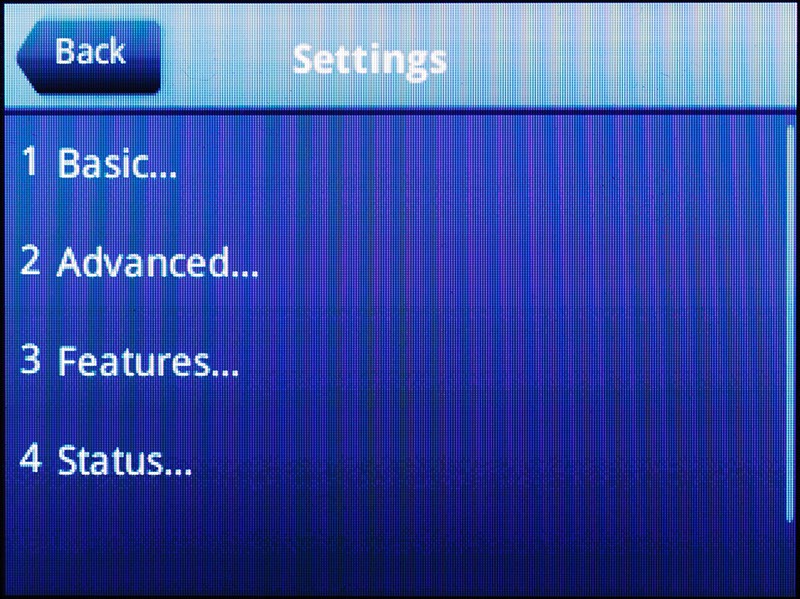 |
5 BTOE: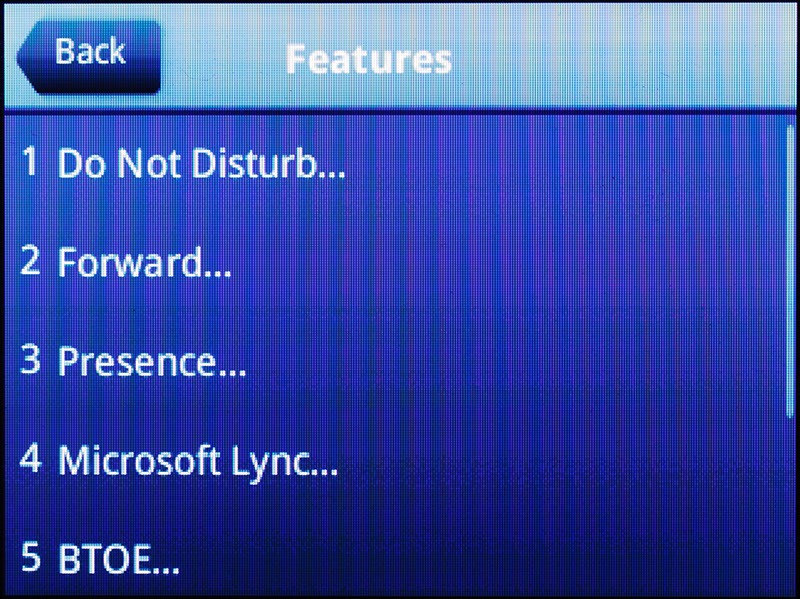 |
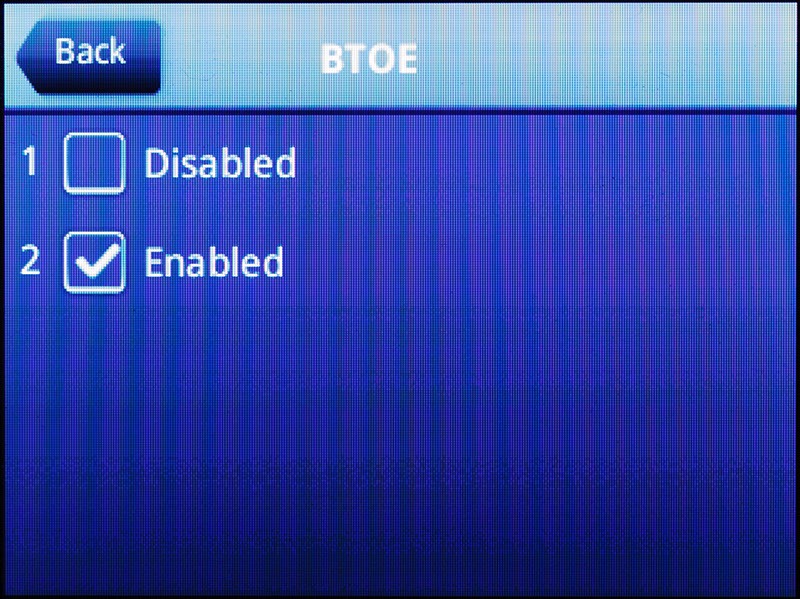
1 BTOE (Disabled): |
We’re disabled by default, so click Enabled and then Back: |
 |
Now click Pairing Status: |
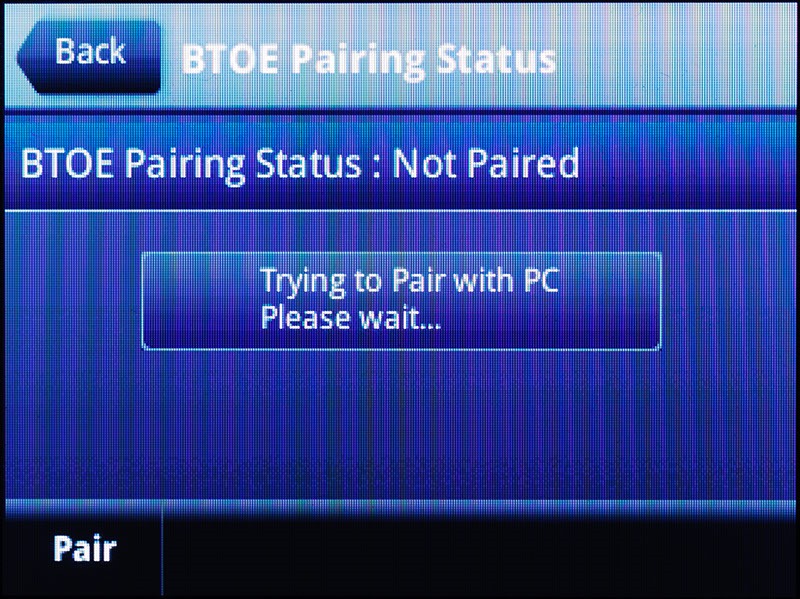 |
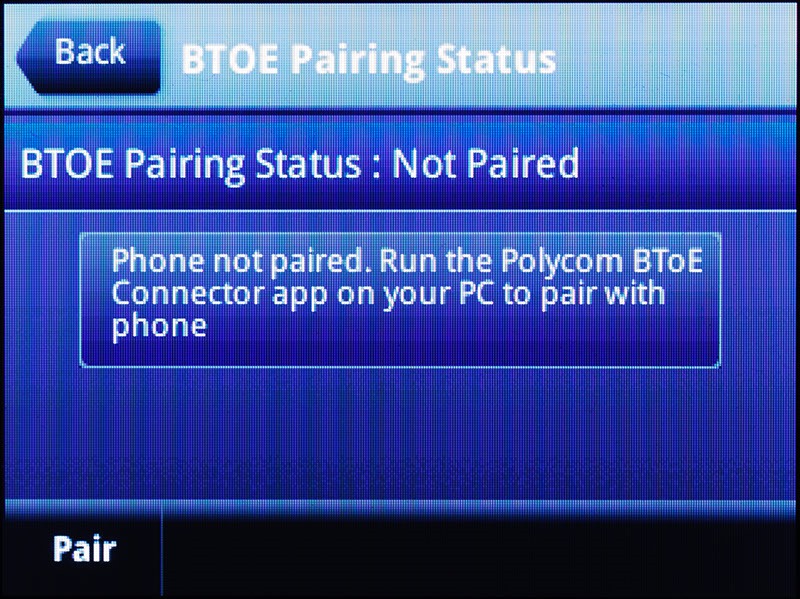 |
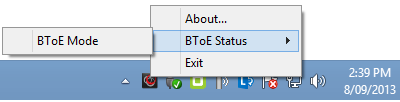
Whoops. OK, let’s run the plugin on the PC and try that again… |
 |
Yay! Note that we have the BTOE option on the menu now: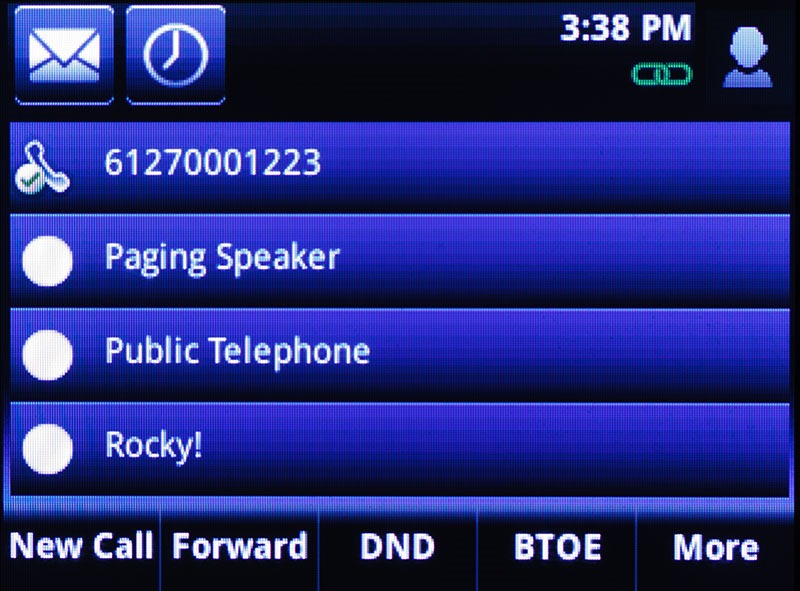 |
The PC confirms we’re paired:
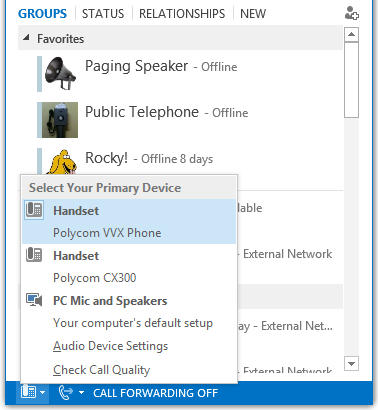
So does Lync:
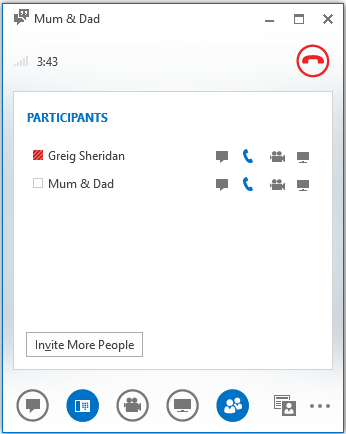
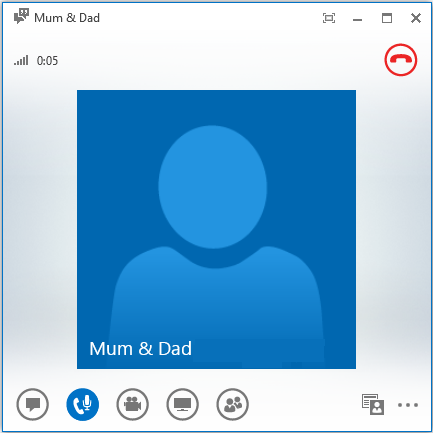
Here’s me testing the process, killing two birds by seeing what Mum’s up to.
Of interest is that the Lync client is now showing the call in “participant view” – something you’re more used to seeing when you’re in a meeting. I’m a fan of consistency, and this might grate with some users & upset some sysadmins. Change to a headset or back to the CX300 and a call to the same destination is rendered differently:
|
BToE |
CX300 |
 |
 |
Thankfully, whilst it might LOOK like it’s a conference call, it’s not:
PS C:\> Get-CsWindowsService

Status   Name            ActivityLevel
------   ----            -------------
Running  W3SVC
Running  MASTER
Running  REPLICA
Running  RTCCLSAGT
Running  RTCSRV          Incoming Requests per Second=0,Messages in Server=0,Incoming Messages Held=0
Running  RTCCAA          Concurrent Calls=0
Running  RTCCAS          Concurrent Conferences=0
Running  RTCRGS          Current Active Calls=0
Running  RTCPDPAUTH
Running  RTCPDPCORE      Active Client Connections=0,Active Edge Connections=0
Running  RTCCPS          Total Parked Calls=0
Running  RTCATS          Current Active Calls=0
Running  RTCIMMCU        Active Conferences=0,Connected Users=0
Running  RTCDATAMCU      Active Conferences=0
Running  RTCAVMCU        Number of Conferences=0,Number of Users=0
Running  RTCASMCU        Active Conferences=0,Connected Users=0
Running  RTCMEDSRV       Current Outbound Calls=1,Current Inbound Calls=0,Current Outbound Priority Calls=0,Current Inbound Prio...
Running  FTA
Running  RTCXMPPTGW
Running  RTCCHAT
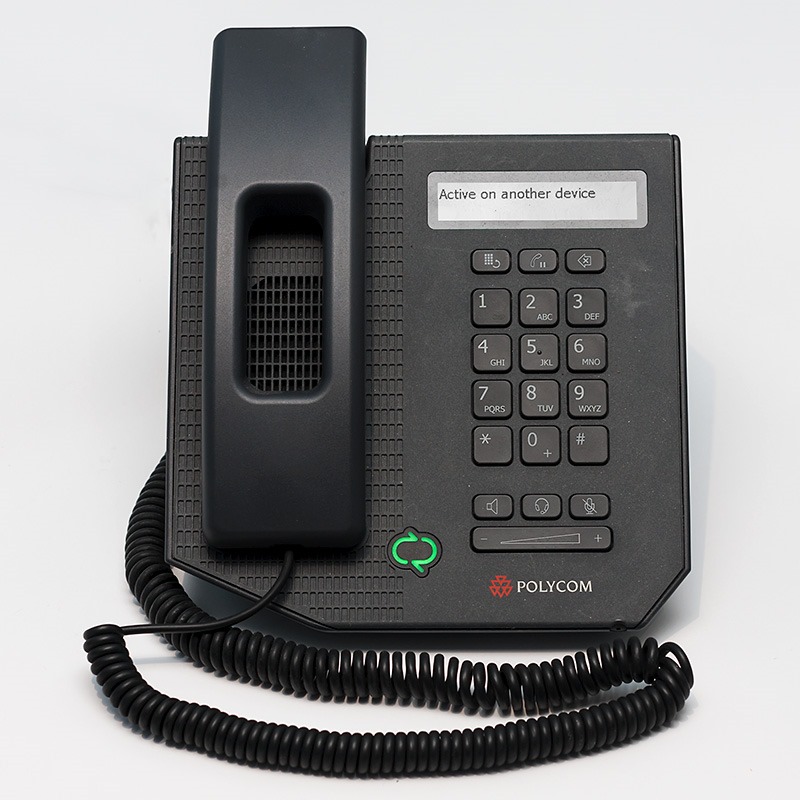
And here’s the now-discarded CX300, which announces my betrayal of it with “Active on another device”:
Call Park
I thought I’d see what the Call Park process looks like. It works well:
1 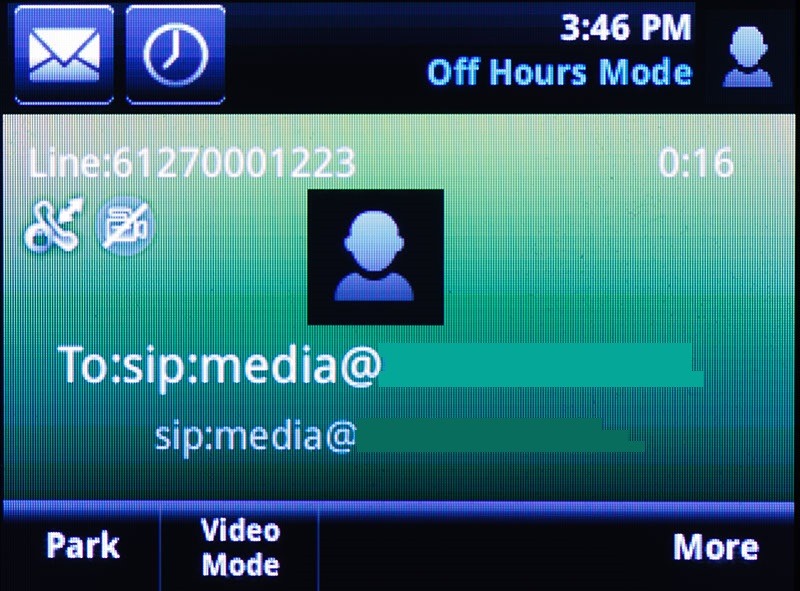 |
2  |
3 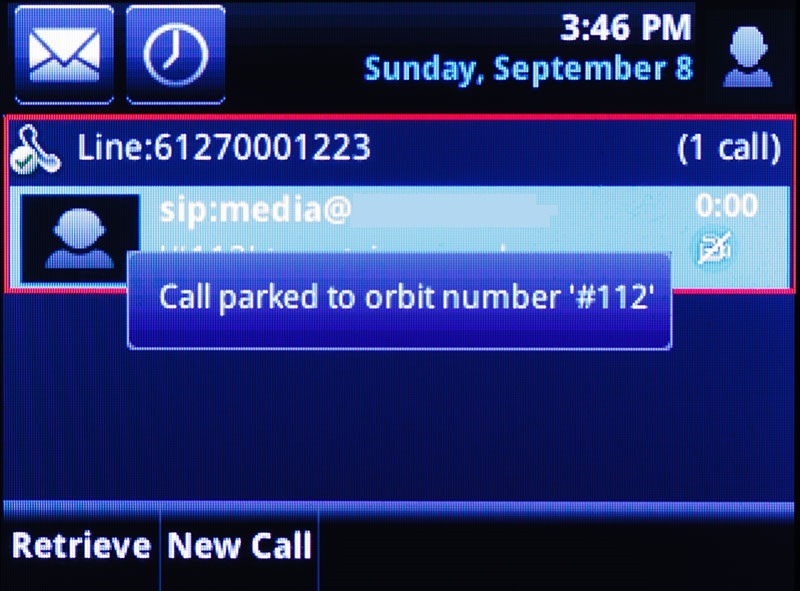 |
4 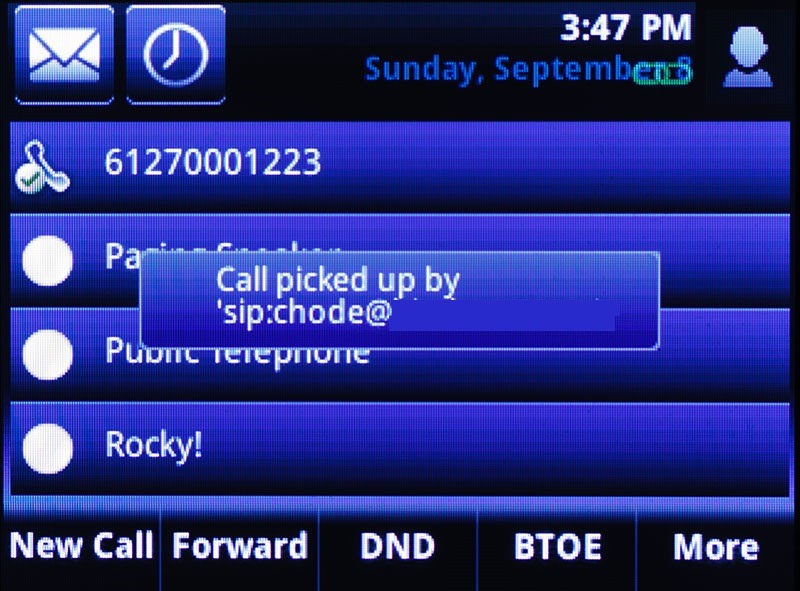 |
Customising it for Oz
Out of the box the phone defaults to US tones and cadences, but as I’ve blogged before, that’s not so hard to fix.
We need to revisit the FTP server. Paste the following text into a new file we’ll call “customisations.cfg”:
<?xml version="1.0" encoding="utf-8"?>
<customisations>
<tone>
<tone.chord>
<tone.chord.callProg>
<tone.chord.callProg.busyTone>
<tone.chord.callProg.busyTone.freq tone.chord.callProg.busyTone.freq.1="425" tone.chord.callProg.busyTone.freq.2="425" />
<tone.chord.callProg.busyTone.level tone.chord.callProg.busyTone.level.1="-20" tone.chord.callProg.busyTone.level.2="-20" />
<tone.chord.callProg.busyTone.onDur tone.chord.callProg.busyTone.onDur="0" />
<tone.chord.callProg.busyTone.offDur tone.chord.callProg.busyTone.offDur="0" />
<tone.chord.callProg.busyTone.repeat tone.chord.callProg.busyTone.repeat="1" />
</tone.chord.callProg.busyTone>
<tone.chord.callProg.reorder>
<tone.chord.callProg.reorder.freq tone.chord.callProg.reorder.freq.1="425" tone.chord.callProg.reorder.freq.2="425" />
<tone.chord.callProg.reorder.level tone.chord.callProg.reorder.level.1="-20" tone.chord.callProg.reorder.level.2="-20" />
<tone.chord.callProg.reorder.onDur tone.chord.callProg.reorder.onDur="0" />
<tone.chord.callProg.reorder.offDur tone.chord.callProg.reorder.offDur="0" />
<tone.chord.callProg.reorder.repeat tone.chord.callProg.reorder.repeat="1" />
</tone.chord.callProg.reorder>
<tone.chord.callProg.dialTone>
<tone.chord.callProg.dialTone.freq tone.chord.callProg.dialTone.freq.1="400" tone.chord.callProg.dialTone.freq.2="425" />
<tone.chord.callProg.dialTone.level tone.chord.callProg.dialTone.level.1="-12" tone.chord.callProg.dialTone.level.2="-12" />
</tone.chord.callProg.dialTone>
<tone.chord.callProg.ringback>
<tone.chord.callProg.ringback.freq tone.chord.callProg.ringback.freq.1="450" tone.chord.callProg.ringback.freq.2="400" />
<tone.chord.callProg.ringback.level tone.chord.callProg.ringback.level.1="-20" tone.chord.callProg.ringback.level.2="-20" />
<tone.chord.callProg.ringback.onDur tone.chord.callProg.ringback.onDur="0" />
<tone.chord.callProg.ringback.offDur tone.chord.callProg.ringback.offDur="0" />
<tone.chord.callProg.ringback.repeat tone.chord.callProg.ringback.repeat="1" />
</tone.chord.callProg.ringback>
</tone.chord.callProg>
</tone.chord>
</tone>
<se>
<se.pat>
<se.pat.callProg>
<se.pat.callProg.ringback>
<se.pat.callProg.ringback.inst se.pat.callProg.ringback.inst.1.type="silence" se.pat.callProg.ringback.inst.1.value="200" se.pat.callProg.ringback.inst.2.param="400" se.pat.callProg.ringback.inst.2.type="chord" se.pat.callProg.ringback.inst.2.value="ringback" se.pat.callProg.ringback.inst.3.type="silence" se.pat.callProg.ringback.inst.3.value="200" se.pat.callProg.ringback.inst.4.param="400" se.pat.callProg.ringback.inst.4.type="chord" se.pat.callProg.ringback.inst.4.value="ringback" se.pat.callProg.ringback.inst.5.type="silence" se.pat.callProg.ringback.inst.5.value="1800" se.pat.callProg.ringback.inst.6.type="branch" se.pat.callProg.ringback.inst.6.value="-4" />
</se.pat.callProg.ringback>
<se.pat.callProg.busyTone>
<se.pat.callProg.busyTone.inst se.pat.callProg.busyTone.inst.1.type="silence" se.pat.callProg.busyTone.inst.1.value="375" se.pat.callProg.busyTone.inst.2.param="375" se.pat.callProg.busyTone.inst.2.type="chord" se.pat.callProg.busyTone.inst.2.value="busyTone" se.pat.callProg.busyTone.inst.3.type="branch" se.pat.callProg.busyTone.inst.3.value="-2" />
</se.pat.callProg.busyTone>
<se.pat.callProg.reorder>
<se.pat.callProg.reorder.inst se.pat.callProg.reorder.inst.1.type="silence" se.pat.callProg.reorder.inst.1.value="375" se.pat.callProg.reorder.inst.2.param="375" se.pat.callProg.reorder.inst.2.type="chord" se.pat.callProg.reorder.inst.2.value="reorder" se.pat.callProg.reorder.inst.3.type="branch" se.pat.callProg.reorder.inst.3.value="-2" />
</se.pat.callProg.reorder>
</se.pat.callProg>
</se.pat>
</se>
</customisations>
Now add a reference to this file in the “000<blah>.cfg” file we edited in Step 9 earlier:

Don’t overlook the comma between “shared.cfg” & “customisations.cfg”.
Now just reboot the phone and all should be fine – although I found I needed to go though the increasingly tedious pairing process on the phone to re-establish BToE.
Summary
Despite the initial road-bump of not being able to load the firmware through Lync, we got there eventually.
I like the look and feel of the VVX500. With this update it’s just become my primary phone here in the greiginsydney home office, and I look forward to putting it through its paces. There is no shortage of options detailed in the Admin guide, and as I shop through those in the coming weeks I’ll update the “customisations” file with my preferred tweaks and share those…
The requirement for the user’s PC to be directly tethered to the phone is a minor annoyance, and it’s sure to upset those running in a VDI environment. Polycom has indicated a goal in the next update to extend the reach of BToE to a client running on other networks, and when they can pull that off there’ll be no stopping them!
I don’t know if the need to re-pair is something I’ve not yet found in the Admin guide, but that’s the only other thing that’s failed to impress me thus far.
As always, special thanks to Rocky for the photos.
Revision History
24th September 2018: update the XML Notepad link to the Github version.
22nd May 2015: Updated to add the new entry for Code 161 in the DHCP section.
8th Sept 2013: This is the initial post
G.


