| TL;DR: I walk you through the entire process of creating a “UI Flow” in Power Automate to fill out and submit a web form. |
The headquarters of the Greiginsydney empire is located quite close to a store of one of Australia’s major supermarket chains (Coles).
I walk there and only ever shop for as much as I can carry home, but some of my neighbours aren’t either as fit or as considerate, and we regularly find shopping trolleys (which aren’t meant to leave the shopping centre) abandoned in our driveway and the immediate surrounds.
Coles has a website where you can report dumped trolleys, but the form is relatively complicated. It doesn’t just POST your address when you click Submit, but creates a complicated cookie with the converted lat/long of your location. I wasn’t up for trying to simulate that in code, and one of my MVP peers suggested it sounded like a great opportunity to create a UI flow.
Turns out it’s relatively simple to do, using the new “UI Automation” functionality inside Power Automate (pka Microsoft Flow).
In Part 2 next weekend I’ll add a web-hook to fire the flow, triggered by one of our “flic” smart buttons. With one of these located near the door I’ll be able to submit a trolley report just by tapping it when I walk in the door.
This weekend we’ll create the Flow.
UI Flows
Pre-req’s / Do Not Pass Go!
Your Office 365 account needs to be licenced for Power Apps. An E1, E3 or E5 CAL will get you there – and possibly others.
Unfortunately you’ll also need a “Premium” licence for Power Automate, which at current per-user pricing will set you back US$15 or AUD$20 per month. Fear not, there’s a trial available, and I’ll be using that for this walk-through. (See References at the bottom of this post for more on this.)
You might also need access to the Power Apps Admin portal, so this isn’t something your average user will be able to perform on their own. On the plus side, this is a once-per-tenant step.
Because we’ll be recording the visit to a web-site using a third-party plugin, this needs to take place in a supported browser, so make sure you’re using Edge/Chromium, or Chrome.
Let’s Go!
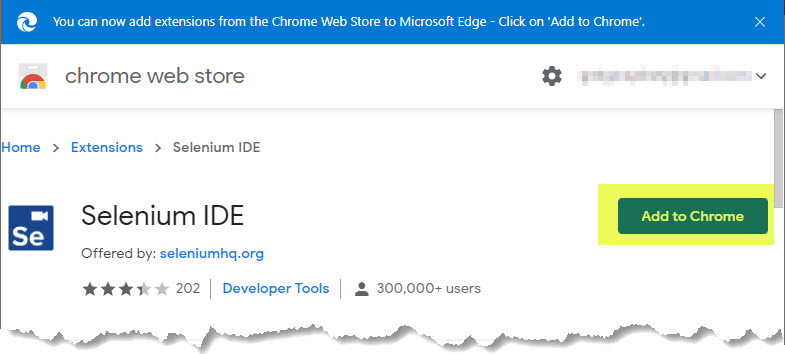
- Click here to install the Selenium IDE Chrome plugin. It should throw you to the Chrome web store. Click “Add to Chrome”:

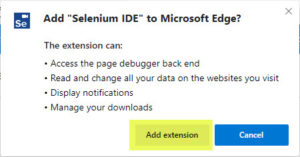
- When prompted to “Add Selenium IDE to Microsoft Edge?”, click “Add extension”:
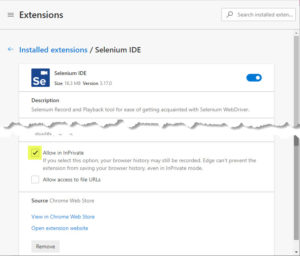
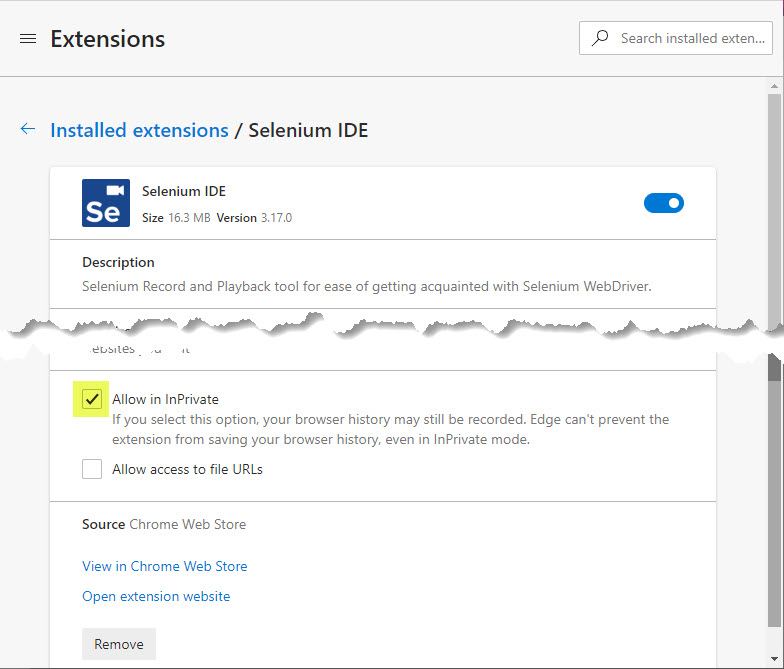
- I’m using in-private sessions for this demo, so before I can use this plugin I need to enable it for in-private sessions. Click the ellipsis (“…”), select Extensions, and then the Selenium IDE’s “Details” button:

- Check the box next to “Allow in InPrivate”:
- Close the Extensions tab.
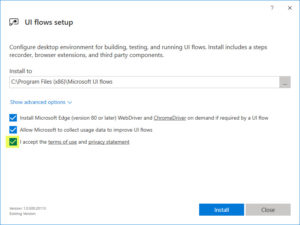
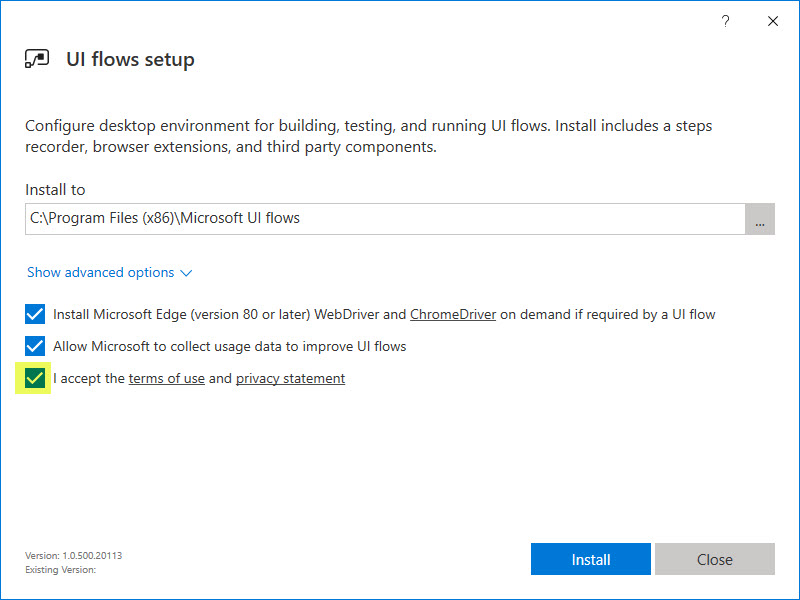
- Download and run the UI Flow Installer.
- On the “UI flows setup” dialogbox, check “I accept…” and then click “Install”:
- Accept the UAC popup if you’re prompted.
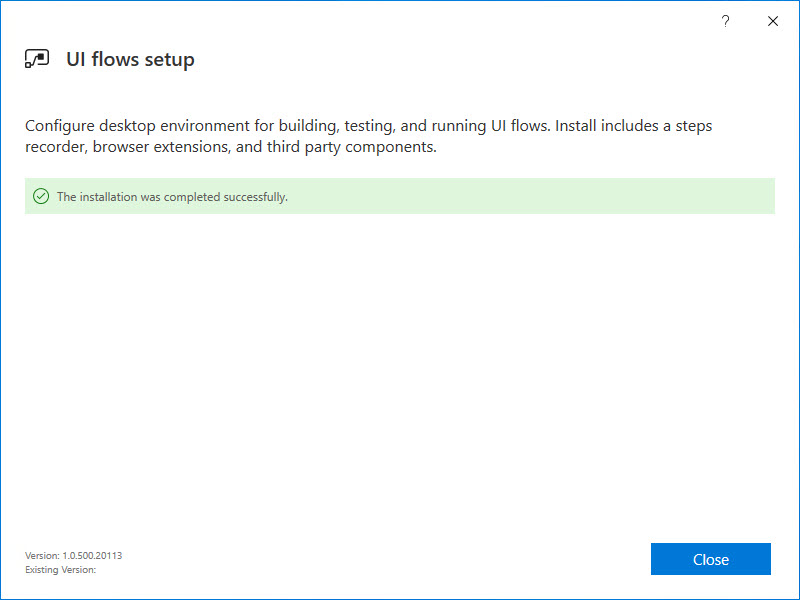
- Click “Close” when the setup completes:

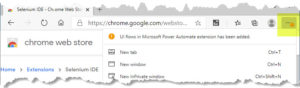
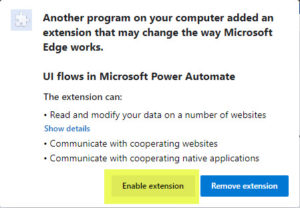
- A warning should have popped in the browser, visible as an orange circle and exclamation mark in the settings ellipsis. Click it, and then click the message “UI flows in Microsoft Power Automate extension has been added”:
- On the “Another program on your computer added an extension…” popup box, click “Enable extension”:
- Now repeat steps 3 & 4 to also enable the “UI flows in Microsoft Power Automate” in an InPrivate session.
- Browse to flow.microsoft.com and sign in to Power Automate. (I tried the newer powerapps.com portal, but it just gave me a forever spinner on the Create flow step, so I backed up and restarted with the legacy URL).
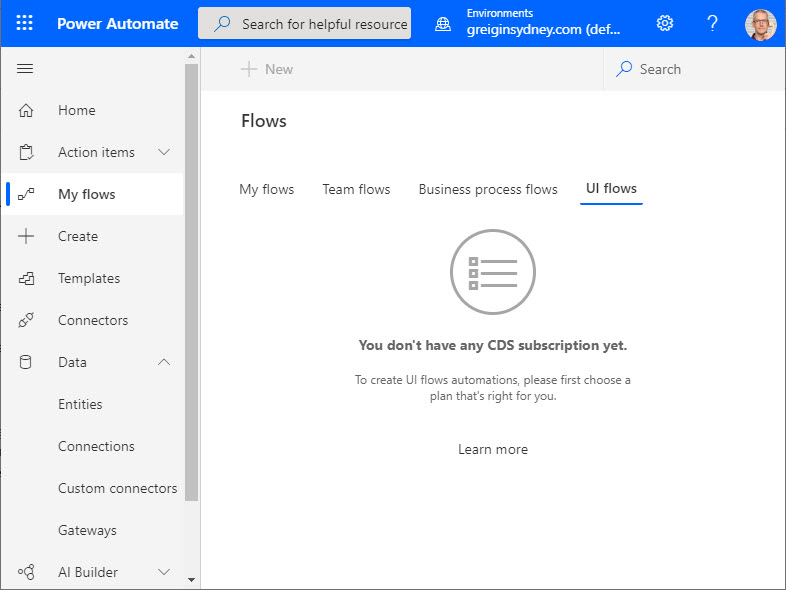
- Navigate to “My flows” in the left menu and then “UI Flows” in the body of the page.
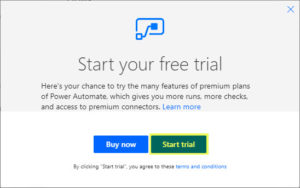
- If the “Start your free trial” box pops, it means your account isn’t licenced for the premium Power Automate plan we require. Either try again with a different account, or click “Start trial” to continue. (See References at the bottom of this post for more on this):
- If you’re greeted by “You don’t have any CDS subscription yet.”, continue here, otherwise jump to step 23:

- A “CDS” is a Common Data Service database, and to create one of those you need to be in the Power Automate Admin centre.
- In a fresh in-private browser tab browse to admin.powerplatform.microsoft.com and sign in with an account that has admin rights:
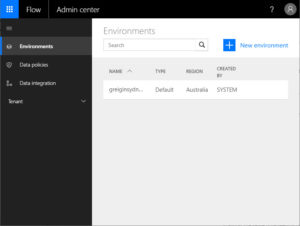
- You can add this CDS to your Default environment, or create a fresh one. I opted for the default. Click on the chosen environment name, and then scroll down to and click the “Create my database” button.
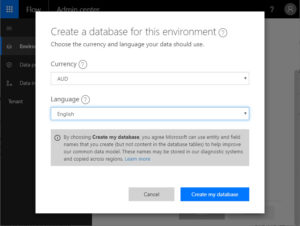
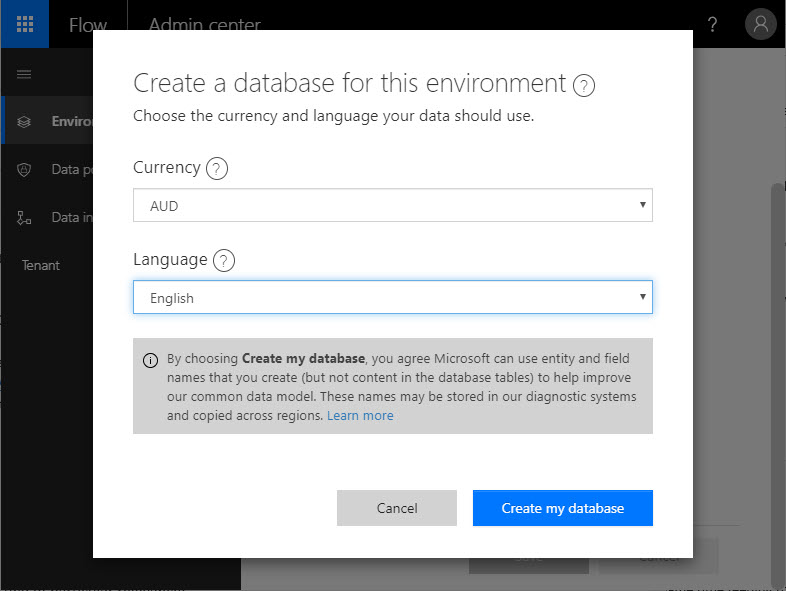
- Set a currency and language, then click the “Create my database” button:
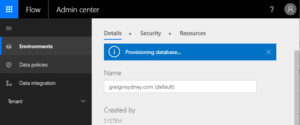
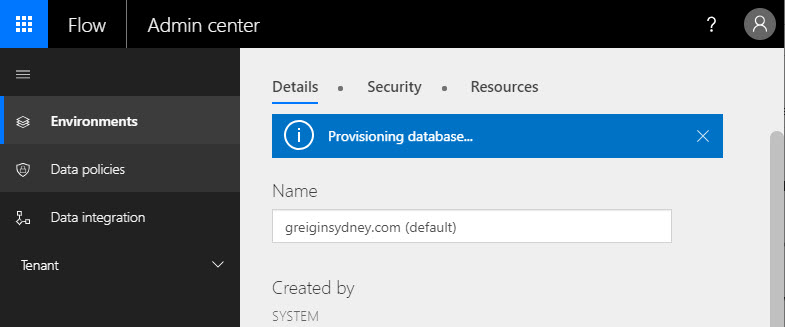
- You should be returned to the main Environments page. Hit F5/Refresh the page until the “Create my database” button is replaced by a “Provisioning database…” banner. Wait for it to complete before continuing:
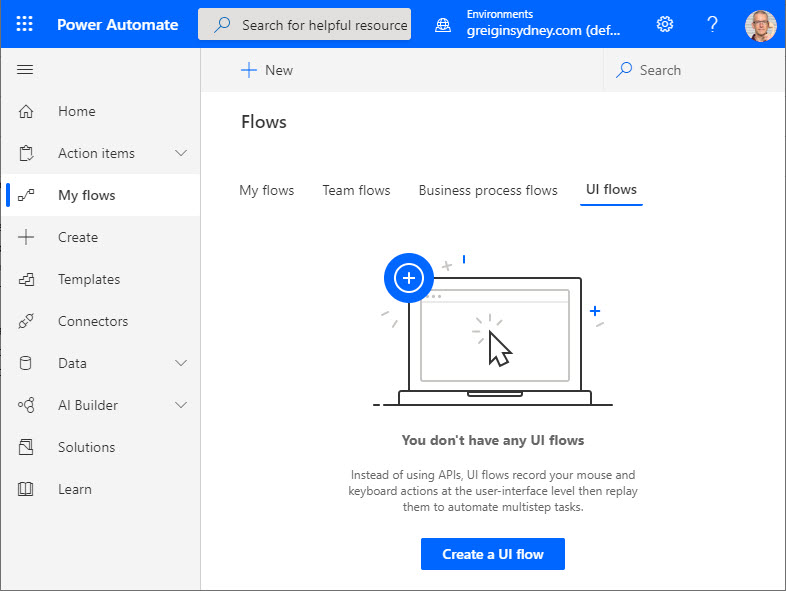
- Return to your normal Power Automate window & Refresh. If it still says you don’t have a CDS subscription, refresh, wait a while, or try signing out and back in again.
- You should eventually have the option to “Create a UI flow”. Click it to proceed:

- Scroll to reveal “Web App”. Select it and click “Next”:

- The “Welcome to UI flows for web” tutorial will display. Use the blue arrow buttons to walk through a quick explanation of the next steps:
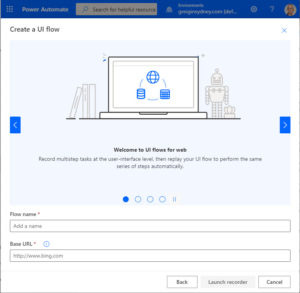
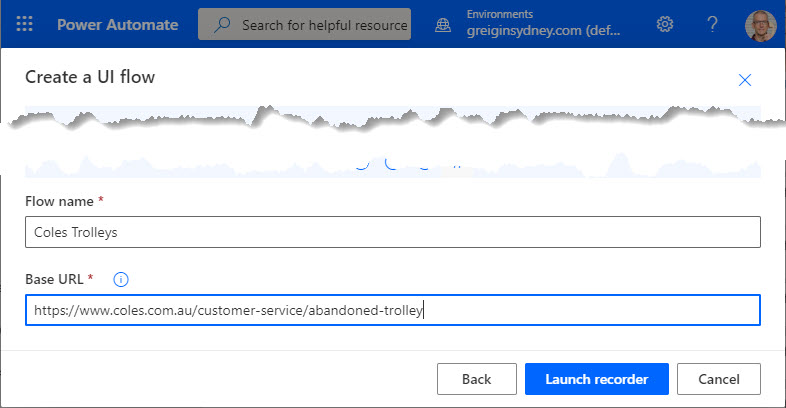
- Give your flow a name, paste in the url that the flow will start from and click “Launch recorder”:

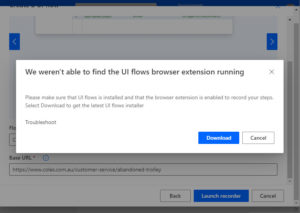
- If you receive the “We weren’t able to find the UI flows browser extension running” error, double-check you’ve installed both plugins and enabled them, as outlined back from Step 1:
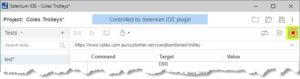
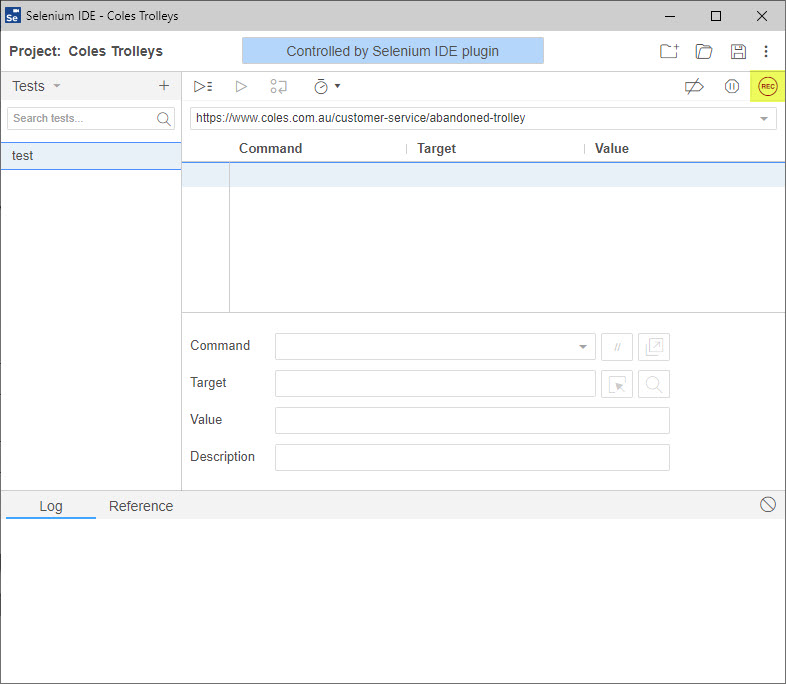
- All going well, the recorder will launch in a fresh window. Click the “REC” button in the top right corner:
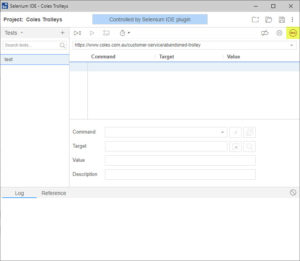
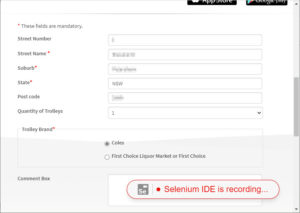
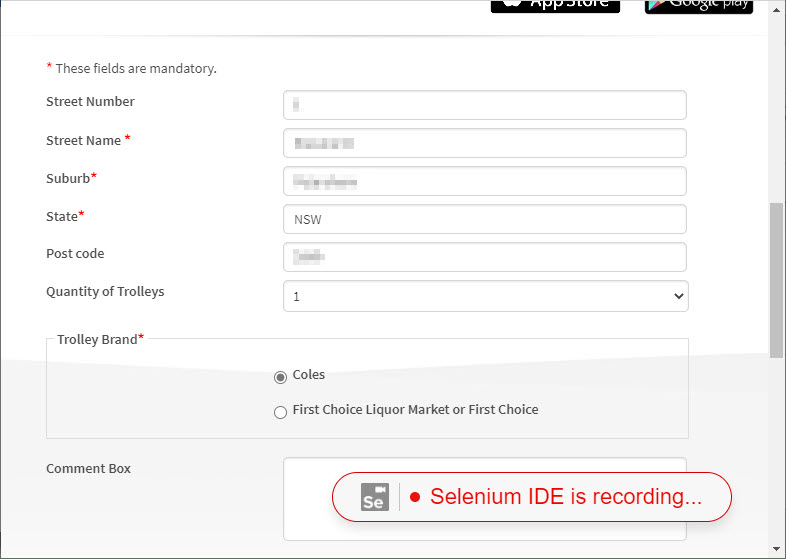
- A fresh browser tab will launch to the “Base URL” you input earlier, with a “Selenium IDE is recording” overlay. Complete the form and Submit it:
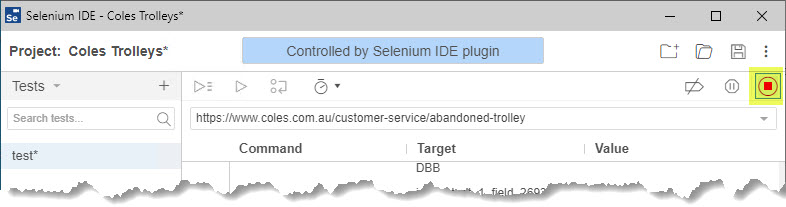
- Switch to Selenium and click the square “Stop” recording button:
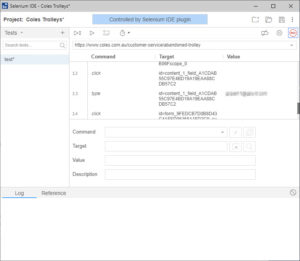
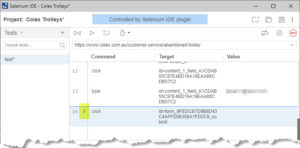
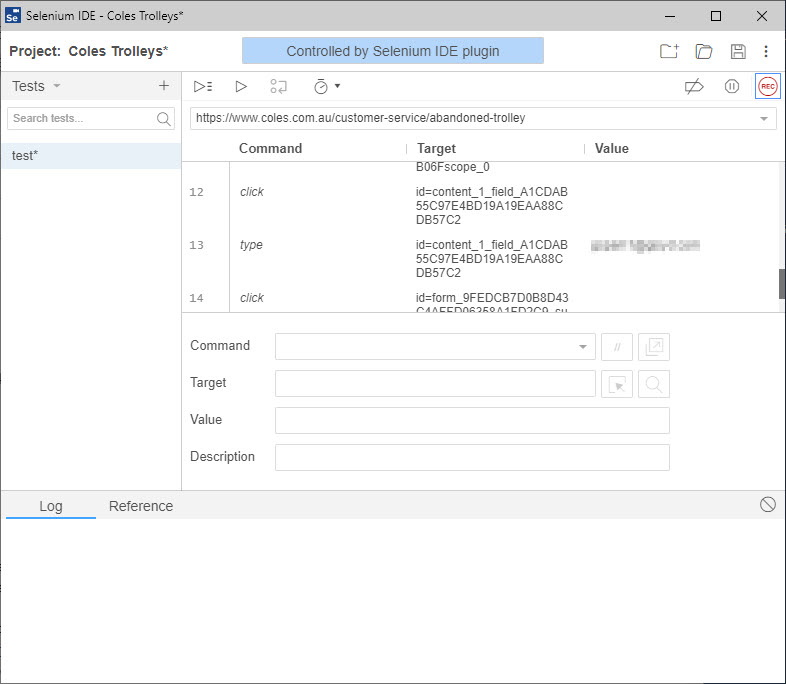
- Note that the form’s fields and your inputs/responses have been captured. The numbers indicate the steps that it captured. You can scroll up and down to peruse what it logged:
- Now’s a good time to test the recording, but assuming you don’t want to be submitting lots of “junk” forms in the process, let’s temporarily disable the Submit button. Scroll to and select to the Submit button step, then click the “//” pause button:
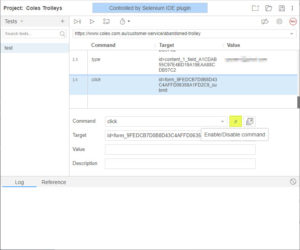
- Note that a pause icon now appears in the steps to the right of the step number:
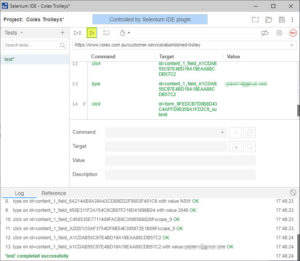
- To test the form, click the triangular “play” icon at the top of Selenium. It will spawn a fresh browser instance, loading and filling out the form, hopefully indicating Success at the bottom back at Selenium:
- Review the responses on the form are correct.
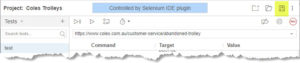
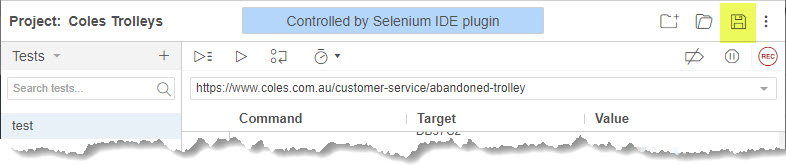
- Assuming you’re happy with this, switch to Selenium, “un-pause” the Submit button, then click the Save icon at the top right. Selenium will close:
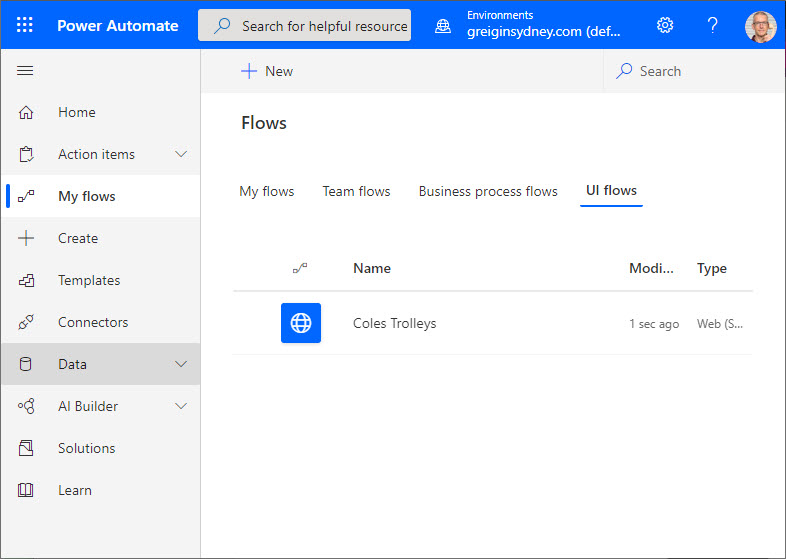
- Back to your Flow window, and you’ll see you now have a fresh UI flow:
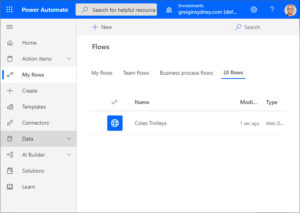
- Mission accomplished!


Now your Flow is complete, you can trigger it by whatever means you prefer.
In Part 2 next weekend I’ll add a web-hook to fire the Flow, triggered by one of our “flic” smart buttons. With one of these located near the door I’ll be able to submit a trolley report just by tapping it when I walk in the door.
Limitations
There are currently a few limitations to the process. I’ve cherry-picked two of particular relevance:
- Multi-Factor Authentication (MFA) is not supported, use a tenant that doesn’t require MFA.
- Right click is not supported.
References
- Power Automate Pricing
- Power Apps and Power Automate licensing FAQs
- Create a Common Data Service database
- Create and test your Web UI flows
Revision History
26th April 2020: this is the initial publication.
– G.


